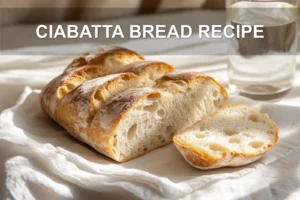
There’s something truly magical about the aroma of fresh bread baking, with flour dusting the counters like freshly fallen snow. Golden sourdough bread brings that old-world charm into the modern kitchen, filling your home with warmth and tradition. This beginner-friendly recipe yields a stunning large sourdough loaf with a crisp golden crust that crackles beautifully when tapped.
Think of this as your grandmother’s bread basket, but easier to master. With just flour, water, salt, and an active sourdough starter, this overnight sourdough bread practically makes itself while you sleep. Full recipe below!
I’ve been tending to sourdough starters longer than I can remember each one with its own name and quirks. There’s a rhythm to baking bread that slows life down in the best possible way. My secret ingredient? A little patience, and one important trick you’ll learn below that makes all the difference in the final loaf.
Why You’ll Fall for This Golden Sourdough Bread
This isn’t just another loafit’s the kind of golden sourdough bread that gathers people around your table. Its crust crackles like crisp autumn leaves, while the inside is light and chewy with a network of airy holes that makes every slice a masterpiece.
What sets this recipe apart is its relaxed approach. No harsh kneading or racing the clockjust traditional techniques that honor the dough and let it evolve at its own pace. It’s beginner-friendly while remaining deeply satisfying for seasoned bakers who appreciate soulful simplicity.
- Minimal hands-on time: Most of the magic happens while you rest
- Flexible timing: Adapts to your schedule, no rigid clock-watching
- Impressive results: Bakery-quality loaf from a humble home kitchen
The Heart of Your Ingredients
This bread is built on four essential, humble ingredientseach with a unique role. Make sure your sourdough starter is active and bubbly. It should double within 4 to 6 hours after feeding before using it in any recipe.
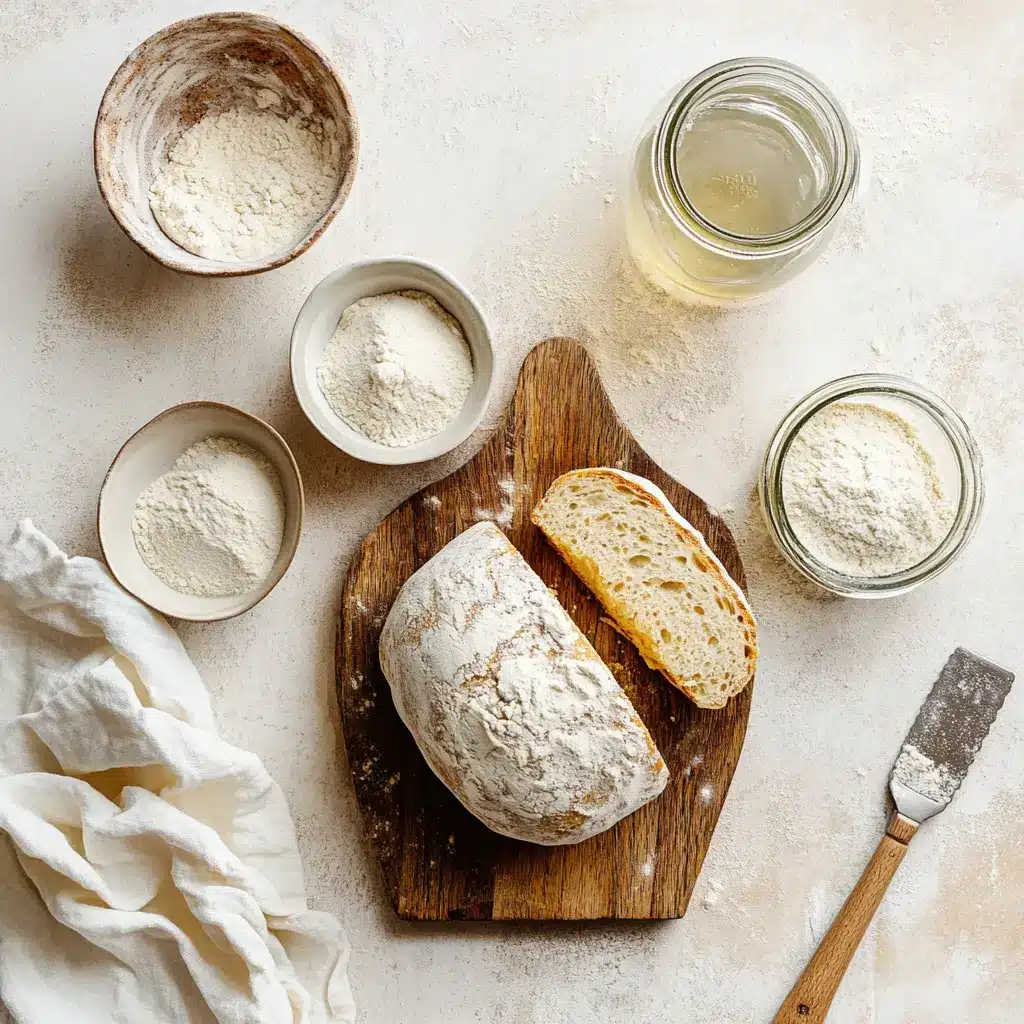
Pro Tip: Give your starter a name that sparks joy and connectionmine have had names like “Bubbles” and “Grandmother’s Gift.” It makes feeding feel more like tending a pet than a chore.
| Ingredient | Purpose | Baker’s Notes |
|---|---|---|
| Bread Flour | Structure and chew | All-purpose flour can work, but may yield a softer crumb |
| Active Starter | Natural leavening | Ensure it’s bubbly and doubling in volume consistently |
| Warm Water | Hydration | Use lukewarm wateraround 90–95°Fto activate fermentation |
| Salt | Flavor and strength | Use fine sea salt or table salt for even distribution |
The Gentle Rhythm of Sourdough
This overnight sourdough bread respects your daily rhythm. It begins with an autolyse phase, allowing flour and water to mingle before adding the starter. Then comes a series of stretch-and-foldssimple, intuitive movements that develop gluten and structure in the dough without the need for kneading.
Across the first two hours, you’ll stretch and fold the dough every 30 minutes. Each movement strengthens the dough, which transforms from rough and shaggy to smooth and elastic. Watching this change unfold is part of sourdough’s unique magic.
| Time | Action | What to Look For |
|---|---|---|
| 0 minutes | Mix flour and water | Coarse, sticky dough with no elasticity |
| 30 minutes | Add starter and salt | Dough becomes cohesive, sticks to hands a bit |
| 1–2 hours | Perform 4 sets of stretch and folds | Smooth, pliable texture, holds shape better |
| 8–10 hours | Bulk fermentation | Dough is slightly domed, jiggly, nearly doubled in volume |
| Next day | Bake | Golden, crusty loaf with lovely oven spring |
Shaping and the Overnight Rest
Once bulk fermentation is complete, gently shape your dough on a lightly floured surface. Tuck it into a firm round or oval, being careful not to deflate the internal air pockets. Place your dough seam-side down into a proofing basket or a bowl lined with a floured tea towel.
The overnight proof in the refrigerator slows fermentation, enhancing flavor complexity and making the dough firmer and easier to score in the morning. This means less stress come baking time and more dramatic scoring patterns.
- Proofing basket alternatives: Try a medium bowl lined with a floured kitchen towel
- Flexible proof time: Refrigerate for 8–12 hours, or up to 24 for deeper flavor
- Tip for scoring: Cold dough cuts cleaner, allowing better oven spring and design
The Dutch Oven Magic
Transform your Dutch oven into a steam oven by preheating it thoroughly. That enclosed environment traps steam to create the iconic chewy crust and glossy sheen typical of professional loaves. Carefully place your shaped dough on parchment before loading it into the sizzling vesselparchment makes handling safer and simpler.
Bake with the lid on for 20 minutes to trap steam, then remove it and continue baking for 25 minutes to brown the crust. You’ll know it’s perfect when the crust sings as it cools.
Troubleshooting Your Golden Loaf
Every loaf teaches you something new. A denser crumb may signal that your starter wasn’t quite ready, while a flat loaf could mean it over-proofed. Don’t be discouragedjust learn and try again. Sourdough rewards observant, gentle bakers.
| Issue | Likely Cause | Next Time Try |
|---|---|---|
| Dense, heavy loaf | Inactive starter or under-proofing | Strengthen your starter, extend bulk fermentation |
| Flat, spreading bread | Over-proofed dough or loose shaping | Watch doubling closely, use tighter shaping technique |
| Pale crust | Insufficient oven heat or excessive steam time | Preheat oven thoroughly, remove lid earlier |
| Gummy center | Cut too early | Let bread cool at least 2 hours before slicing |
Serving and Storing Your Masterpiece
The hardest part? Waiting for the loaf to cool completely before slicing! Give it a full two hours to set the crumb and prevent moisture from making it gummy. When you finally break through that golden exterior, every bite will be worth it.
Store your sourdough properly and it’ll remain delicious for days. Leftovers make amazing toast or sandwiches, and older slices can be turned into breadcrumbs or bread pudding.
- Fresh storage: Place cut side down on a wooden board, covered with a clean towel
- Extended storage: Wrap in plastic and foilgood for 4–5 days at room temperature
- Freezer tips: Pre-slice and freeze in a zip-top bag for easy toasting
Expert Says: The Art Behind Golden Sourdough Bread
Achieving that perfect golden crust on sourdough bread is all about balancing fermentation and baking temperature. The natural acids developed during fermentation create a complex flavor, while the Maillard reaction in baking gives the crust its rich color and crispy texture, making golden sourdough bread both beautiful and delicious.
For more delicious recipes and cooking inspiration, follow me on Facebook, Pinterest and Reddit!
Mastering the Golden Sourdough Bread
My first attempts at golden sourdough bread were anything but goldensome loaves were too dense, others lacked color. Over time, I learned to work with the dough, not against it. Trusting its texture and knowing when it’s ready are skills forged by experience. Now, this recipe is a family favorite, built from love and the patience of many quiet mornings in the kitchen.
FAQs ( Crusty Golden Sourdough Bread with a Soft Chewy Center )
How long does it take to make golden sourdough bread?
Making golden sourdough bread typically takes 24-48 hours from start to finish, though most of this time is hands-off fermentation. The active work time is only about 30-45 minutes spread across mixing, folding, and shaping. If you’re looking for a faster option, you can try a fast sourdough bread recipe that reduces the timeline to about 12-18 hours with a more active starter and warmer environment.
What type of flour works best for crusty golden sourdough?
Bread flour is the best choice for golden sourdough bread because its higher protein content (12-14%) develops strong gluten structure for that perfect chewy texture. You can also use a combination of bread flour and all-purpose flour for a slightly more tender crumb. Many bread flour sourdough recipes recommend adding a small percentage of whole wheat flour to enhance the golden color and add depth of flavor.
Can beginners successfully make this sourdough bread?
Absolutely! This beginner sourdough bread recipe is designed to be approachable for new bakers. The key is having an active, bubbly sourdough starter and following the timing guidelines carefully. Don’t worry if your first loaf isn’t perfect – sourdough baking is a skill that improves with practice. Start with this simple sourdough bread recipe and you’ll be amazed at what you can create with just flour, water, salt, and starter.
How do I get that perfect crusty exterior?
The secret to a beautifully crusty golden sourdough bread is creating steam during the first part of baking sourdough bread. Use a Dutch oven with the lid on for the first 20-30 minutes, then remove the lid to allow the crust to develop its golden color. You can also place a pan of boiling water on the bottom rack of your oven. The contrast between the steamy environment and dry heat creates that irresistible crispy crust we all love.
Can I make this as an overnight sourdough bread?
Yes, this recipe works wonderfully as an overnight sourdough bread! After shaping your loaf, place it in the refrigerator for 8-24 hours for the final rise. This slow, cold fermentation actually improves the flavor and makes the dough easier to score. When you’re ready to bake, you can put it straight from the fridge into your preheated Dutch oven. The extended fermentation time creates even more complex flavors in your golden sourdough bread.
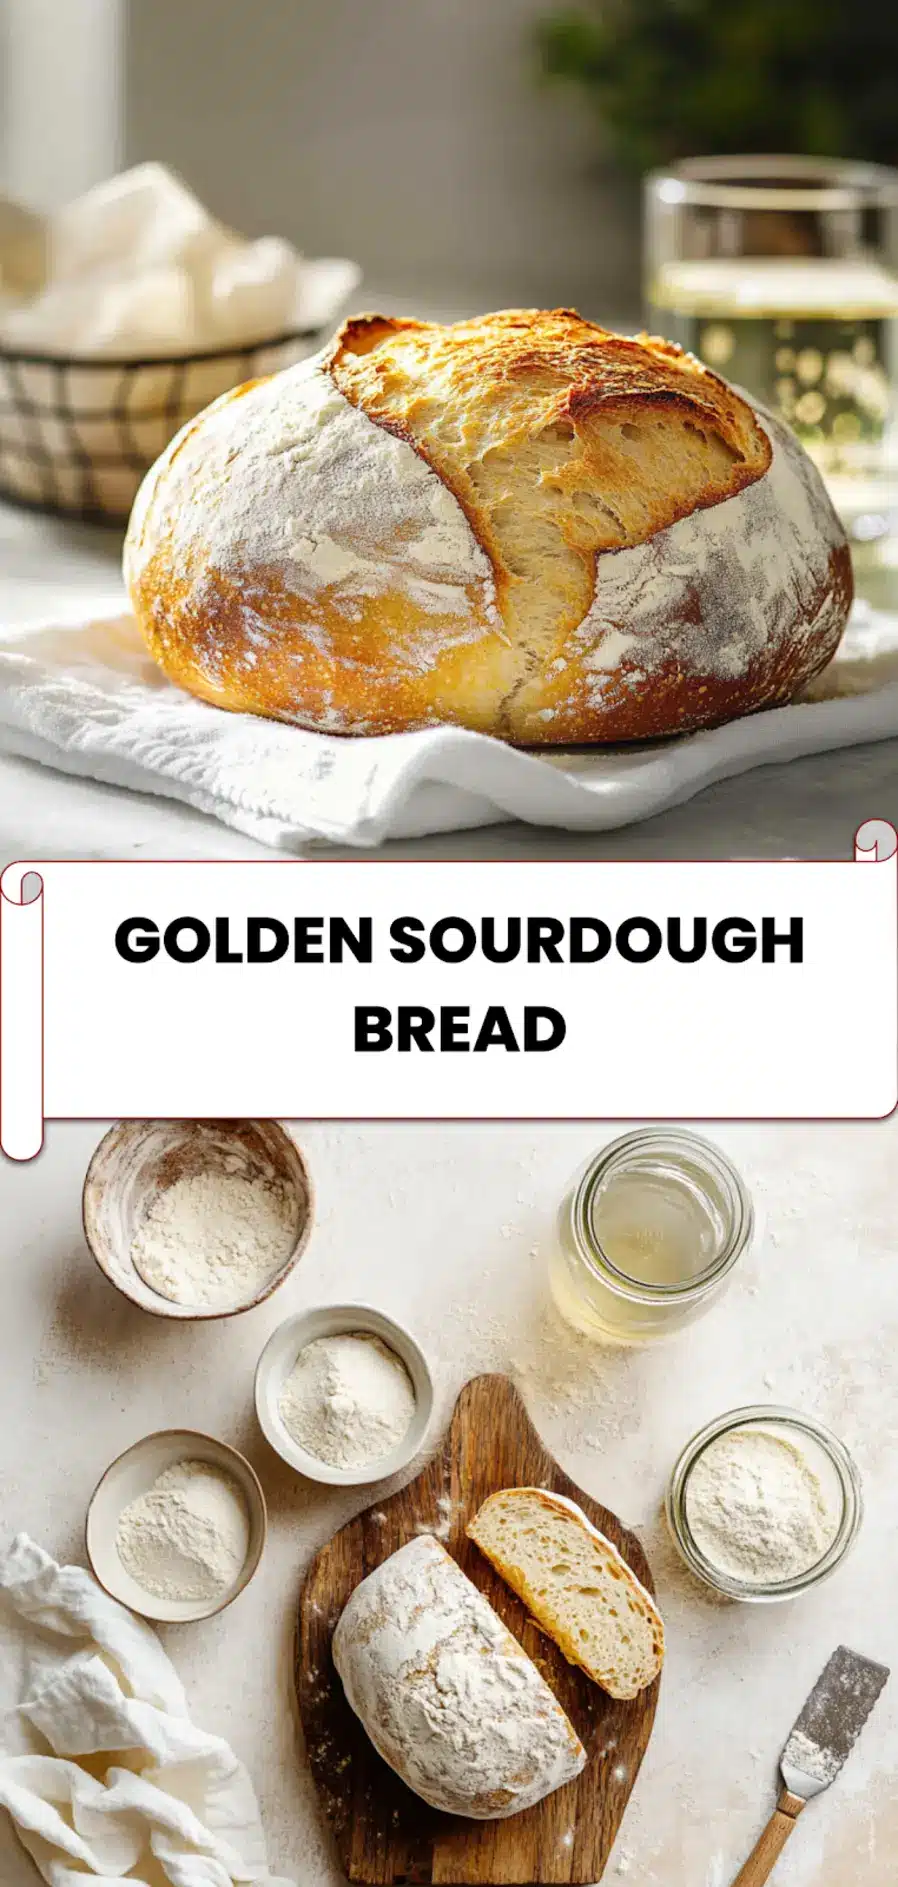
Your Golden Sourdough Bread Journey
This golden sourdough bread recipe helps you create an artisanal crusty loaf with a tender, chewy center. Thanks to the overnight proof, it develops robust flavor and delightful texture while saving you hours of hands-on time. It’s one of the easiest sourdough recipes for busy bakers and yields consistent, delicious results.
Want to experiment? Add toasted sunflower or sesame seeds during shaping for extra texture, or brush the finished crust with melted butter to boost richness and shine. This large sourdough loaf stays fresh wrapped in a clean towel for up to three daysor freeze portions for future enjoyment. As a friend once told me, naming your starter adds magic. That connection often leads to better breadtruly.
I’d love to hear what you name your starter and see your beautiful loaves! Did a family member pass down their sourdough secrets to you, too? Let’s continue baking and sharing the craft of golden sourdough bread, one warm loaf at a time.
PrintGOLDEN SOURDOUGH BREAD
This beginner sourdough bread recipe offers a large sourdough loaf with a chewy center and crisp golden crust. Perfect for baking sourdough bread at home, it’s an easy and simple sourdough bread recipe for all skill levels.
- Prep Time: 30 minutes
- Cook Time: 45 minutes
- Total Time: 15 hours 15 minutes
- Yield: 10 slices 1x
- Category: Bread
- Method: Baked
- Cuisine: American
- Diet: Vegetarian
Ingredients
- 4 cups 500g bread flour or all-purpose flour
- 1⅔ cups 375g warm water
- 1 cup 200g active sourdough starter
- 2 teaspoons 10g salt
Instructions
- In a large mixing bowl, combine 4 cups of flour and 1⅔ cups of warm water.
- Stir until a shaggy dough forms, then let it rest for 30 minutes.
- After resting, add 1 cup of active sourdough starter and 2 teaspoons of salt.
- Mix well until everything is fully combined.
- Cover the bowl with a clean towel or plastic wrap.
- Let the dough sit at room temperature.
- Every 30 minutes for 2 hours, perform a set of stretch and folds.
- To stretch and fold, pull one side of the dough upward and fold it over itself.
- Turn the bowl a quarter turn and repeat three more times.
- After the final fold, cover the bowl again and let the dough rise for 6 to 8 hours.
- It should double in size and appear bubbly and puffy.
- Gently transfer the dough to a lightly floured surface.
- Shape it into a round or oval loaf by folding and tucking the edges underneath.
- Place the shaped dough seam-side up into a floured proofing basket or towel-lined bowl.
- Cover and refrigerate for 8 to 12 hours.
- The next day, place a Dutch oven into your oven and preheat to 450°F (232°C).
- Remove the dough from the fridge and turn it out onto parchment paper.
- Score the top of the dough with a sharp knife or razor blade.
- Carefully lower the dough into the hot Dutch oven using the parchment paper.
- Cover and bake for 20 minutes.
- Remove the lid and bake uncovered for another 25 minutes.
- Take the bread out of the Dutch oven and let it cool completely on a wire rack before slicing.
Nutrition
- Serving Size: 1 slice
- Calories: 180 kcal
- Sugar: 0.2g
- Sodium: 350mg
- Fat: 1.5g
- Saturated Fat: 0.3g
- Unsaturated Fat: 1g
- Trans Fat: 0g
- Carbohydrates: 36g
- Fiber: 2g
- Protein: 6g
- Cholesterol: 0mg


