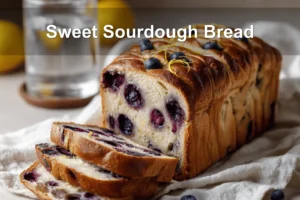
There’s something magical about the earthy smell of flour meeting waterthe way it transforms into something alive and breathing. My beginners sourdough bread recipe brings that ancient art into your kitchen without the need for specialty equipment. This recipe has been passed down and lovingly fine-tuned through generations. It’s forgiving enough for first-time bread makers and deeply satisfying for seasoned bakers.
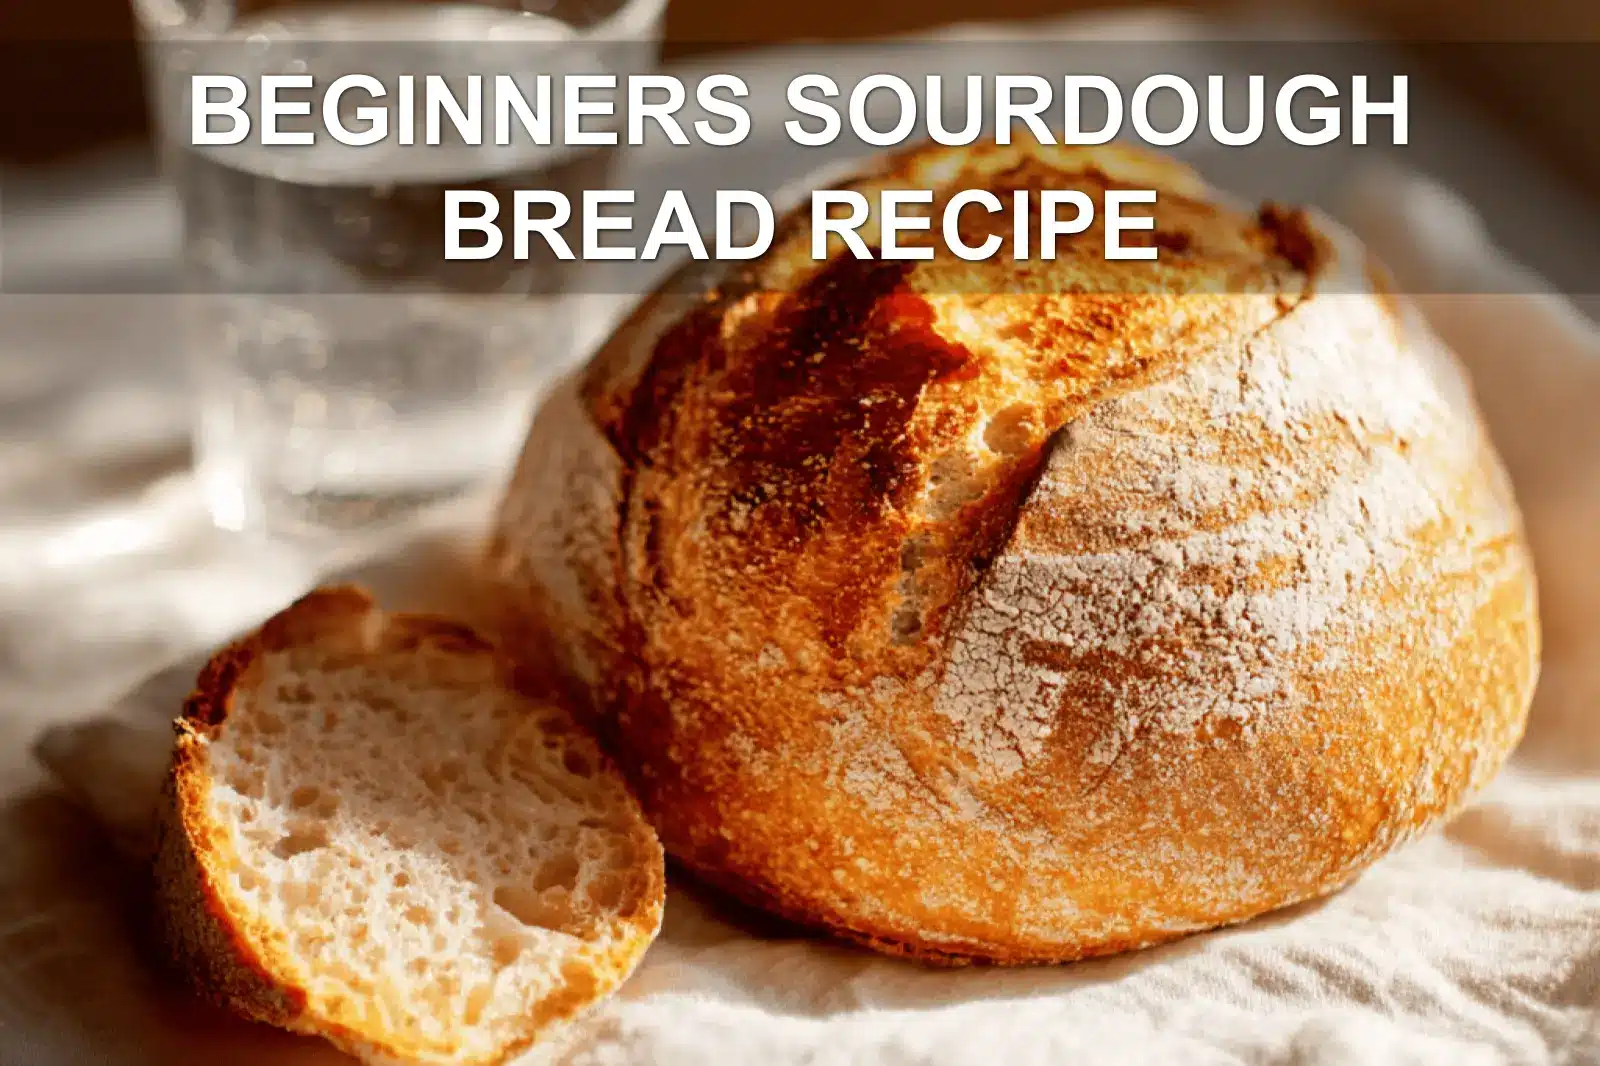
This is real breadwith a golden, crackling crust and a soft, tangy interior that fills your home with the inviting aroma of a European bakery. All you need is a sourdough starter, flour, water, and salteveryday ingredients that yield extraordinary results. It’s like having a warm hug waiting on your counter, ready to be shared with family and friends. Full step-by-step instructions can be found below!
I’ve been nurturing starters and kneading dough since my hands were small enough to barely reach the counter. There’s something comforting in the rhythm of sourdough makingwaiting, folding, and shaping with intention. I’ve tested this recipe countless times, and the secret? Patience and an extra fold that gives the dough the structure it needs for that lofty rise.
Why This Beginner’s Sourdough Bread Recipe Will Steal Your Heart
This recipe turns four simple pantry ingredients into a beautiful artisan loaf, just like my grandmother used to bake. The beauty lies in its approachabilityyour sourdough starter becomes your teacher, showing you signs of readiness through texture and bubbling cues rather than rigid schedules.
What makes this beginners bread recipe extra special is the confidence it builds with each fold and rise. Bread-making isn’t about perfectionit’s about tuning into the feel of dough, watching it grow, and creating something truly nourishing by hand.
Your Simple Sourdough Toolkit
The ingredients are humble, and the technique is approachable. All-purpose flour provides reliable structureno need for hard-to-find specialty flours. Make sure your active starter is bubbly and has doubled in size after feeding. A lively starter is the key to beautiful rise and flavor.
- Active starter: Well-fed, doubled in volumeready to leaven
- All-purpose flour: Offers structure with a tender bite
- Water: Room temperature to encourage good fermentation
- Salt: Adds depth of flavor and regulates yeast activity
| Ingredient | Weight | Volume | Purpose |
|---|---|---|---|
| All-purpose flour | 475g | 3 1/2 cups | Structure and texture |
| Active starter | 100g | 1/2 cup | Leavening and flavor |
| Water | 325g | 1 1/3 cups | Hydration and gluten development |
| Salt | 10g | 2 tsp | Flavor and fermentation control |

The Gentle Art of Mixing and Folding
Start by mixing your bubbly starter with the water in a large bowl using your fingers or a fork to dissolve the starter. Then add the flour and stir until a scrappy, shaggy dough forms and no dry flour remains. This stage is called autolyse, and it helps the flour absorb the water. Let it rest uncovered for 30 minutes.
After the rest, sprinkle salt evenly over the surface and gently knead it in with dampened hands. The dough will feel sticky and elastic. Continue with four rounds of gentle folds over the next two hoursthis builds strength and creates the gluten structure your bread needs.
| Time | Activity | What to Look For |
|---|---|---|
| 0:00 | Mix flour, water, starter | No dry flour visible |
| 0:30 | Add salt | Dough feels smoother |
| 1:00 | First fold | Dough holds together |
| 1:30–3:00 | Three more folds | Dough becomes smooth, jiggly |
| 3:00–8:00 | Bulk fermentation | 50% size increase |
The Folding Technique
- Wet hands to prevent dough from sticking
- Lift one side of the dough and stretch it up and over to the opposite side
- Rotate the bowl 90 degrees and repeat until you’ve folded from all sides
- With each fold, the dough becomes stronger and smoother
Shaping and the Long Rise
Once the dough has increased by about 50% and feels light and jiggly, remove it from the bowl and transfer to a lightly floured surface. Pre-shape gently into a ball, cover with a clean kitchen towel, and let it rest for 20 minutes. This relaxes the gluten before final shaping.
For final shaping, tighten the dough by pulling it toward you on a floured surface to create surface tension. Place it seam-side up into a floured banneton or towel-lined bowl. Cover loosely and refrigerate overnight (8–12 hours). The cold temperature helps the dough develop complex flavor and makes scoring easier.
Baking Day Magic
The next day, preheat your Dutch oven to 450°F for at least 30 minutes. While it heats, remove your shaped dough from the fridge and turn it out gently onto parchment paper. Score with a sharp bladejust one confident slash about 1/2-inch deep should work beautifully.
Place the dough (on parchment) into the hot Dutch oven, cover, and bake for 20 minutes. Then remove the lid and bake for an additional 20 minutes uncovered. The finished loaf should be golden brown and sound hollow when tapped on the bottom. Let it cool on a wire rack for at least 2 hours before slicing to avoid a gummy interior.
| Baking Stage | Temperature | Time | What Happens |
|---|---|---|---|
| Covered | 450°F | 20 minutes | Steam creates rise and soft crust |
| Uncovered | 450°F | 20 minutes | Crust develops golden color |
| Cooling | Room temp | 2+ hours | Crumb sets, flavors develop |
Troubleshooting Your First Loaves
Dense bread is often the result of an inactive starter or under-proofed dough. Ensure your starter doubles within 4–6 hours of a feeding. If the dough isn’t rising much during bulk fermentation, let it go longerroom temperature can affect how quickly it ferments.
A gummy interior is usually due to slicing before the bread has cooled fully. Tempting as it is, it’s important to let the bread cool for at least 2 hours. A flat loaf may indicate the dough didn’t develop enough strengthadd an additional fold next time or focus on tighter shaping.
- Starter not active enough: Feed it morning and night a few days before baking
- Dough too sticky to handle: Wet your hands and work quickly
- Lack of oven rise: Ensure the Dutch oven is fully preheated
- Crust too dark or tough: Try reducing the temperature to 425°F for the second half of baking
Storage and Serving Your Homemade Treasure
Once fully cool, store your loaf cut-side down on a wooden cutting board wrapped in a clean kitchen towel to maintain crust texture. Avoid plastic bagsthey trap moisture and cause the crust to soften. This bread is best enjoyed within the first three days.
After three days, slice and freeze any remaining bread wrapped tightly in foil and a freezer bag. To thaw, reheat slices in a toaster or warm oven. Day-old sourdough makes incredible toast, grilled cheese, or rustic breadcrumbs.
Expert Says: Mastering Your First Loaf
For beginners, this sourdough bread recipe offers a reliable foundation for understanding fermentation, gluten development, and dough structure. With patience and repeated attempts, you’ll notice improvements with each loaf. Naturally leavened bread brings unique flavor and character that’s hard to match with commercial yeast.
For more delicious recipes and cooking inspiration, follow me on Facebook, Pinterest and Reddit!
My Long Road to the Beginner’s Sourdough Bread Recipe
Perfecting this beginner’s sourdough bread recipe has been a journey filled with early mornings, sticky fingers, and hard-earned wins. It took time to trust the starter, recognize the shape of well-developed dough, and harness the rhythm of fermentation. Now, this recipe is one I reach for weeklyit feels like home, and I hope it becomes that for you, too.
FAQs ( Beginner’s Sourdough Bread Recipe )

A Timeless Bread That Brings Generations Together
This beginners sourdough bread recipe offers everything you cravean artisan crust that shatters with a tap and a tangy, moist crumb you’ll want to savor. With a few staple ingredients and the quiet patience sourdough teaches, you’ll create homemade sourdough bread that rivals any bakery loaf. The folding method makes it approachable, yet the results speak volumes.
Try customizing your loaftoss in herbs like rosemary or thyme, toasted walnuts, or seeds during the final fold. Got extra bread starter discard? Don’t throw it out! Make sourdough crackers, pancakes, or cheesy flatbreads. Once baked, allow your loaf to cool thoroughly, then store it cut-side down on a wooden board for up to three days.
I hope this recipe brings you joy and pride, like it has in my home. There’s nothing like slicing into a loaf you made with just your hands and time. Whether it’s your first or your fiftieth, I invite you to pass this artisan bread recipe to someone you loveit’s more than bread, it’s tradition baked fresh.
PrintBEGINNERS SOURDOUGH BREAD RECIPE
This beginners bread recipe uses a sourdough starter to create homemade sourdough bread with a soft chewy crumb and crusty exterior. It’s a delicious recipe perfect for anyone wanting to try artisan bread recipes at home. Just a few ingredients, patience, and time are all you need.
- Prep Time: 2 hours
- Cook Time: 40 minutes
- Total Time: 22 hours
- Yield: Serves 12 1x
- Category: Bread
- Method: Baked
- Cuisine: American
- Diet: Vegetarian
Ingredients
- 475 grams all-purpose flour 3 1/2 cups
- 100 grams starter active and bubbly (1/2 cup)
- 325 grams water 1 1/3 cups
- 10 grams salt 2 teaspoons
Instructions
- Mix the all-purpose flour and water in a large bowl until just combined. Cover and let it rest for 1 hour.
- Add the active sourdough starter and salt to the dough. Mix thoroughly then cover and let it bulk ferment for 4-6 hours, folding the dough every 30 minutes for the first 2 hours.
- Shape the dough into a ball and place it in a floured proofing basket. Cover and refrigerate for 12-20 hours to proof.
- Preheat your oven to 450°F (230°C) with a Dutch oven inside.
- Carefully transfer the dough to the hot Dutch oven, score the top, cover, and bake for 20 minutes.
- Remove the lid and bake for an additional 20 minutes until crusty and golden.
- Cool on a wire rack before slicing and serving.
Notes
- For best results, use an active and bubbly sourdough starter
- Patience during the proofing stages yields the best crust and crumb texture
Nutrition
- Serving Size: 1 slice
- Calories: 180 kcal
- Sugar: 0.2g
- Sodium: 400mg
- Fat: 1g
- Saturated Fat: 0.2g
- Unsaturated Fat: 0.5g
- Trans Fat: 0g
- Carbohydrates: 37g
- Fiber: 2g
- Protein: 6g
- Cholesterol: 0mg

