Introduction
We all have those special moments in our lives that call for a celebration, whether it’s a birthday, an anniversary, or just a cozy get-together with friends. These gatherings are often filled with laughter, joy, and, of course, delicious treats. That’s where this Deliciously Indulgent No-Bake Oreo Cheesecake Recipe comes in, ready to become the star of your dessert table! Imagine the smiles on your loved ones’ faces as they savor each creamy bite of this delightful cheesecake, making ordinary occasions feel extraordinary.
Connecting over food has a magical way of bringing people together, creating memories that last a lifetime. With a recipe like this, you can easily whip up a dessert that doesn’t require hours in the kitchen yet tastes like a labor of love. For busy moms and professionals, this no-bake masterpiece is a dream come true. Enjoy sharing it with your family or saving a slice just for yourself—it’s perfectly okay to indulge once in a while!
Why we love this recipe
No-Bake Oreo Cheesecake
Easy preparation: The No-Bake Oreo Cheesecake comes together without the need for baking, making it a hassle-free choice for any occasion. No fancy equipment needed: Just a mixer and a pan will get you on the path to creating this dreamy dessert. Irresistibly smooth texture: The filling is so creamy that it melts in your mouth, providing a blissful experience with every bite. Perfect make-ahead option: This cheesecake can be made a day in advance, so you can spend more time enjoying your event and less time stressing in the kitchen.
Step-by-Step Cooking Instructions
Now that you’ve got all the ingredients and tools ready, it’s time to turn simple components into a delightful No-Bake Oreo Cheesecake. Follow these steps to create a creamy and luscious dessert that will impress friends and family alike. Each step is designed to guide you smoothly through the process, ensuring that your cheesecake emerges as a perfect centerpiece for any celebration.
Step 1: Prepare the Pan
Begin by gathering a 9-inch springform pan. This special pan allows for easy removal of your cheesecake, ensuring it keeps its beautiful shape. Lightly grease the sides with a little cooking spray or butter to prevent any sticking. A well-prepared pan sets the stage for a flawless presentation!
Step 2: Make the Oreo Crust
Now it’s time to get serious with those Oreos! Take about 24 Oreos and crush them into fine crumbs. You can place them in a food processor for a quick blitz, or simply put them in a zip-top bag and crush them with a rolling pin—a fun way to release any stress! Combine the crumbs with melted butter and mix until nicely combined. This blend will give your crust a rich, chocolaty flavor. Press the mixture firmly into the bottom of the springform pan, making sure it’s even. This crunch will be a delicious base for your creamy filling!
Step 3: Make the Cheesecake Filling
In a mixing bowl, whip the cream cheese until it’s light and fluffy. Then add sugar, vanilla extract, and heavy whipping cream. Mix thoroughly until the mixture is smooth and creamy. This is where the excitement builds—your cheesecake filling is coming together!
Step 4: Fold in the Oreos
Chop some additional Oreos into chunky pieces and gently fold them into the cheesecake filling. This adds delightful pieces of cookie that will enhance every bite of your No-Bake Oreo Cheesecake. The cookies shouldn’t be completely broken down; you want to enjoy those unexpected crunches throughout your glamorous dessert.
Step 5: Combine and Chill
Once your filling is ready, spread it evenly over the prepared crust, smoothing the top with a spatula. You want it to look as appetizing as it tastes! Cover the cheesecake with plastic wrap and pop it into the refrigerator. Allow it to chill for at least 4 hours or overnight for best results. Patience is key—this is when the flavors meld beautifully and the cheesecake firms up.
Step 6: Serve and Enjoy!
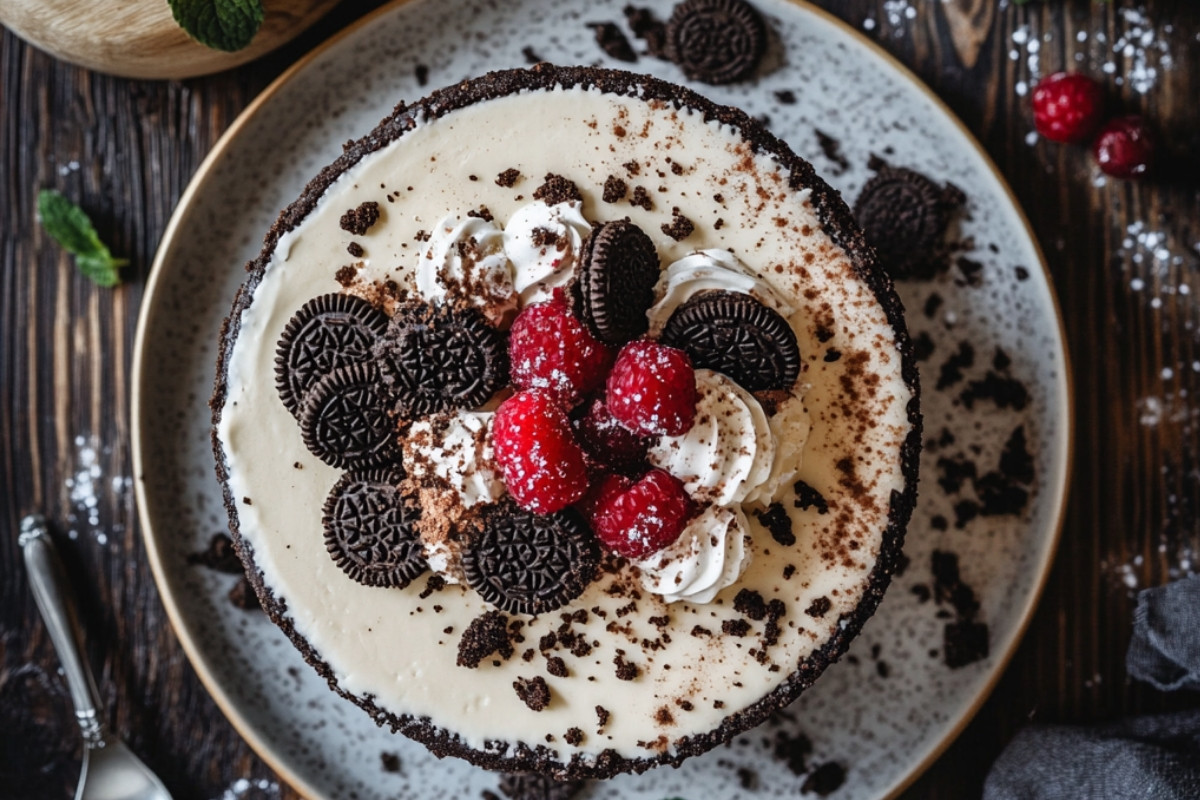
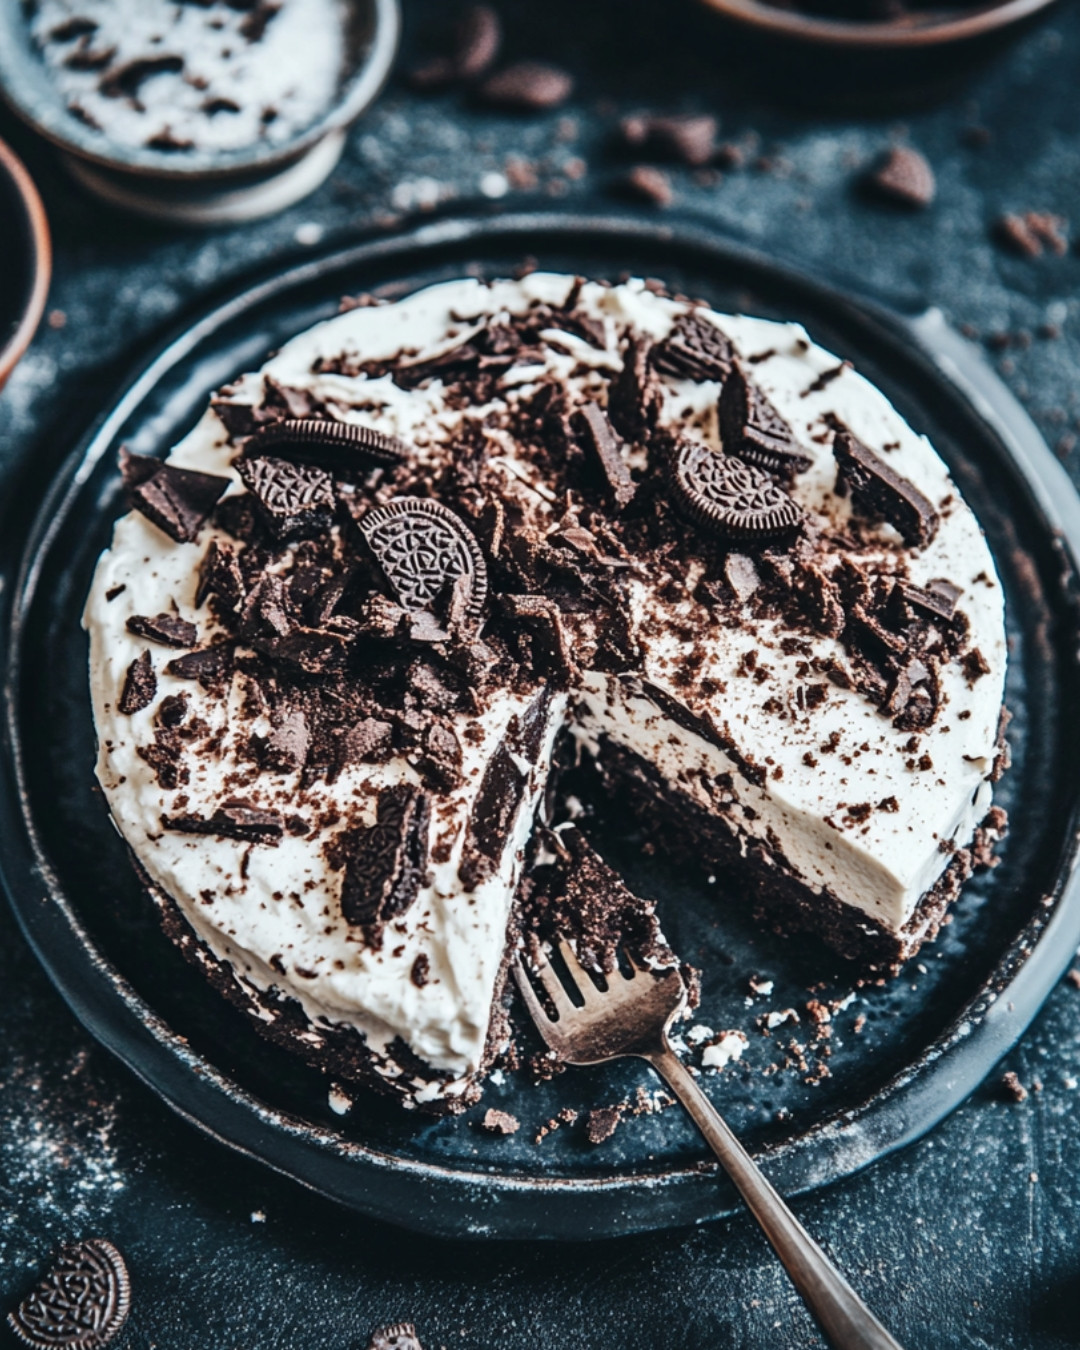
When ready to serve, carefully remove the sides of the springform pan. Get creative with your decoration! You can top it off with whipped cream, extra oreo pieces, and perhaps a drizzle of chocolate sauce. Slice and indulge in your gorgeous No-Bake Oreo Cheesecake. The creamy texture paired with crunchy Oreo bits will be a hit!
Detailed Directions and Instructions
Step 7: Gather Equipment and Ingredients
Before diving into the making of your cheesecake, ensure you have gathered all necessary ingredients: cream cheese, sugar, heavy cream, Oreos, and butter. Additionally, have your mixing bowls, a spatula, and a hand mixer ready. This preparation will streamline your cooking process.
Step 8: Butter the Springform Pan
Grease the sides of the springform pan with butter or cooking spray to ensure a smooth release once your cheesecake is set. This small but crucial step prevents any sticky situations come serving time.
Step 9: Whip the Cream
In a separate bowl, whip the heavy cream until stiff peaks form. Ensure this mixture is thick enough to hold its shape when folded into the cream cheese—this adds to the overall lusciousness of your cheesecake!
Step 10: Mixing It All Together
Combine the whipped cream with the cream cheese mixture, folding gently to maintain the airy texture of the cream. This step is essential as it creates the light, fluffy texture characteristic of a well-made cheesecake.
Notes
Note 1: Storage Tips
Your cheesecake can be stored in the refrigerator for up to 5 days. Just make sure to cover it well to maintain its freshness.
Note 2: Chocolate Drizzle
For an extra touch, consider melting some chocolate and drizzling it over the top before serving. It adds a decadent layer that pairs beautifully with the creamy cheesecake.
Note 3: Oreo Variations
Feel free to experiment with different flavors of Oreos! Think about using mint or peanut butter varieties for a unique twist on the classic No-Bake Oreo Cheesecake.
Celebrate Life’s Little Moments
This No-Bake Oreo Cheesecake isn’t just a recipe; it’s a celebration of life’s delightful moments. It’s perfect for birthdays, anniversaries, or even a simple weeknight treat. Each slice is infused with joy, making it an excellent addition to any gathering.
Make It Your Own!
Personalize your cheesecake with toppings! From fresh fruit to custom whipped cream patterns, let your creativity shine. Each time you make it, introduce a new ingredient or decoration to keep the excitement alive and your guests guessing.
Why Waiting is Worth It
The chilling time might feel long, but remember: it’s when all the magic happens. The flavors intensify, and the texture becomes perfectly set. Don’t rush it; savor the anticipation as it transforms into a creamy masterpiece.
Common Mistakes to Avoid
While making your No-Bake Oreo Cheesecake, keep an eye out for a few common pitfalls. First, ensure your cream cheese is softened to room temperature to achieve a smooth filling. Next, don’t skip the chilling time—this is crucial for the cheesecake to set correctly. Lastly, avoid overmixing the whipped cream, which can deflate the airy texture you’re aiming for. Following these tips will leave you with a flawless cheesecake every time!
Key ingredients
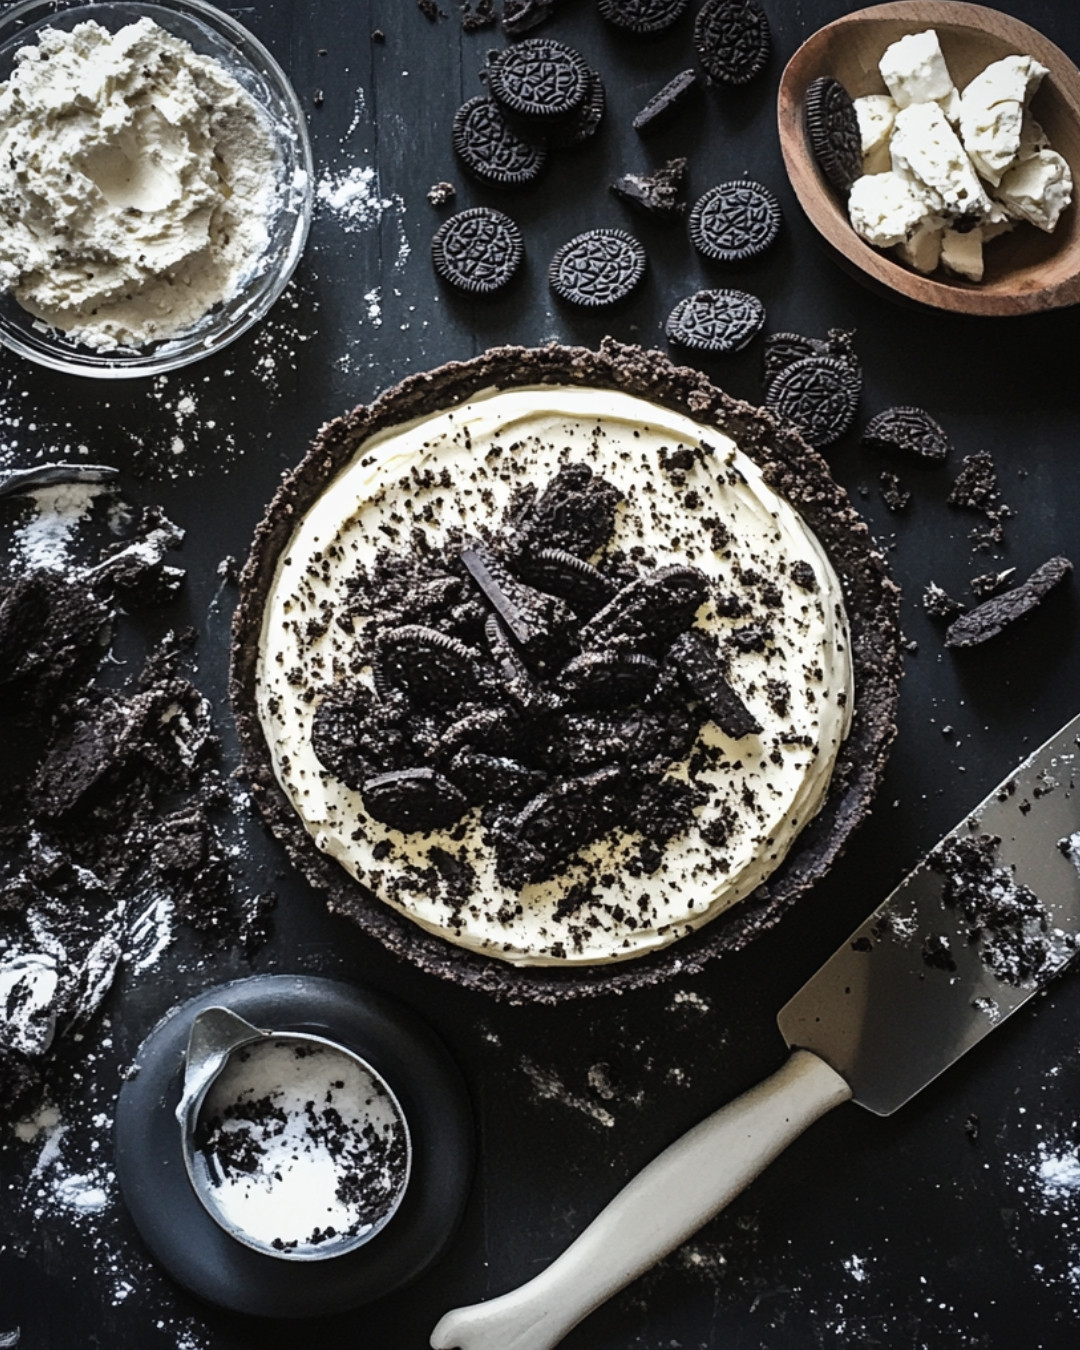
- OREOS. You will need 24 Oreos for the crust and additional Oreos for the filling.
- BUTTER. Melted butter is used to hold the crust together.
- CREAM CHEESE. Softened cream cheese gives the cheesecake its rich and creamy texture.
- SUGAR. Granulated sugar sweetens the cheesecake.
- HEAVY CREAM. Whipped heavy cream is folded into the cheesecake mixture for extra fluffiness.
- VANILLA EXTRACT. This adds flavor to the cheesecake mixture.
- OREO CRUMBLES. Crushed Oreos are mixed into the cheesecake filling for added flavor and texture.
Preparation Time
- Prep Time: 30 minutes
- Cook Time: 0 minutes
- Total Time: 30 minutes
- Yield: 12 servings
Cook techniques
Crushing the Oreos
To create a delicious crust for your No-Bake Oreo Cheesecake, crush the Oreo cookies finely. You can use a food processor or place them in a sealed bag and crush them with a rolling pin. This ensures an even, crumbly texture that will hold well when pressed into the bottom of your cheesecake pan.
Mixing the Cream Cheese
Make sure your cream cheese is at room temperature before mixing. This helps to blend it smoothly with the sugar and vanilla. Whipping it well will create a creamy consistency, ensuring every bite of your No-Bake Oreo Cheesecake is rich and smooth.
Incorporating Whipped Cream
Gently fold the whipped cream into the cream cheese mixture. Be careful not to deflate the whipped cream, as its lightness gives the cheesecake a fluffy texture. This method adds airiness to your No-Bake Oreo Cheesecake, making it delightfully light.
Serving and Presentation Ideas:
For an eye-catching presentation, slice your No-Bake Oreo Cheesecake into generous pieces and top each slice with additional whipped cream and a sprinkle of crushed Oreos. Consider serving it with a scoop of vanilla ice cream alongside fresh berries for a lovely contrast. A drizzle of chocolate syrup can also enhance the visual appeal and flavor.
People Also Ask :
How long should I chill my No-Bake Oreo Cheesecake?
Allow your cheesecake to chill for at least 4 hours, preferably overnight. This helps it set properly and enhances its flavor.
Can I make the No-Bake Oreo Cheesecake in advance?
Yes! You can prepare your No-Bake Oreo Cheesecake one or two days ahead of time. Just keep it covered in the refrigerator until you are ready to serve.
What can I use instead of Oreos for the crust?
You can substitute Oreos with any chocolate cookie or even graham crackers for a different flavor. Just make sure to adjust the amount of sugar based on the sweetness of the alternative.
FAQ
Can I use a different type of cracker?
Yes, while Oreos are classic, alternatives like chocolate wafers or even graham crackers can work. Keep in mind that this may slightly alter the flavor of your No-Bake Oreo Cheesecake.
What type of cream cheese should I use for the No-Bake Oreo Cheesecake?
For best results, use full-fat cream cheese. This will provide a richer flavor and creamier texture in your No-Bake Oreo Cheesecake.
How do I store leftovers of the No-Bake Oreo Cheesecake?
Store leftovers in an airtight container in the refrigerator. They should last for up to 5 days, allowing you to enjoy your No-Bake Oreo Cheesecake for a longer time.
Conclusion
Creating a No-Bake Oreo Cheesecake is not only simple but also an incredibly rewarding experience. This dessert embodies the joy of indulgence without the fuss of baking, making it a perfect choice for any gathering. The creamy filling paired with the crunchy crust will surely impress your guests and leave them wanting more. We hope you find great joy in making this delightful dessert. Have you tried any variations or toppings that you loved? We would love to hear your experiences!
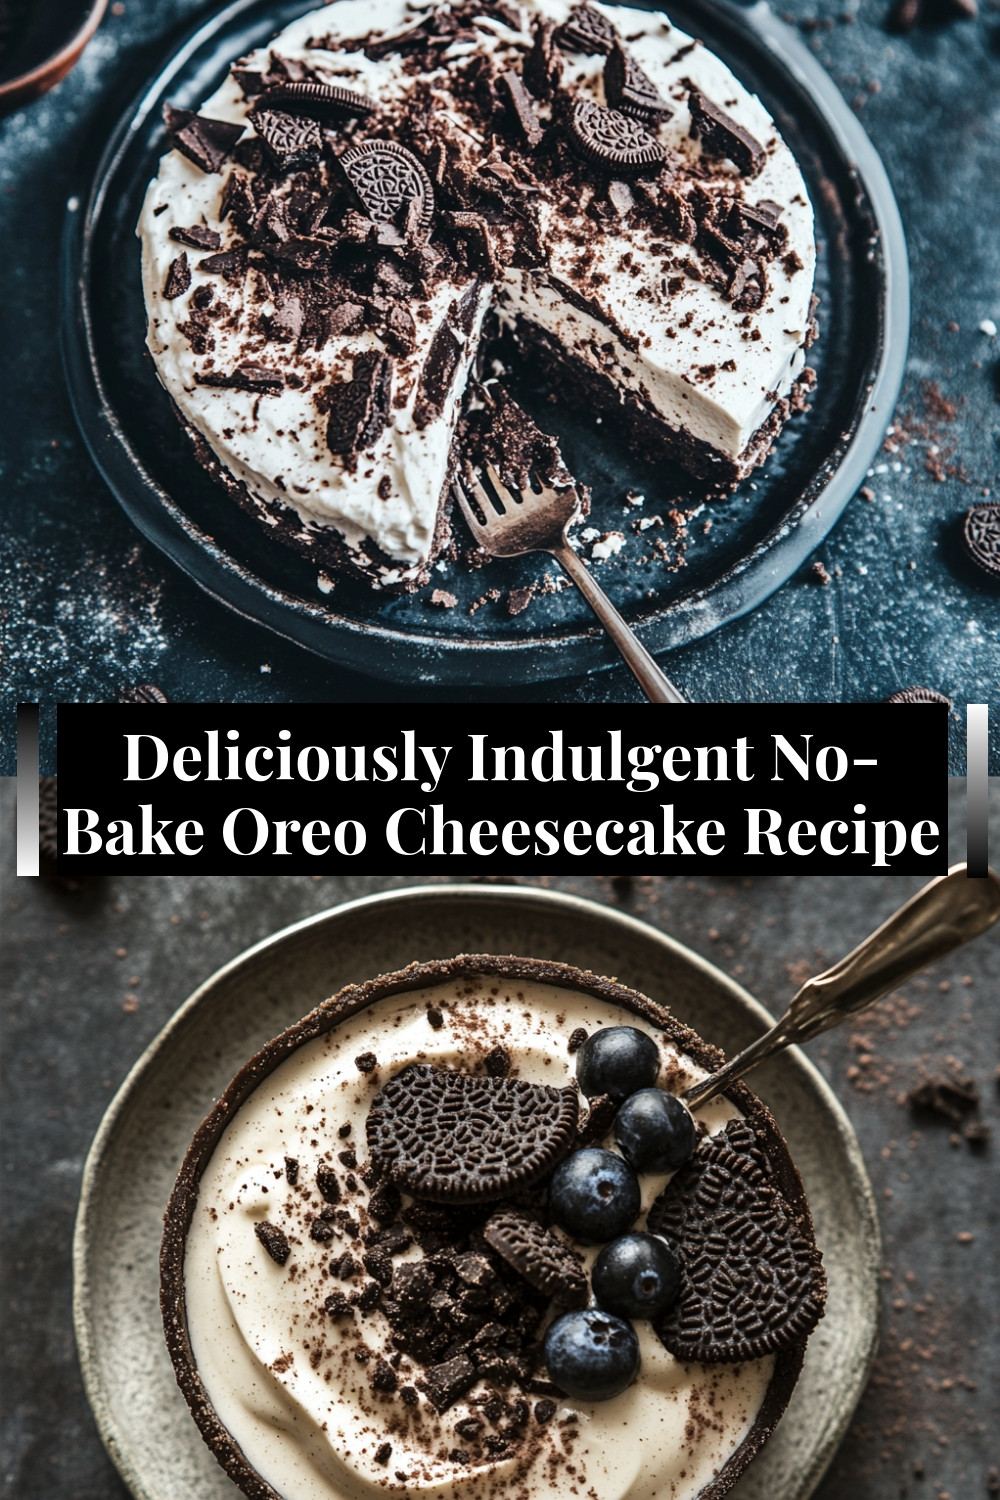
Deliciously Indulgent No-Bake Oreo Cheesecake Recipe
Treat yourself to this no-bake Oreo cheesecake! Creamy, rich, and packed with Oreo flavor. Perfect for any occasion, this easy dessert requires no oven and is ready in no time. Impress your family or guests with this crowd-pleasing recipe that tastes just as good as it looks. Follow these quick steps to create a sweet treat everyone will love. Save this pin for your next dessert craving—it’s a must-try!
- Prep Time: 30 minutes
- Cook Time: 0 minutes
- Total Time: 30 minutes
- Yield: 12 servings
Ingredients
- OREOS. You will need 24 Oreos for the crust and additional Oreos for the filling.
- BUTTER. Melted butter is used to hold the crust together.
- CREAM CHEESE. Softened cream cheese gives the cheesecake its rich and creamy texture.
- SUGAR. Granulated sugar sweetens the cheesecake.
- HEAVY CREAM. Whipped heavy cream is folded into the cheesecake mixture for extra fluffiness.
- VANILLA EXTRACT. This adds flavor to the cheesecake mixture.
- OREO CRUMBLES. Crushed Oreos are mixed into the cheesecake filling for added flavor and texture.
Instructions
Begin by gathering a 9-inch springform pan. This special pan allows for easy removal of your cheesecake, ensuring it keeps its beautiful shape. Lightly grease the sides with a little cooking spray or butter to prevent any sticking. A well-prepared pan sets the stage for a flawless presentation!
Now it’s time to get serious with those Oreos! Take about 24 Oreos and crush them into fine crumbs. You can place them in a food processor for a quick blitz, or simply put them in a zip-top bag and crush them with a rolling pin—a fun way to release any stress! Combine the crumbs with melted butter and mix until nicely combined. This blend will give your crust a rich, chocolaty flavor. Press the mixture firmly into the bottom of the springform pan, making sure it’s even. This crunch will be a delicious base for your creamy filling!
In a mixing bowl, whip the cream cheese until it’s light and fluffy. Then add sugar, vanilla extract, and heavy whipping cream. Mix thoroughly until the mixture is smooth and creamy. This is where the excitement builds—your cheesecake filling is coming together!
Chop some additional Oreos into chunky pieces and gently fold them into the cheesecake filling. This adds delightful pieces of cookie that will enhance every bite of your No-Bake Oreo Cheesecake. The cookies shouldn’t be completely broken down; you want to enjoy those unexpected crunches throughout your glamorous dessert.
Once your filling is ready, spread it evenly over the prepared crust, smoothing the top with a spatula. You want it to look as appetizing as it tastes! Cover the cheesecake with plastic wrap and pop it into the refrigerator. Allow it to chill for at least 4 hours or overnight for best results. Patience is key—this is when the flavors meld beautifully and the cheesecake firms up
When ready to serve, carefully remove the sides of the springform pan. Get creative with your decoration! You can top it off with whipped cream, extra oreo pieces, and perhaps a drizzle of chocolate sauce. Slice and indulge in your gorgeous No-Bake Oreo Cheesecake. The creamy texture paired with crunchy Oreo bits will be a hit!
Notes
Note 1: Storage Tips
Your cheesecake can be stored in the refrigerator for up to 5 days. Just make sure to cover it well to maintain its freshness.
Note 2: Chocolate Drizzle
For an extra touch, consider melting some chocolate and drizzling it over the top before serving. It adds a decadent layer that pairs beautifully with the creamy cheesecake.
Note 3: Oreo Variations
Feel free to experiment with different flavors of Oreos! Think about using mint or peanut butter varieties for a unique twist on the classic No-Bake Oreo Cheesecake.
