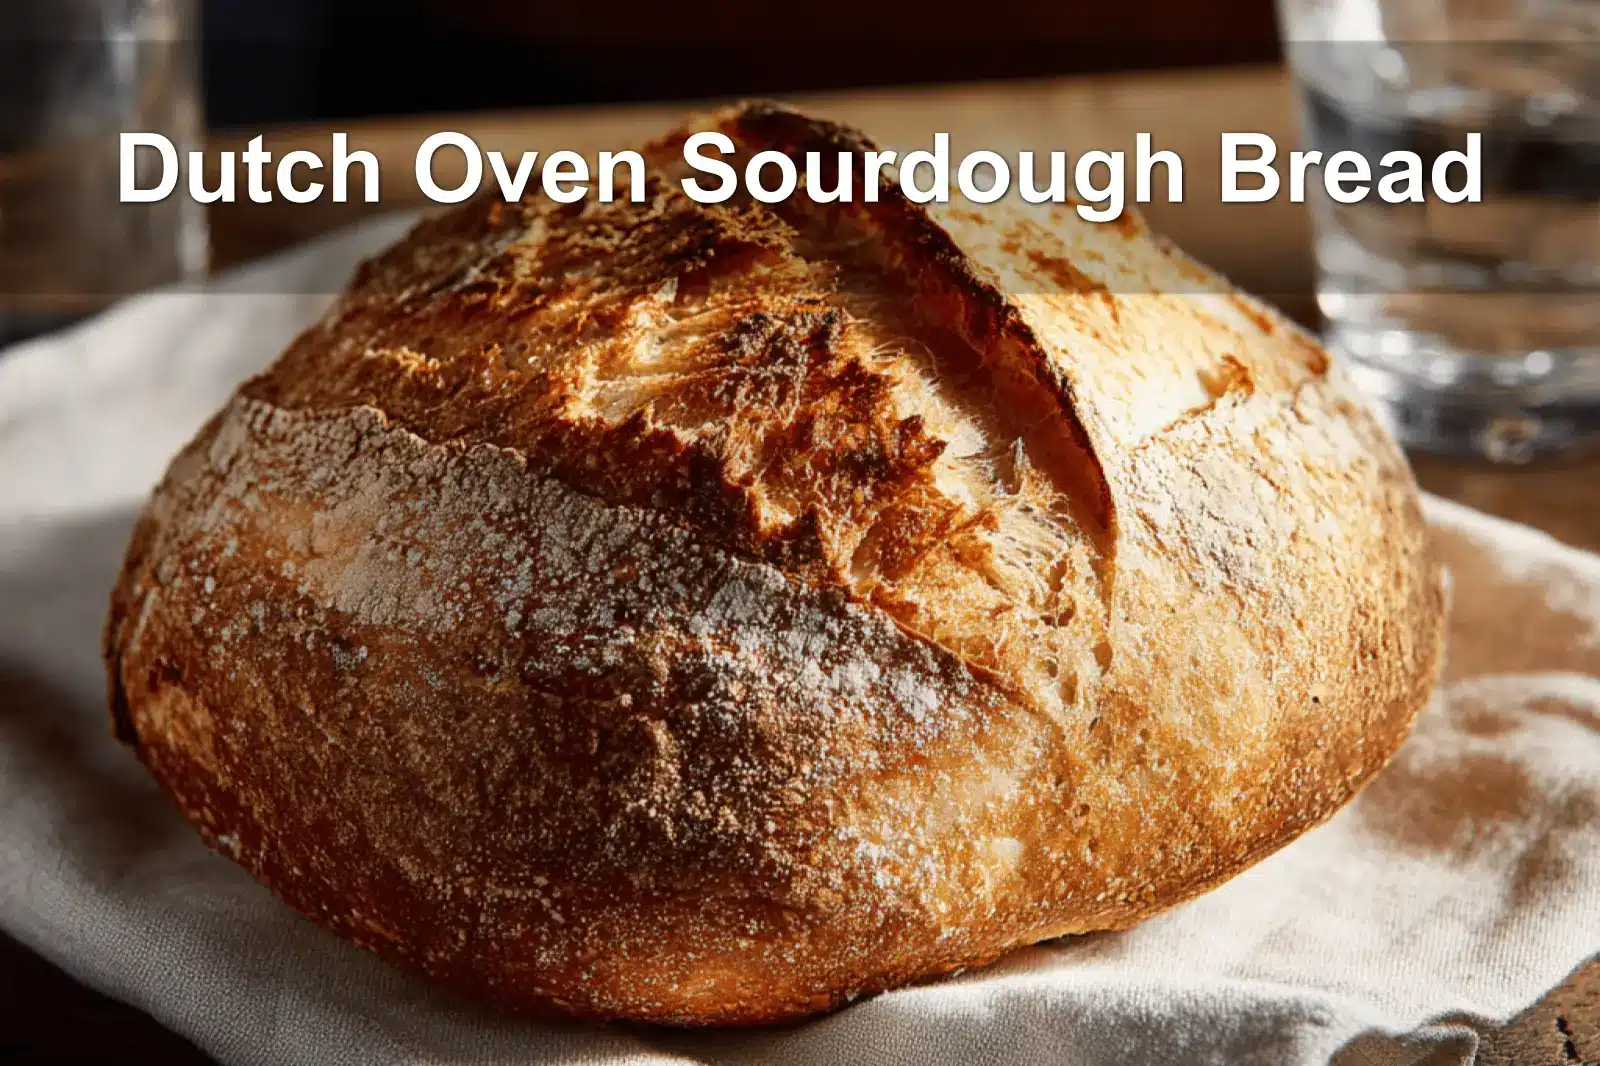
Ever notice how a crackly crust can stop you in your tracks? That’s Dutch Oven Sourdough Bread magic. It’s been blowing up on Pinterest and TikTok, and yep—I had to try it. Golden shell, soft chewy inside, smells like a bakery met your grandma’s kitchen. No stand mixer, just some time, love, and a little steam. Beginner-friendly, with weekend vibes.
It’s a homemade, crusty-on-the-outside, tender-in-the-middle kind of cozy dish. Just flour, water, salt—and a little patience. All pantry stuff. Kinda like mom’s old recipe but with that rustic, artisan vibe. Full details in the blog!
We started baking like this on quiet Saturdays, me and my girls, covered in flour and giggles. Took a few flops, and a smoky oven or two, but this version sticks. No fuss, no machines. Just your hands and one crispy little secret I had to test twice.
Why You’ll Love This Recipe
There’s just something magical about a Dutch oven sourdough bread. That golden, crackly crust makes you feel like you’ve snuck a loaf out of a fancy bakery—and the tender crumb inside? It’s pure comfort. Baking this way fills your kitchen with a warm, nostalgic aroma that feels like a hug, especially on slow weekends.
When I started baking sourdough with my daughters, there were a few flops—okay, more than a few—but that’s the charm! It became less about perfection and more about the smell of dough rising, flour-dusted laughter, and scoring funny designs into the tops of our loaves. Trust me: no matter how messy, this recipe will win your heart.
Key Ingredients That Matter

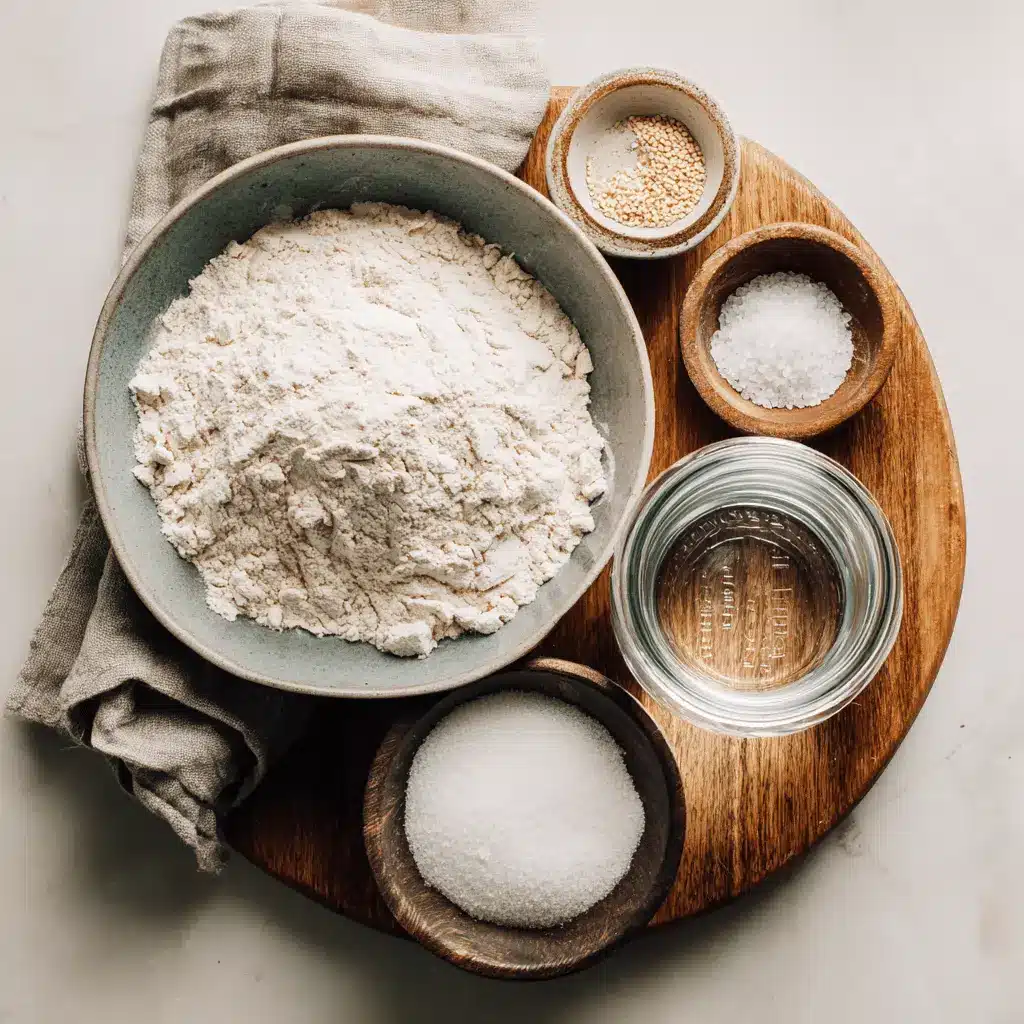
This recipe uses just four simple ingredients, but each one plays a big role. First: organic bread flour. Unlike all-purpose flour, it’s higher in protein, so it gives your bread better structure and that airy texture. Then there’s the sourdough starter—the true hero—which needs to be bubbly and active to provide rise and tangy flavor. If it smells sweet and slightly sour, it’s ready!
Pro Tip: Don’t skimp on salt. Sea salt not only enhances flavor but also strengthens the dough structure. And water? It’s just water, but you’d be surprised how temperature impacts the process (cooler is better here). Just trust in these pantry staples—you don’t need anything fancy to bake like a pro.
How to Nail the Process, Step by Step
It all starts with patience. Feed your starter the night before, so it’s lively by morning. Mixing the dough feels sticky at first, but don’t worry. Wet your hands and countertop—it makes handling the dough so much easier (and saves you scrubbing later!).
Stretch and folds are the trickiest part but also the key. Picture folding a blanket: pull one side, fold it over, and repeat. It strengthens gluten without over-working. After a few stretches and plenty of rest, the dough transforms into a soft, pillowy ball. My early mistake? Over-proofing. If the dough feels too “loose” or sticky after resting, it’s probably time to bake.
Pro Tip: When scoring, don’t skimp on depth! A sharp, confident cut helps direct the rise and makes for that picture-perfect crust.
Overcoming Common Challenges
Let’s talk dough struggles. If your dough feels too wet, add just a sprinkle of flour—but don’t overdo it! Sourdough thrives on a slightly sticky texture. And cracks during baking? That’s usually from under-proofing—try giving the dough a bit more time before baking.
The crust burning? I’ve been there! Covering your bread with the Dutch oven lid creates steam—nature’s way of ensuring a perfectly crusty loaf. Just be sure to remove the lid for the last half of baking to get that golden, crackly finish. Early baking hiccup? Burnt edges taught me to double-check my oven temp with a thermometer. Lifesaver.
Ways to Elevate or Customize It
Once you get the hang of the basic loaf, the possibilities are endless. My family’s current favorite is adding roasted garlic or a sprinkle of rosemary in the dough—instant flavor boost! For more crunch, try topping with sesame seeds or poppy seeds before baking. They toast beautifully in the oven.
Pro Tip: Swap some bread flour with whole wheat for an earthier flavor and darker crust. My girls call this our “farmhouse loaf,” and it pairs perfectly with a smear of butter or hearty stew. Customize it to your taste—you can’t go wrong!
Key Sourdough Timing Chart
| Stage | Time Needed | Notes |
|---|---|---|
| Feeding Starter | 6–8 hours | Start the night before for bubbly success. |
| Mixing Dough | 20 minutes | Sticky hands? Wet them! |
| Stretch & Fold #1–3 | 30 minutes to 2 hours between each | Time depends on room temperature. |
| Proofing | Overnight (8–12 hours) | Slow, cold proofing builds flavor. |
| Baking | 50–60 minutes | Lid on first, then off for golden crust. |
Expert Insight: Mastering Dutch Oven Sourdough Bread
Baking sourdough bread in a Dutch oven is a game-changer for achieving a perfectly crisp crust and moist crumb. The enclosed environment traps steam, which promotes oven spring and develops the characteristic chewy texture synonymous with artisanal sourdough. This method is a reliable way to elevate homemade bread without specialized equipment.
For more delicious recipes and cooking inspiration, follow me on Facebook, Pinterest and Reddit!
My Long-Held Love for Dutch Oven Sourdough Bread Recipe
After countless attempts—some with dough sticking stubbornly to my counter and others with crusts too thick—I finally perfected this Dutch oven sourdough bread recipe. Each trial deepened my appreciation for patience and texture, making the warm, crackling loaf that comes out today a true labor of love shaped by time and practice.
FAQs ( Dutch Oven Sourdough Bread Recipe (Master Recipe) )
What is Dutch Oven Sourdough Bread?
Dutch Oven Sourdough Bread is a rustic, crusty loaf baked inside a heavy, covered pot that traps steam, giving the bread its signature crispy crust and chewy interior. This master recipe uses natural sourdough starter instead of commercial yeast, resulting in a tangy flavor and improved digestibility. The Dutch oven method closely mimics professional steam ovens but is easy to do at home in the USA.
How do I make a sourdough starter for this recipe?
To make your own sourdough starter, mix equal parts whole wheat or rye flour and water, then let it sit at room temperature. Feed it daily by discarding half and replenishing with fresh flour and water until it becomes bubbly and active, usually within 5-7 days. This starter is the heart of your Dutch Oven Sourdough Bread and will give it that authentic tangy flavor.
Can I use any flour for Dutch Oven Sourdough Bread?
While you can experiment, bread flour with a higher protein content is best for this recipe because it helps develop gluten for great structure and chewiness. You can substitute part of the bread flour with whole wheat or rye for added flavor and nutrition, just keep hydration adjustments in mind. Using quality US-sourced flours makes a noticeable difference in your final loaf.
How long does it take to make Dutch Oven Sourdough Bread?
From start to finish, expect around 24 hours to make the bread, mostly resting and proofing time. Active hands-on time is about 30 to 45 minutes for mixing, shaping, and scoring. The long fermentation is what develops that amazing sourdough flavor and perfect crust, so patience definitely pays off!
How do I get a crispy crust when baking at home?
Using a Dutch oven is key for a crispy crust because it traps steam during the initial baking phase, which helps the crust expand before hardening. Make sure your oven and Dutch oven are preheated thoroughly. Scoring the dough allows controlled expansion, and baking with the lid on for the first 20-30 minutes, then uncovered to finish, creates that golden, crackly crust loved in sourdough lovers’ kitchens across the USA.
Final Thoughts on Your Dutch Oven Sourdough Bread
Making Dutch Oven Sourdough Bread at home is easier than it looks, and the results? A golden crust with that soft, tangy crumb you’ll crave. With just a bit of patience and love, your kitchen fills with warmth—and that proud “I made this” feeling. Trust me, you’ll wanna bake this again and again.
Feeling adventurous? Try stirring in roasted garlic or swapping half the flour for whole wheat to mix up the flavor. Store leftovers wrapped in a tea towel for a day or two—perfect for morning toast or lunch sandwiches. A little tip I picked up: don’t rush the proofing; good things take time in the kitchen.
Now, I’d love to see your loaves and hear your favorite tweaks! Did this remind you of any family baking traditions? Share the love by passing along this recipe or baking a loaf for someone special. After all, food tastes best when it connects us.
PrintDutch Oven Sourdough Bread Recipe for Perfect Crispy Crust
This Dutch oven sourdough bread recipe is perfect for beginners. Learn how to make a classic sourdough boule with a crispy crust using a simple master recipe.
- Prep Time: 20 minutes
- Cook Time: 1 hour
- Total Time: 16 hours 20 minutes
- Yield: 1 loaf 1x
- Category: Bread
- Method: Baking
- Cuisine: American
- Diet: Vegetarian
Ingredients
- 500 Grams Organic Bread Flour
- 300 grams Water
- 100 grams Sourdough Starter
- 10–15 grams Sea Salt
Instructions
- It’s best to start the sourdough process before 9 am so you have enough time. In a large bowl, combine the starter, flour, salt, and water. Knead the ingredients together until a uniform dough ball forms.
- Using a spray bottle filled with water, mist your clean countertop. Wet your hands and wet the top of the dough ball with the spray bottle. Turn the dough out onto the wet counter surface. Scrape out the bowl and rinse the inside of the bowl really well. Leave the bowl wet.
- Stretch and fold the dough by stretching the top of the dough over the bottom, side over side, and bottom over top. Place the dough back in the bowl with the seam side down. Let the dough rest for 30 minutes.
- Repeat the stretch and fold process three more times, each followed by letting the dough rest for 2 hours.
- Clean and dry the working counter surface. Sprinkle some flour on the counter and coat your hands with flour. Gently flip the dough onto the floured surface seam side up.
- Pre-shape the dough by gently stretching and folding side over side and top over bottom. Flip the dough seam side down and tuck under any parts to form a round shape. Cover and let rest for 1 hour.
- Sprinkle more flour on the dough and counter. Flip the dough seam side up, stretch and fold again, then flip seam side down and tuck under to form a circular loaf.
- Coat a proofing basket with flour and optional toppings. Flour your hands, pick up and flip the dough into the basket seam side up. Cover and refrigerate overnight for 8-12 hours.
- Preheat the Dutch oven with the lid inside the oven at 450°F.
- Remove the Dutch oven carefully, place lid aside, turn dough onto parchment paper seam side down. Score the dough with a sharp knife or scoring tool.
- Transfer the dough with parchment paper into the Dutch oven. Cover and bake at 450°F for 30 minutes.
- Remove the lid and bake for another 20-30 minutes until golden brown.
- Remove the loaf and cool for at least 1 hour before slicing.
Notes
- The time between stretch and folds depends on your kitchen temperature
- above 75°F you can reduce rest time to one hour
- Use a bread proofer or heating pad to speed proofing
- Use coarse flours like rye, masa, or rice flour for proofing baskets
- Oven temperatures vary
- check loaf color when baking with lid off
Nutrition
- Serving Size: 1 slice
- Calories: 230 kcal
- Sugar: 0.2g
- Sodium: 450mg
- Fat: 1.5g
- Saturated Fat: 0.3g
- Unsaturated Fat: 0.7g
- Trans Fat: 0g
- Carbohydrates: 48g
- Fiber: 3g
- Protein: 7g
- Cholesterol: 0mg


1 thought on “Dutch Oven Sourdough Bread Recipe for Perfect Crispy Crust”