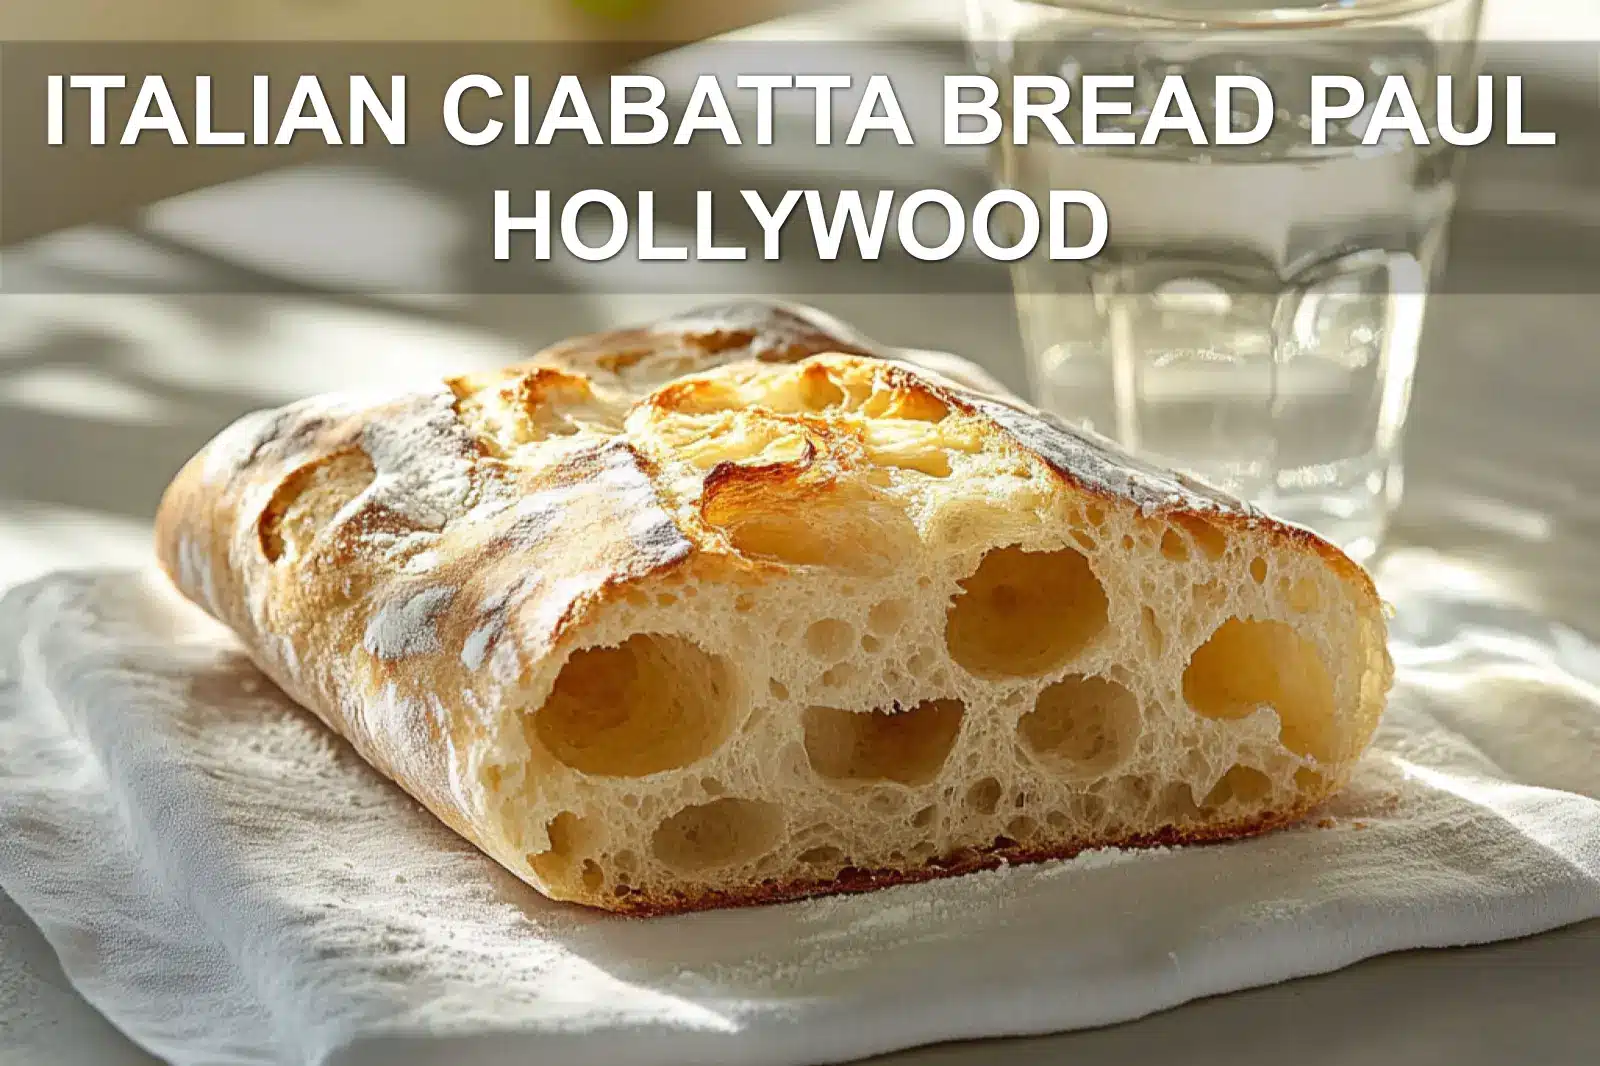
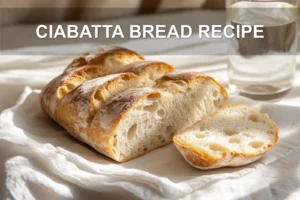
There’s something magical about the smell of fresh bread filling your kitchen – that warm, yeasty aroma that makes everything feel like home. This Italian Ciabatta Bread Paul Hollywood recipe has been captivating bakers everywhere, and honestly? I get it. The rustic, dimpled crust and those gorgeous air pockets inside make it look way fancier than it actually is to make.
This is ciabatta at its most beautiful – chewy, crusty, with that signature open crumb that’s perfect for sopping up olive oil or building the dreamiest sandwiches. You’ll need just bread flour, water, yeast, salt, and a little patience for those slow rises that create all that flavor. Think of it as the laid-back cousin of a French baguette – easier to shape, more forgiving, but just as impressive. The full recipe instructions are detailed below to ensure success.
I’ve been tweaking bread recipes for years, always chasing that perfect balance between crispy crust and tender inside. After testing this one about six times (my family wasn’t complaining), I found the secret to getting those beautiful irregular holes every time: a very wet dough and minimal handling. Trust me, once you nail this technique, you’ll never buy store-bought ciabatta again.
Why You’ll Fall in Love with This Italian Ciabatta Bread Paul Hollywood Style
This isn’t just bread – it’s a project that transforms your kitchen into a mini Italian bakery. The beauty of Paul Hollywood’s approach lies in how he simplifies what seems intimidating. You’re working with a sticky, high-hydration dough that magically becomes those gorgeous, rustic loaves with their signature open crumb and crispy crust.
What makes this recipe so forgiving is that imperfection is actually the goal. Those irregular air pockets and slightly wonky shapes? That’s authentic ciabatta. The dough does most of the work during its long, slow rise, developing complex flavors while you continue your day.
- Minimal hands-on time: Just mix, rest, and shape – ideal for relaxed weekend baking
- Impressive results: Your home will smell like a European bakery
- Versatile outcome: Perfect for sandwiches, bruschetta, or dunking in olive oil
Essential Ingredients and Tools for Success
The ingredient list reads like poetry in its simplicity – strong white bread flour, instant yeast, salt, olive oil, and water. That’s all you need. The magic lies in the technique and timing. This recipe proves that extraordinary bread doesn’t need exotic ingredients, just precision and care.
Your most important tool? A large square plastic container for the initial rise. This isn’t just Paul Hollywood being particular – the square shape encourages the dough to spread evenly and form a consistent structure, which translates into a better loaf shape later on.

| Essential Tools | Why You Need It | Easy Substitute |
|---|---|---|
| Stand mixer with dough hook | Handles wet, sticky dough thoroughly and efficiently | Mix by hand (add 5–10 extra minutes and arm muscle) |
| Large square container | Helps dough maintain shape during rise | Use a rectangular casserole dish or glass baking tray |
| Bench scraper | Makes handling wet dough cleaner and easier | Large flat spatula or lightly floured hands |
| Fine semolina | Reduces sticking and adds a rustic crunch | Flour works well in a pinch |
The Step-by-Step Magic Behind Paul Hollywood Ciabatta
The first time I made this bread, I was surprised by how wet the dough was – almost like a thick pancake batter. But that’s exactly what you want. This high hydration level is what forms the stunning air pockets and gives ciabatta that irresistible chew. Avoid the instinct to add extra flour; embrace the stickiness.
After the dough rises, gently tip it onto a floured surface. Handle it as though you’re cradling something fragile – because you are. All those glorious air bubbles you worked so hard to create? You want to keep them intact. Think focused stretching, not heavy kneading.
- Mixing phase: Start slowly, incorporate water gradually, then mix until smooth and stretchy (5–8 minutes)
- First rise: Let dough double or triple in size – expect 1–3 hours depending on room temp
- Shaping: Dust working surface well, divide dough into four loaves, stretch lightly lengthwise
- Final rest: Leave loaves uncovered for 10 minutes before baking – this promotes crust formation
Timing Your Bake Day Perfectly
Planning a successful bake day is key to quality results. While hands-on time is minimal, you’ll need to be present for some important moments especially during shaping and baking. I recommend beginning in the morning on a weekend when you’re home to check in periodically.
| Stage | Time Needed | What’s Happening | Your Role |
|---|---|---|---|
| Mixing | 10–15 minutes | Develops gluten structure | Mix with patience and gradually add water |
| First Rise | 1–3 hours | Dough aerates and builds flavor | Cover and let sit in warm spot, checking occasionally |
| Shaping & Rest | 15 minutes | Structures loaves and crust | Handle lint-free and gently |
| Baking | 20–25 minutes | Final oven spring and crust formation | Ensure oven is fully preheated to 475°F (245°C) or higher |
Troubleshooting Your Rustic Italian Ciabatta Loaf
Even seasoned bakers sometimes wrestle with ciabatta’s high-hydration dough. If the dough sticks aggressively, don’t panic and add flour that’s a trap! Instead, lightly oil or wet your hands and use floured tools to guide the dough softly.
Temperature is also a deal-breaker. If your environment is too cold, the rise will crawl. Too warm, and fermentation may go wild and compromise flavor. Aim for 75–78°F (24–26°C) for the fermentation sweet spot. If your kitchen runs cooler, placing dough inside the oven (turned off) with the oven light on can help.
- Dense loaves: Caused by over-mixing or over-handling, and often from adding too much flour
- Flat bread: Indicates under-proofing or dough was too cold
- Pale crust: Oven wasn’t hot enough; add steam in first 5 minutes for deep color
- Gummy texture: Bread wasn’t cooled before slicing always cool for at least 30 minutes
Creative Variations and Flavor Twists
While classic ciabatta shines on its own, the base dough adapts beautifully to light additions. My favorites include folding in rosemary with a touch of sea salt or finely chopped olives for a Mediterranean vibe. Tasteful restraint is essential too many mix-ins can weigh down the delicate structure.
| Variation | Addition Amount | When to Add | Flavor Profile |
|---|---|---|---|
| Herb Ciabatta | 2–3 tbsp chopped fresh herbs | In final 2 minutes of mixing | Aromatic and herbaceous |
| Olive Ciabatta | 1/3 cup pitted and chopped olives | Gently fold in after first rise | Salty with Mediterranean flair |
| Whole Wheat Version | Replace 25% of bread flour | From the beginning | Earthy and nutty complexity |
| Seeds & Grains | 2–3 tbsp mix (e.g., sesame, flax) | Sprinkle on top before baking | Crunchy and rustic |
Expert Insight on Italian Ciabatta Bread Paul Hollywood
Paul Hollywood’s approach to Italian ciabatta bread emphasizes the importance of hydrated dough and gentle handling, which creates the signature airy crumb and crisp crust. His method showcases how patience during fermentation enhances both texture and flavor, making this recipe a rewarding challenge for home bakers.
For more delicious recipes and cooking inspiration, follow me on Facebook, Pinterest and Reddit!
Mastering Italian Ciabatta Bread Paul Hollywood Style
Perfecting this Italian Ciabatta Bread Paul Hollywood recipe was a real adventure, with dough that refused to behave and crusts that stubbornly stayed pale. After many sticky hands and plenty of patience, I finally cracked the codethis version captures the crisp crust and airy crumb we all crave, shaped by every lesson along the way.
FAQs ( Italian Ciabatta Bread Paul Hollywood Recipe )

Your New Go-To for Bakery-Quality Bread at Home
This Italian Ciabatta Bread Paul Hollywood recipe delivers everything you want from homemade bread – that satisfying chew, crisp crust, and stunning air pockets that make each slice unique. The wet dough technique may feel tricky at first, but once you understand the texture, it feels intuitive. With only five ingredients and time on your side, the flavor payoff is remarkable.
I’ve had fun experimenting with fresh herb blends in this dough, and my favorite so far is rosemary with flaky sea saltit smells like heaven while baking. For storing your ciabatta, let loaves cool completely, then wrap in clean kitchen towels or place in a paper bag to maintain crust for 2–3 days. For longer storage, slice and freeze in a zip-top bag; just toast straight from frozen when ready.
There’s nothing quite like pulling your own Rustic Italian Ciabatta Loaf from the oven. It fills your kitchen with that unmistakable bakery scent and leaves you with a sense of real accomplishment. I’d love to hear your favorite ways to enjoy itdrizzled with olive oil, piled with Italian meats, or maybe something sweet like fig jam? Give it a try, and this might become your most requested bake yet.
PrintITALIAN CIABATTA BREAD PAUL HOLLYWOOD
This Italian Ciabatta Bread recipe by Paul Hollywood offers a simple and delicious way to bake rustic loaves at home. Perfect for bread lovers, it’s inspired by British Baking Show Recipes and is great for fresh sandwiches or alongside meals. Enjoy the crusty outside and soft interior in every bite.
- Prep Time: 2 hrs
- Cook Time: 25 mins
- Total Time: 2 hrs 25 mins
- Yield: Serves 4 loaves 1x
- Category: Bread
- Method: Baked
- Cuisine: Italian
- Diet: Vegetarian
Ingredients
- 500 g (4 cups) strong white bread flour plus extra for dusting
- 10 g (0.35 oz) fine sea salt
- 10 g (0.35 oz) instant yeast
- 40 ml (1.35 floz) olive oil
- 400 ml (1.69 cups) tepid water
- Fine semolina for dusting optional
Instructions
- Lightly oil a 2-3 litre square plastic container. It’s important to use a square tub here to help shape the dough.
- Tip the flour in the bowl of the mixer and add the salt to one side and the yeast to the other side, so they’re not close. Add the olive oil and ¾ of the water and begin mixing on a slow speed with the dough hook attachment. As the dough starts to come together, slowly add the remaining water. Then mix for a further 5-8 minutes on a medium speed until the dough is smooth and stretchy.
- Tip out the dough into the prepared tub and spread it so it reaches all sides and corners. Cover with a tea towel or reusable plastic wrap and leave somewhere warm until it has doubled or even trebled in size, 1-2 hours or longer.
- Once the dough has doubled or tripled in size, pre-heat your oven to 220C. Line two baking trays with baking parchment or silicone paper. If using baking paper, dust with lots of the strong flour.
- Dust your work surface heavily with more of the flour and add some semolina too, if you have it. Carefully tip out the dough (it’s pretty wet) onto the work surface. There is no need for knocking back, handle the dough gently so you keep as much air in it as possible.
- Coat the top of the dough with more flour and/or semolina. Cut the dough in half length ways and divide each of those in half length ways also. You should now have four long pieces of dough.
- Stretch each piece a bit length ways and place on the prepared baking trays. Leave the dough to rest uncovered for 10 minutes.
- Bake for 25 minutes or until the loaves are golden brown and sound hollow when tapped. Cool on a wire rack. Do try and eat some whilst still warm though.
Notes
- See Tips 1, 2, and 3 in original instructions for best results
- Use a square container to help shape the dough properly
Nutrition
- Serving Size: 1 loaf
- Calories: 552 kcal
- Sugar: 1 g
- Sodium: 978 mg
- Fat: 11 g
- Saturated Fat: 2 g
- Carbohydrates: 96 g
- Fiber: 4 g
- Protein: 14 g

