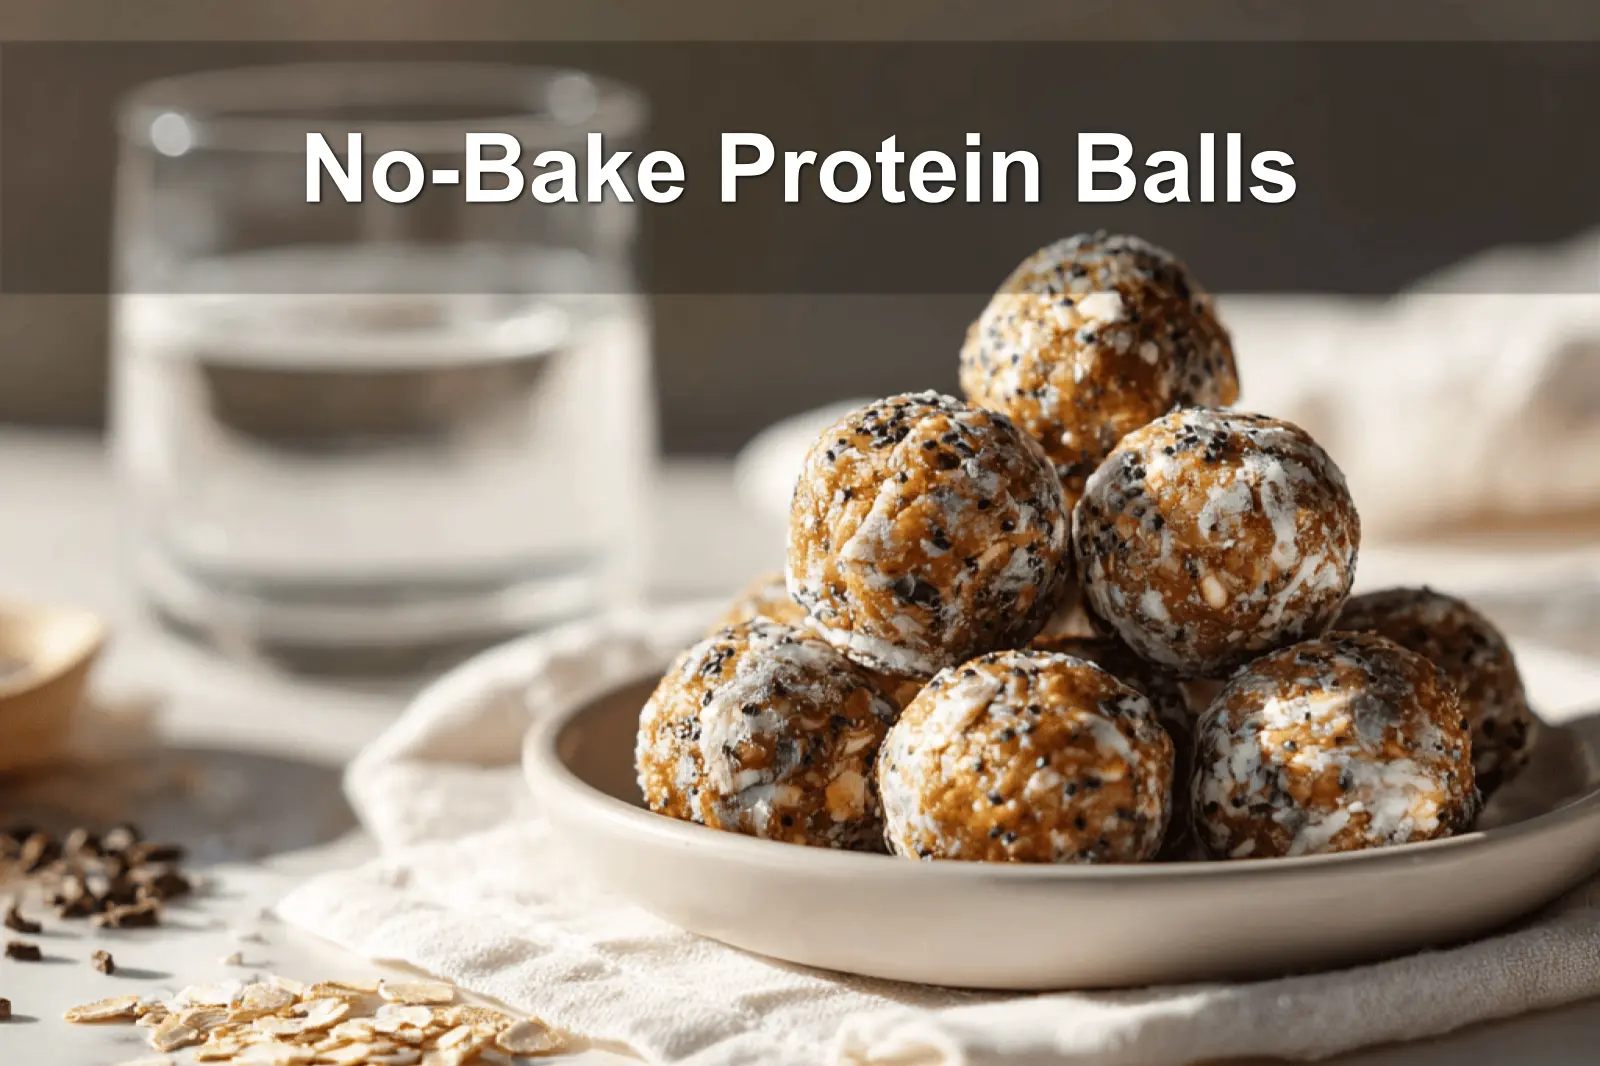
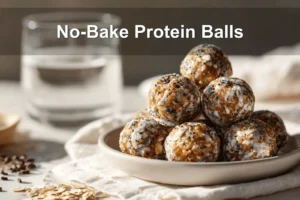
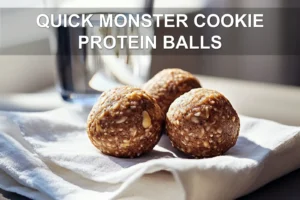
Remember those after-school kitchen raids, grabbing snacks with wild abandon? These no-bake protein balls channel that same grab-and-go joywith a grown-up boost of nutrition. They’re trending for a reason: busy families have found their holy grail in a 10-minute snack that keeps everyone full and energized.
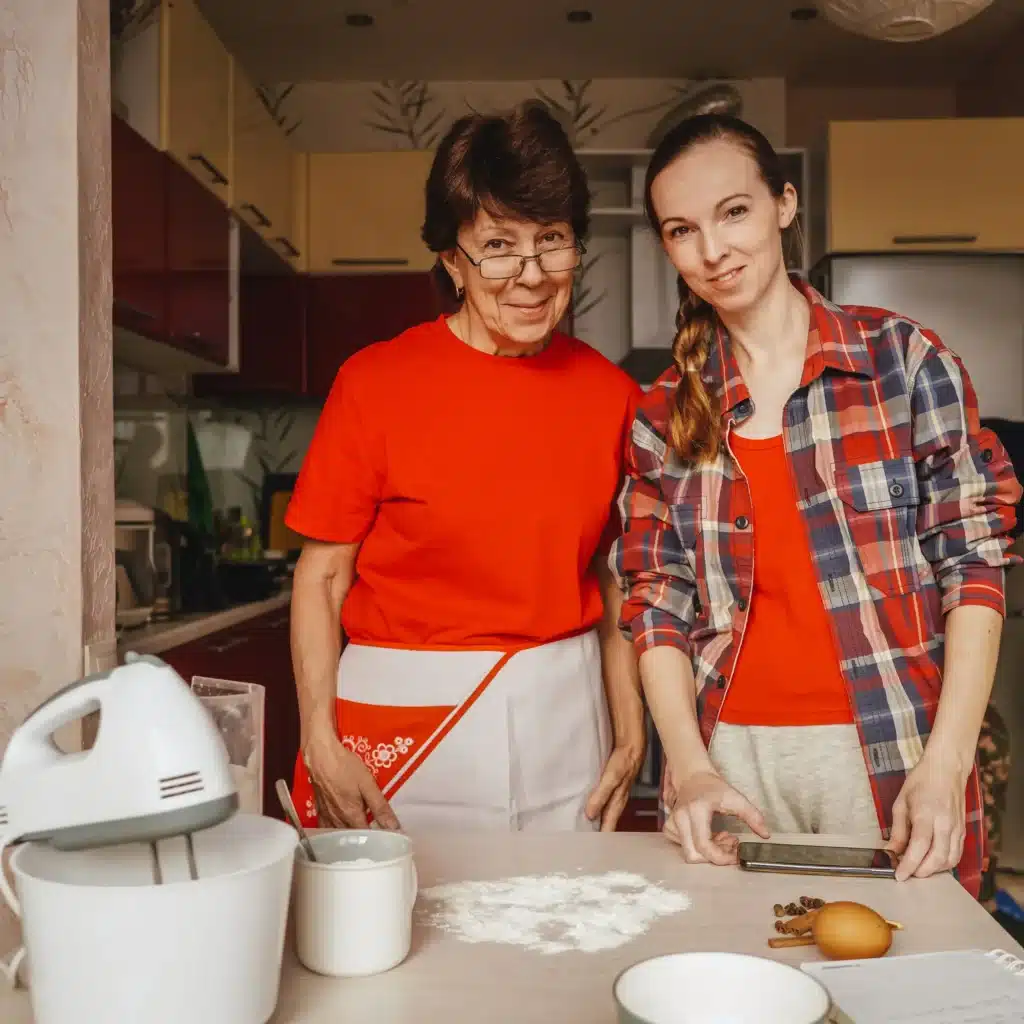
Think of them as the delicious hybrid between cookie dough and an energy bar. Just blend together protein powder, your favorite healthiest nut butter, a drizzle of honey, and pantry staples to create easy, mess-free bites. No baking required. They’re like Grandma’s peanut butter ballsrevamped for modern, on-the-move living.
After several test runs (and taste tests!), I’ve landed on the perfect seasoning mix. My secret twist? A dash of cinnamon and a sprinkle of sea salt to elevate each bite. It’s a subtle upgrade, but it makes a world of difference. Give it a tryyou’ll see how it transforms the flavor.
Why These No-Bake Protein Balls Will Become Your Go-To
It’s rare to find a snack that’s both indulgent and fueling. These no-bake protein balls are the answer to mid-afternoon slumps and post-workout hunger. With natural ingredients and smart macros, they walk the line between craving-worthy treat and functional fuel.
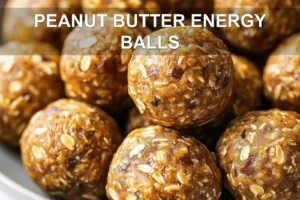
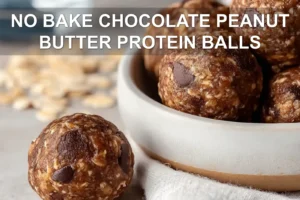
What makes this recipe shine is the harmony of textures and flavors. The rolled oats provide satisfying chew, while the chocolate protein powder adds protein and a cocoa hit without overpowering sweetness. Chia seeds lend pleasant crunch, and those mini chocolate chips? Dessert-worthy perks in every bite.
- No oven necessary: A lifesaver in summer or for quick prep
- Adjustable sweetness: Use honey or maple syrup based on your taste
- Easy to stash: Perfect for lunchboxes, gym bags, or a purse snack
The Key Players in Your Pantry
This recipe keeps things simple with ingredients that likely already live in your pantry. Natural peanut butter acts as the glue and brings depth of flavor, and vanilla protein powder adds a nutritional boost without any synthetic taste.
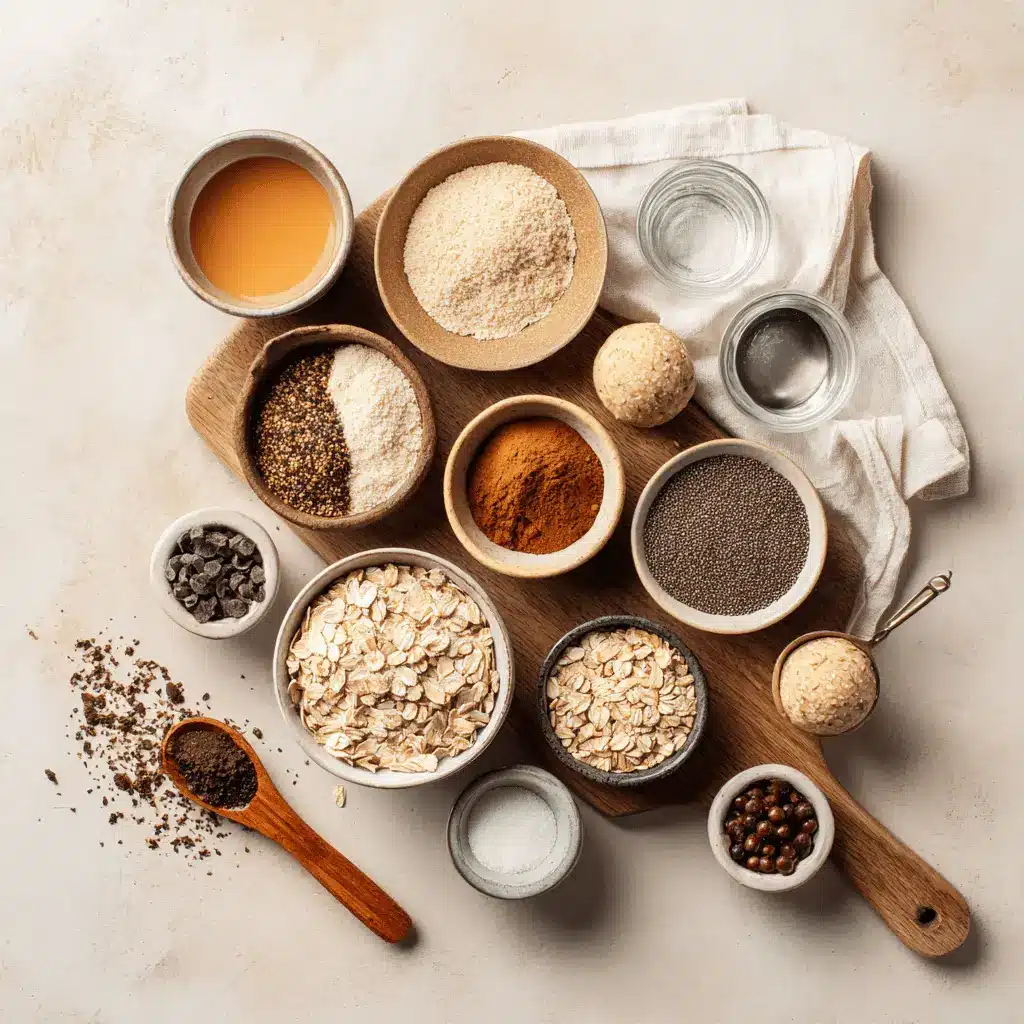
When choosing your healthiest nut butter, aim for brands that use only peanuts (or almonds) and salt. If you see oil on top, don’t be alarmedit’s natural and means additives weren’t used. Stir it well before measuring to evenly distribute that richness.
| Ingredient | Purpose | Texture Contribution |
|---|---|---|
| Rolled Oats | Base structure | Chewy, hearty |
| Peanut Butter | Binding & flavor | Creamy, rich |
| Protein Powder | Nutritional boost | Smooth, filling |
| Chia Seeds | Omega-3s | Light crunch |
| Chocolate Chips | Sweet indulgence | Burst of chocolate |
The Simple Science Behind Perfect Protein Balls
The real magic happens during the mix. Always blend dry ingredients firstespecially the protein powderto prevent clumps. Don’t underestimate the pinch of salt; it sharpens other flavors, especially chocolate.
When incorporating your wet ingredients, the mix may look loose initially. That’s expected. As you stir, the oats absorb moisture, firming everything into rollable dough. If too dry, stir in honey by the teaspoon; avoid overcorrecting with too much liquid at once.
- Pro tip: Roll with damp hands to prevent sticking
- Texture goal: Holds shape when squeezed, not overly sticky
- Consistency tip: Use a tablespoon scoop for size uniformity
Troubleshooting Your Protein Ball Adventures
Even a foolproof recipe has quirks. Common problem? Mixtures that don’t hold form. Temperature matters more than you thinkwarm kitchens make nut butter runnier, affecting consistency.
If your mix won’t cooperate, pop it in the fridge for 15 minutes to help stabilize the texture. If too crumbly, add honey or maple syrup slowly. Never flood the mix all at once; gradual tweaks keep the texture balanced.
| Problem | Quick Fix | Prevention Next Time |
|---|---|---|
| Too sticky to roll | Chill mixture 15 mins | Reduce liquid sweetener |
| Too dry/crumbly | Add honey 1 tsp at a time | Ensure nut butter is mixed and creamy |
| Falls apart after chilling | Re-roll with damp hands | Firmly compact the balls during shaping |
Make Them Your Own
Once you’ve nailed the base mix, feel free to explore. Want a nutty twist? Sub almond extract and top with sliced almonds. Prefer tanginess? Swap the chocolate chips for chopped dried cranberries. The canvas is yours.
Need dietary swaps? No problem. Coconut butter or almond butter trades in seamlessly for peanut butter, and maple syrup adds caramel-like warmth over honey. The flexible protein ball base makes it easy to personalize without failure.
| Original Ingredient | Swap Option 1 | Swap Option 2 |
|---|---|---|
| Peanut Butter | Almond Butter | Sunflower Seed Butter |
| Vanilla Protein Powder | Chocolate Protein Powder | Unflavored Protein Powder |
| Mini Chocolate Chips | Dried Cranberries | Chopped Nuts |
| Chia Seeds | Ground Flaxseed | Hemp Hearts |
Storage and Smart Snacking
Perfect for meal prep, these little bites hold up beautifully. Store them in an airtight container in the refrigerator for up to one week. Want a longer shelf life? Freeze in a single layer, then transfer to a sealed bag; they’ll keep for up to three months.
For on-the-go nourishment, portion into snack bagsthree balls per serving makes a smart, satisfying snack. Enjoy them as part of a balanced breakfast alongside Greek yogurt and berries, or pop them into lunchboxes for midday energy support.
| Storage Method | Duration | Best For |
|---|---|---|
| Refrigerator (airtight) | 1 week | Daily snacking |
| Freezer (single layer) | 3 months | Batch prep or grab-and-go snacks |
Expert Insight: The Appeal of No-Bake Protein Balls
No-bake protein balls preserve nutrients by avoiding heat, making them a nutrient-dense option for all-day energy. With a balanced combo of proteins, healthy fats, and complex carbs, they’re ideal for recovery, sustained energy, and guilt-free snacking. And because the method is so forgiving, flavor and texture are preserved beautifully.
For more delicious recipes and cooking inspiration, follow me on Facebook, Pinterest and Reddit!
Finding the Perfect Balance in No-Bake Protein Balls
This no-bake protein balls recipe is the result of multiple tweaks and trials. From sticky batches to crumbly tests, I stuck with itand landed on a chewy, satisfying combo that my family (and taste buds) love. Using pantry basics and a few bold tweaks, you’ll whip up an irresistible snack that feels homemade because it is.
FAQs ( No-Bake Protein Balls )
Your New Go-To Energy Boost
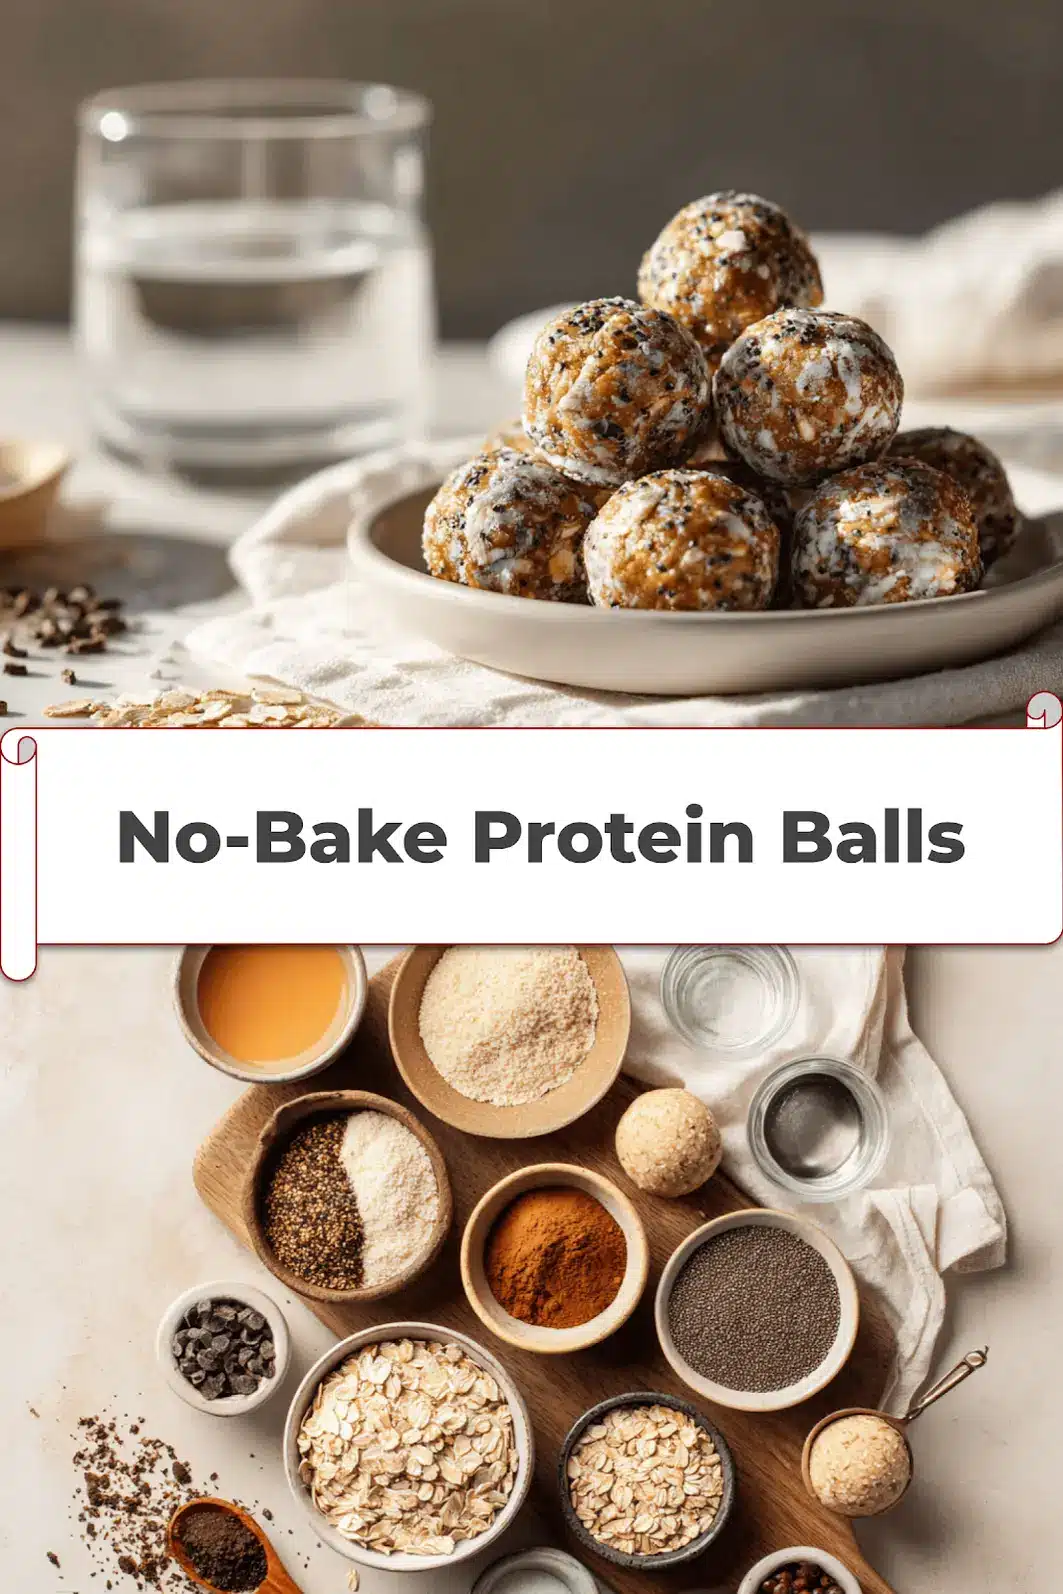
These no-bake protein balls come together in minutes, offering the perfect balance of chew, creaminess, and sweetness. The oats create hearty texture, while the healthiest nut butter adds richnessand of course, the chocolate chips make each bite feel especially rewarding.
Want to get creative? Try adding orange zest instead of vanilla extract for a citrus lift. Roll them in cocoa powder for chocolate-on-chocolate appeal. I like pairing them with berries in snack containersperfect for a healthy snack pack. They also freeze beautifully, so double your batch for later. A pro baker pal taught me to press each ball tightly while shaping to reduce crumblinggreat advice that truly works!
If you make a batch, tag me in your photos or share your favorite flavor combo. Whether these bring back memories or introduce a whole new snack ritual, they’re bound to become a staple in your kitchen too.
PrintNo-Bake Protein Balls
These No-Bake Protein Balls are a quick and healthy snack packed with protein, oats, and nut butter. Perfect for meal prep, post-workout fuel, or a sweet treat on the go.
- Prep Time: 15 minutes
- Cook Time: 0 minutes
- Total Time: 45 minutes
- Yield: 16 balls 1x
- Category: Snack
- Method: No-Bake
- Cuisine: American
- Diet: Vegetarian
Ingredients
- 1 cup rolled oats
- 1/2 cup natural peanut butter
- 1/3 cup honey or maple syrup
- 1/2 cup vanilla protein powder
- 1/4 cup mini chocolate chips
- 2 tablespoons chia seeds
- 1 teaspoon vanilla extract
- Pinch of salt
Instructions
- In a large mixing bowl, combine the rolled oats, protein powder, chia seeds, and salt.
- Add the peanut butter, honey or maple syrup, and vanilla extract to the dry ingredients.
- Mix everything together until a thick, sticky dough forms. If the mixture is too dry, add a little more honey or a splash of milk.
- Fold in the mini chocolate chips until evenly distributed.
- Scoop out tablespoon-sized portions and roll into balls using your hands.
- Place the protein balls on a baking sheet lined with parchment paper and refrigerate for at least 30 minutes before serving.
Notes
- For best results, refrigerate for at least 30 minutes
- You can substitute peanut butter with any nut or seed butter of your choice
Nutrition
- Serving Size: 1 serving
- Calories: 110 caloriescal
- Sugar: 0g
- Sodium: 0mg
- Fat: 5gg
- Saturated Fat: 0g
- Trans Fat: 0g
- Carbohydrates: 13gg
- Fiber: 0g
- Protein: 5gg
- Cholesterol: 0mg

