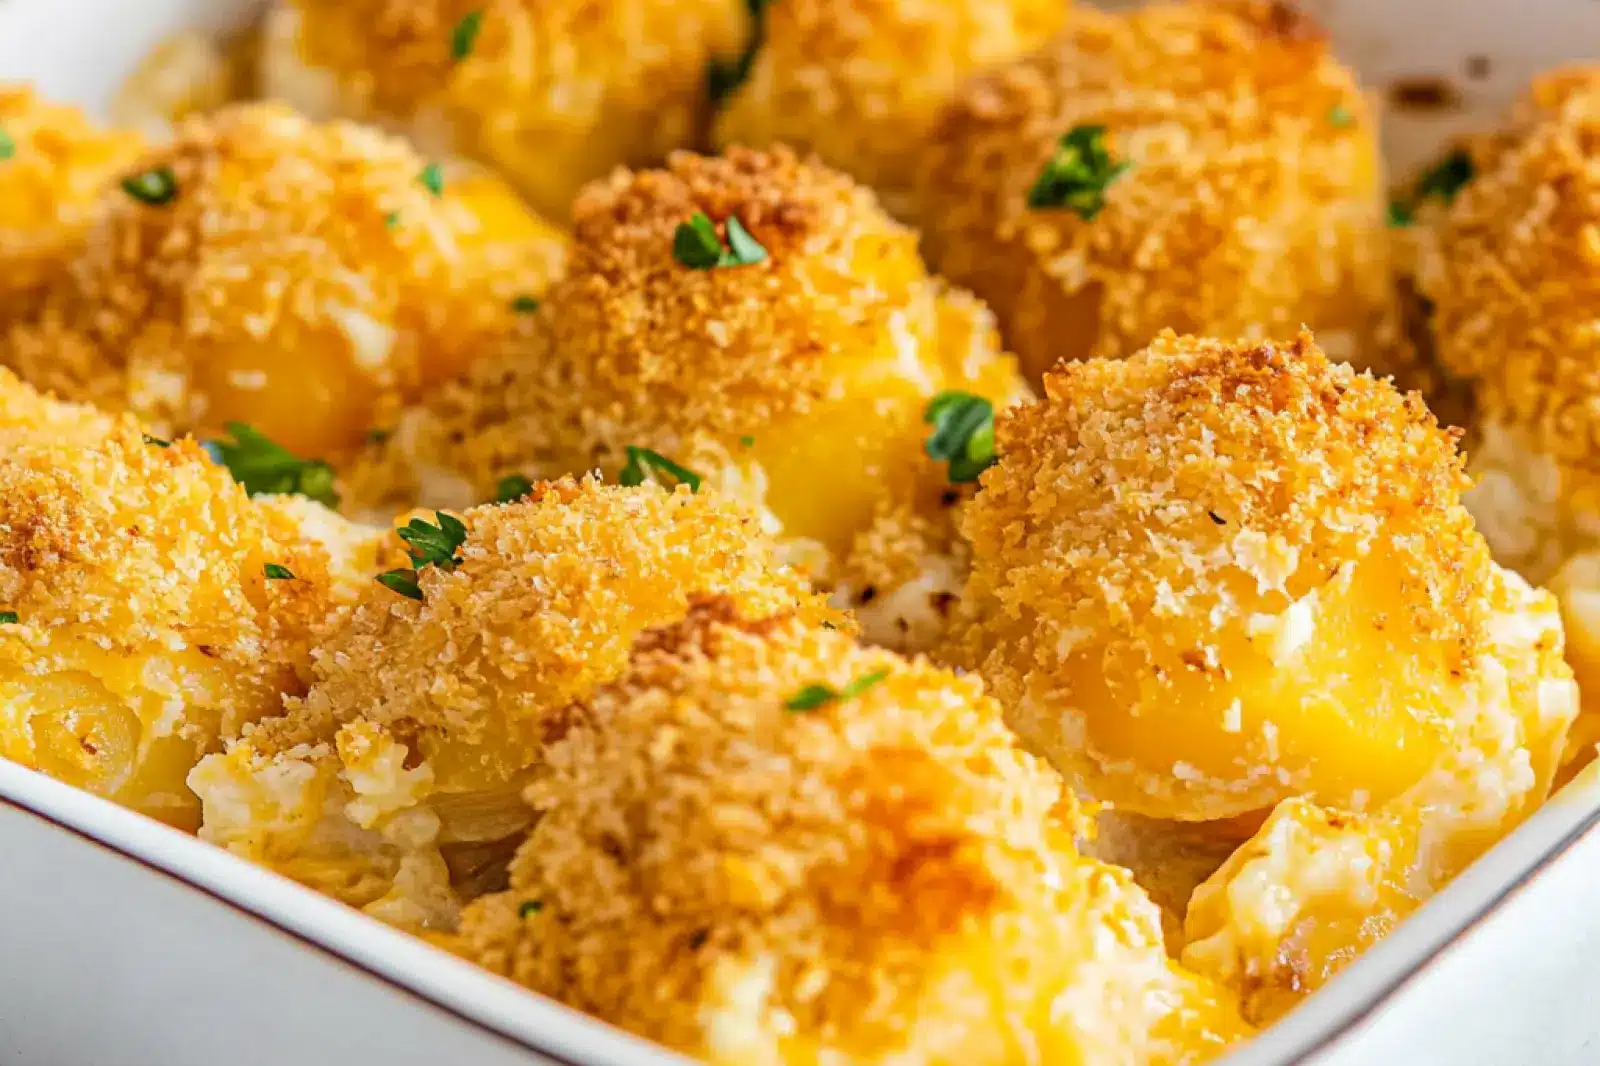
As we gather with friends and family, there’s something truly special about sharing delicious treats that bring joy and comfort. Our Festive Jar Cake Delight is a healthy and flavorful twist on a classic favorite that can brighten any occasion. Made with simple ingredients like cake mix, eggs, milk, oil, and vanilla extract, this dessert offers a guilt-free indulgence that’s perfect for carefree summer celebrations. The vibrant layers of strawberries and blueberries not only look delightful but also offer an energizing boost to your day.
Cooking this Jar Cake for the first time felt nostalgic for me, reminding me of baking with my mom in the kitchen during summer breaks. To my surprise, this healthier version turned out to be incredibly satisfying, marrying the sweetness of the cake with the freshness of the fruits. Each jar is versatile, allowing for various toppings, like granola or yogurt, that cater to your taste. I invite you to try this dish, whether you’re a health-conscious foodie or simply someone seeking a delicious treat without compromise.
Why we love this recipe Jar Cake:
The layers of cake and fruit create a delightful mix of flavors. Creamy, whipped toppings perfectly complement the moist cake. The sweet strawberries and blueberries not only add brightness but also bring a nutritious aspect to dessert. Effortless to prepare, this Jar Cake is a truly effortless treat for any occasion.

Step-by-Step Cooking Instructions
Now that you’ve gathered all the delightful ingredients and tools for your festive treat, it’s time to transform those basic elements into a stunningly delicious creation. Follow these steps for crafting your own vibrant Jar Cake that will impress friends and family alike. Each step is designed to guide you smoothly, ensuring your cake in a jar looks as passionate as it tastes!Step 1: Prepare Your Jars
Begin by washing and drying your mason jars thoroughly. Ensure they are completely clean; this keeps your Jar Cake fresh and free from any unwanted flavors. Choose jars that are around 8 ounces for the perfect serving size. Your canvas is ready!Step 2: Bake Your Cake
Preheat your oven to 350°F (175°C). In a mixing bowl, combine your cake mix, eggs, water, and oil. Whisk until the batter is smooth. Pour the batter into a greased baking pan, filling it halfway. Bake for about 25-30 minutes or until a toothpick comes out clean. While the cake rises and fills your kitchen with a heavenly aroma, imagine the joy of building your colorful Jar Cake!Step 3: Cool and Crumble the Cake
Once baked, let the cake cool completely. This step is crucial; a warm cake can make your layering a challenge. After cooling, crumble the cake into small pieces using your hands. These delightful crumbs will be the foundation of your Jar Cake layers, contributing to its texture and charm.Step 4: Prepare the Whipped Topping
In a separate bowl, either whip some cream by hand or use a mixer until soft peaks form. Add a splash of vanilla extract for that extra hint of sweetness. This light and fluffy topping pairs beautifully with the earthy flavors of the cake. Feel free to taste along the way; that’s the fun part!Step 5: Start Layering!
Begin layering your Jar Cake by placing a layer of cake crumbs at the bottom of each jar. Follow with a generous dollop of whipped topping, then sprinkle some festive red and blue sprinkles on top. Repeat the layers until your jars are filled, finishing with a swirl of whipped cream and a final sprinkle of festive confetti.Detailed Directions and Instructions
Step 6: Garnish with Fruit
Take some fresh strawberries and blueberries to garnish your Jar Cake. Slice the strawberries and arrange them on top, allowing their vibrant color to shine. The fruit will add a burst of freshness that complements the sweetness of the cake and the richness of the cream.Step 7: Chill and Serve
Place your beautifully layered Jar Cakes in the refrigerator for at least 30 minutes. This slight chill not only melds the flavors together beautifully but also makes the cream feel refreshing when you dig in. Once chilled, they’re ready to impress!Notes
Preparation Time
Set aside roughly 1.5 hours to make this enchanting Jar Cake. Between baking, cooling, and assembling, it’s a wholly enjoyable process!Customization
Don’t hesitate to add your twist! Include flavors like lemon zest or cocoa powder to the cake batter. Furthermore, try different toppings like chocolate chips or drizzle caramel for a delectable surprise.Sustainability Tip
If you have extra cake crumbs, don’t toss them! Use them as a base for a trifle or freeze them for future Jar Cake projects. Waste not, want not!The Perfect Celebration Dessert
What better way to celebrate than with a beautiful Jar Cake? Ideal for summer gatherings, picnics, or festive celebrations, these miniature desserts can be customized for any occasion. Their vibrant colors and delightful textures are sure to dazzle guests of all ages.Make It a Family Activity
Get the family involved in crafting these scrumptious Jar Cakes. Everyone can take part in layering, garnishing and, best of all, tasting! It’s a great way to bond and create lasting memories while making a delicious dessert that everyone will love.Explore Flavor Variations
Consider various flavor components that can take your Jar Cake to a whole new level. You can use flavored syrups or jams to add layers of taste. A chocolate cake with raspberry filling, or a lemon cake with blueberry topping can create a delightful twist that keeps everyone coming back for more.Common Mistakes to Avoid
When preparing your Jar Cake, it’s essential to avoid a few common pitfalls. First, remember not to overmix the batter; this can lead to a dense cake. Second, allow the cake to cool fully before crumbling. Lastly, be generous with whipped cream to ensure the layers achieve that fluffy, inviting appearance. Happy baking!
Key ingredients: 4th of July Cake in a Jar
- 2 boxes of white cake mix (plus ingredients called for on the box)
- Red food coloring
- Blue food coloring
- 2 containers of white frosting (16 oz each)
- Mason jars
Preparation Time
- Prep Time: 20 minutes
- Cook Time: As directed on cake box
- Total Time: Depending on cool time
- Yield: Infinite smiles per serving
Cook techniques
Mixing Ingredients
For the Festive Jar Cake Delight, begin by thoroughly mixing dry ingredients like flour and baking powder in a bowl. This ensures an even distribution, which makes for a uniform texture in your Jar Cake.Baking
When baking, make sure your oven is preheated to the right temperature. This step is crucial for achieving that perfect rise. Bake until a toothpick inserted comes out clean for the best results in your Jar Cake.Layering
Layering is an essential technique for presenting your Festive Jar Cake Delight. Start by placing moist cake layers alternately with frosting or fruit in jars. This not only enhances its visual appeal but also ensures each bite is flavorful.Chilling
After assembling your Jar Cake, chill it in the refrigerator. This helps the flavors meld together, creating a more delicious and satisfying dessert.Serving and Presentation Ideas:
Serve your Festive Jar Cake Delight in clear jars to showcase its beautiful layers. For added flair, top each jar with whipped cream and fresh berries. It pairs wonderfully with a scoop of vanilla ice cream on the side, making it ideal for summer gatherings or festive celebrations.People Also Ask:
Can I make the Festive Jar Cake Delight in advance?
Yes, you can prepare the Festive Jar Cake Delight a day ahead. Prepare the layers and assemble them in jars, then refrigerate them until you’re ready to serve, ensuring the flavors are fully developed.What types of cake work best for a Jar Cake?
Any moist cake like vanilla, chocolate, or red velvet is perfect for a Jar Cake. These options maintain their texture and flavor when layered and stored.How long can I store my Jar Cake?
The Jar Cake can be stored in the refrigerator for up to 3 days. Just make sure to close the jars tightly to keep the cake fresh.Can I use different fruits in the Festive Jar Cake Delight?
Absolutely! You can customize your Jar Cake using seasonal fruits like strawberries, blueberries, or peaches to enhance both flavor and presentation.FAQ :
Can I use a different type of frosting for the Jar Cake?
Yes, feel free to experiment with different frostings such as cream cheese, chocolate ganache, or whipped cream. Each option will give your Jar Cake a unique taste.Is it possible to make a gluten-free Jar Cake?
Certainly! You can substitute regular flour with a gluten-free blend. This will ensure the Jar Cake remains fluffy and delicious while accommodating dietary needs.Conclusion
The Festive Jar Cake Delight combines juicy layers of cake with creamy frosting, offering a satisfying treat that’s both enjoyable and rich in flavor. Perfect for weeknights or special gatherings, it brings a festive spirit to any occasion. Preparation is simple and fuss-free: just mix, bake, and assemble the layers in jars. The delightful aroma wafts through the kitchen, and the vibrant layers make an impressive presentation. Enjoy a restaurant-worthy experience at home with this delectable Jar Cake.
Festive Jar Cake Delight
Indulge in a world of sweetness with our Festive Jar Cake Delight. Perfect for special occasions or a cozy night in, these adorable jar cakes layer fluffy cake with rich, creamy frosting and delightful toppings. Discover the joy of creating your own mini cake masterpiece with easy-to-follow steps that require no fancy tools. Ready to brighten your dessert table? Click to explore the full recipe and add a splash of festive fun to your celebrations today. Dive into the delightful world of jar cakes and make your moments extra special!
- Prep Time: 20 minutes
- Cook Time: As directed on cake box
- Total Time: Depending on cool time
- Yield: Infinite smiles per serving
Ingredients
- 2 boxes of white cake mix (plus ingredients called for on the box)
- Red food coloring
- Blue food coloring
- 2 containers of white frosting (16 oz each)
- Mason jars
Instructions
Step 1: Prepare Your Jars
Begin by washing and drying your mason jars thoroughly. Ensure they are completely clean; this keeps your Jar Cake fresh and free from any unwanted flavors. Choose jars that are around 8 ounces for the perfect serving size. Your canvas is ready!
Step 2: Bake Your Cake
Preheat your oven to 350°F (175°C). In a mixing bowl, combine your cake mix, eggs, water, and oil. Whisk until the batter is smooth. Pour the batter into a greased baking pan, filling it halfway. Bake for about 25-30 minutes or until a toothpick comes out clean. While the cake rises and fills your kitchen with a heavenly aroma, imagine the joy of building your colorful Jar Cake!
Step 3: Cool and Crumble the Cake
Once baked, let the cake cool completely. This step is crucial; a warm cake can make your layering a challenge. After cooling, crumble the cake into small pieces using your hands. These delightful crumbs will be the foundation of your Jar Cake layers, contributing to its texture and charm.
Step 4: Prepare the Whipped Topping
In a separate bowl, either whip some cream by hand or use a mixer until soft peaks form. Add a splash of vanilla extract for that extra hint of sweetness. This light and fluffy topping pairs beautifully with the earthy flavors of the cake. Feel free to taste along the way; that’s the fun part!
Step 5: Start Layering!
Begin layering your Jar Cake by placing a layer of cake crumbs at the bottom of each jar. Follow with a generous dollop of whipped topping, then sprinkle some festive red and blue sprinkles on top. Repeat the layers until your jars are filled, finishing with a swirl of whipped cream and a final sprinkle of festive confetti.
Step 6: Garnish with Fruit
Take some fresh strawberries and blueberries to garnish your Jar Cake. Slice the strawberries and arrange them on top, allowing their vibrant color to shine. The fruit will add a burst of freshness that complements the sweetness of the cake and the richness of the cream.
Step 7: Chill and Serve
Place your beautifully layered Jar Cakes in the refrigerator for at least 30 minutes. This slight chill not only melds the flavors together beautifully but also makes the cream feel refreshing when you dig in. Once chilled, they’re ready to impress!
Notes
Notes
Preparation Time
- Set aside roughly 1.5 hours to make this enchanting Jar Cake. Between baking, cooling, and assembling, it’s a wholly enjoyable process!
Customization
- Don’t hesitate to add your twist! Include flavors like lemon zest or cocoa powder to the cake batter. Furthermore, try different toppings like chocolate chips or drizzle caramel for a delectable surprise.
Sustainability Tip
- If you have extra cake crumbs, don’t toss them! Use them as a base for a trifle or freeze them for future Jar Cake projects. Waste not, want not!