Sourdough Starter – A Delicious Way to Kickstart Your Baking Journey
Sourdough Starter is your ultimate guide to creating the perfect sourdough starter from scratch. Whether you’re a beginner or an experienced baker, you’ll find step-by-step instructions, tips, and helpful insights to help you nurture a tangy and flavorful starter for your homemade bread.
Embrace the process, and soon, you’ll be baking crusty loaves of bread that boast the unique flavors only a homemade sourdough starter can provide. If you’re new to the journey, start with the basics—here’s How To Make Sourdough Starter step by step, so you can build a foundation for truly artisanal baking.
Once your starter is ready, take it a step further by trying our Organic Sourdough Bread recipe—a nourishing, flavorful loaf made with wholesome ingredients you’ll feel good about sharing with your family.
Printhow to make sourdough starter
Dreaming of homemade sourdough bread? Learn how to make sourdough starter from scratch with our simple step-by-step guide! Unlock the secrets to a bubbling, active starter that will fill your kitchen with the irresistible aroma of freshly baked bread. Perfect for beginners and seasoned bakers alike, this
- Prep Time: 7 days
- Cook Time: –
- Total Time: 7 days
- Yield: –
Ingredients
- Flour (Whole grain wheat, unbleached all-purpose, and einkorn are all great choices)
- Filtered water
Instructions
Step 1: Gather Your Ingredients
To start your journey into the world of sourdough baking, you will need just a couple of basic ingredients: flour and water. It’s best to use a good quality all-purpose flour or a mix of whole wheat and all-purpose flour. The type of flour you choose can impact the flavor and rise of your starter, so don’t be afraid to experiment. For water, use filtered or dechlorinated water for a healthy, lively starter.
Step 2: Mix the Flour and Water
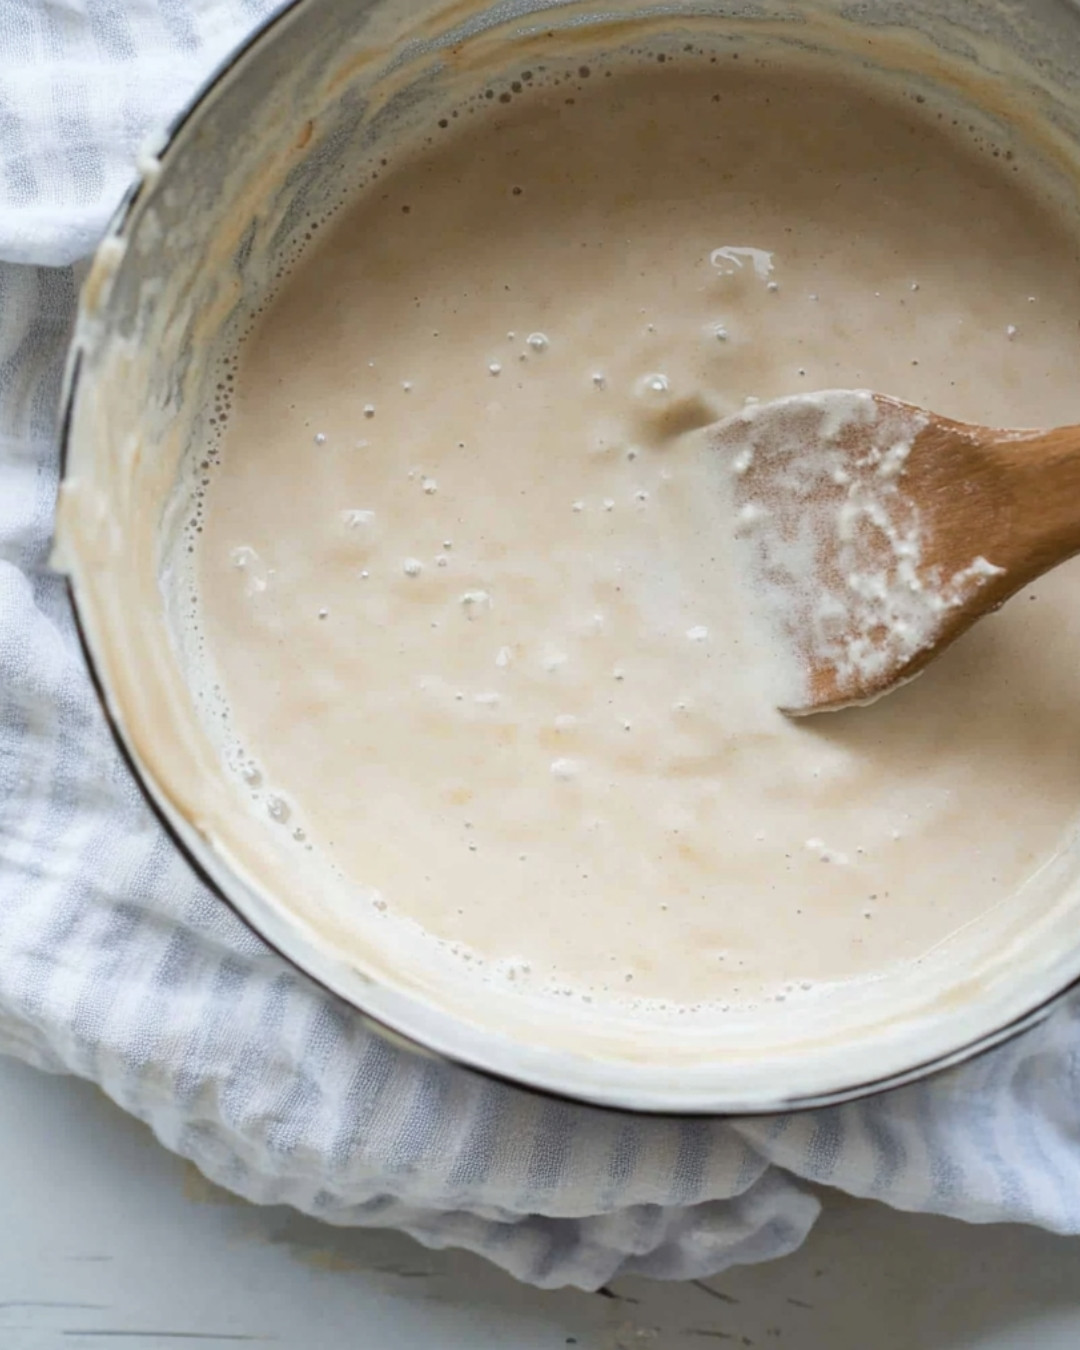
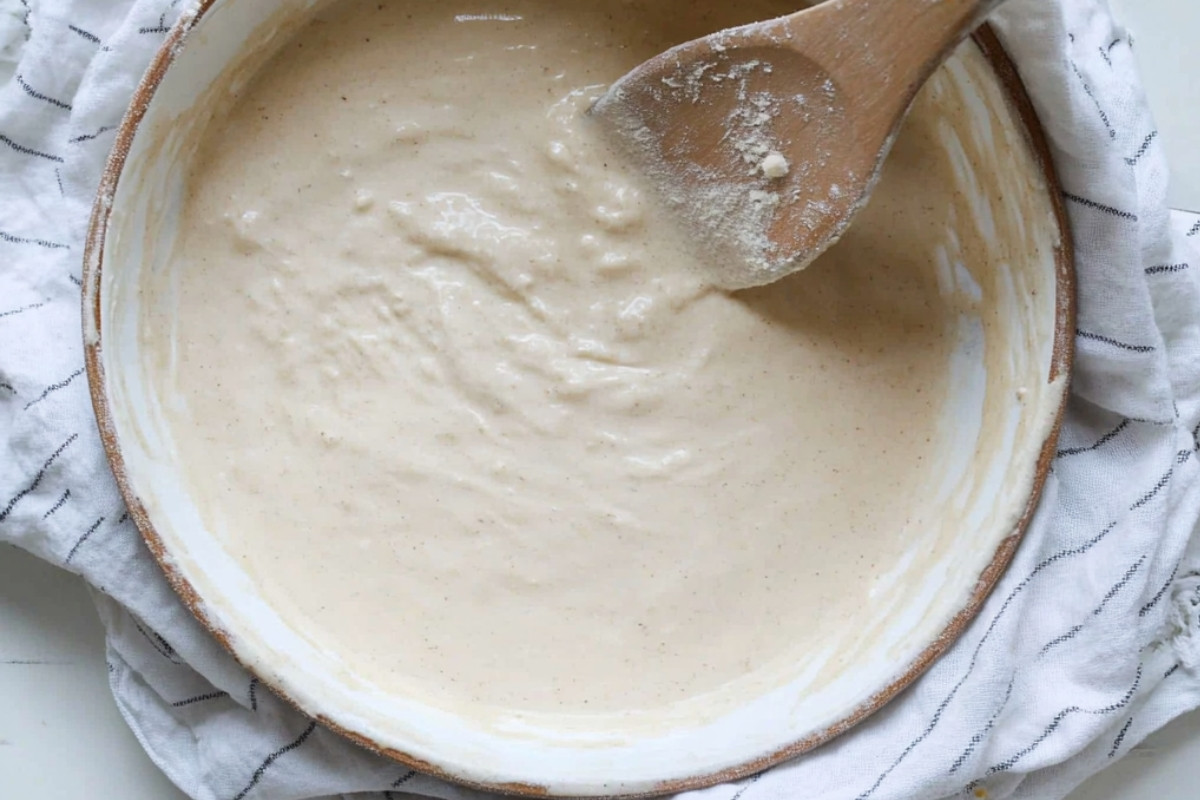
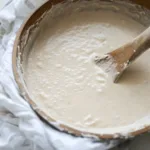
In a clean glass jar or bowl, combine equal parts flour and water. A good starting ratio is 1/2 cup of flour to 1/2 cup of water. Stir the mixture until it is well combined. The texture will be thick and pasty, which is perfect for getting those wild yeast cultures to thrive. Remember, this is the beginning of your very own sourdough starter guide.
Step 3: Cover and Let It Rest
Cover your jar loosely with a cloth or a lid. You want to keep dust out while still allowing air to flow in. Set your jar in a warm area of your kitchen, around 70°F to 75°F is ideal. Patience is key; let the mixture rest for 24 hours. During this time, the wild yeast in the air will start to gather in your mixture.
Step 4: Feed Your Starter
After the first 24 hours, it’s time to feed your starter! Discard half of the mixture (about 1/2 cup) from the jar and add another 1/2 cup of flour and 1/2 cup of water. Stir again, and then cover loosely. You’ll repeat this feeding process every day, which will help encourage the growth of your starter. Just think of it as nurturing a little yeast baby!
Step 5: Observe the Bubbles
Over the next few days, keep an eye on your starter. You should start to see bubbles forming, indicating that the fermentation process is starting. This is where the magic happens! It may take about 5 to 7 days for the starter to become fully active and ready to use for baking.
Step 6: Test Your Starter
To make sure your sourdough starter is ready to bake with, you can perform the “float test.” Take a small spoonful of the starter and place it in a glass of water. If it floats, congratulations! Your starter is bubbly and active, ready to create delicious sourdough bread. If it sinks, give it a couple more days of feeding.
Notes
Tip 1: Use Whole Wheat Flour
- Whole wheat flour contains more nutrients, which can help kickstart the fermentation process and create a robust starter.
Tip 2: Keep It Warm
- Your starter will thrive in warmer temperatures. If your home is cool, try placing the jar in a slightly warm spot, like on top of the refrigerator or in a sunny window.
Tip 3: Be Consistent
- Consistency is key for maintaining a healthy starter. Make sure to feed it at the same time each day, and try to use it regularly to keep it active.
How to Make Your Own Sourdough Starter
- Step 1: Gather Your Ingredients
To start your journey into the world of sourdough baking, you will need just a couple of basic ingredients: flour and water. It’s best to use a good quality all-purpose flour or a mix of whole wheat and all-purpose flour. The type of flour you choose can impact the flavor and rise of your starter, so don’t be afraid to experiment. For water, use filtered or dechlorinated water for a healthy, lively starter. - Step 2: Mix the Flour and Water
In a clean glass jar or bowl, combine equal parts flour and water. A good starting ratio is 1/2 cup of flour to 1/2 cup of water. Stir the mixture until it is well combined. The texture will be thick and pasty, which is perfect for getting those wild yeast cultures to thrive. Remember, this is the beginning of your very own sourdough starter guide. - Step 3: Cover and Let It Rest
Cover your jar loosely with a cloth or a lid. You want to keep dust out while still allowing air to flow in. Set your jar in a warm area of your kitchen, around 70°F to 75°F is ideal. Patience is key; let the mixture rest for 24 hours. During this time, the wild yeast in the air will start to gather in your mixture. - Step 4: Feed Your Starter
After the first 24 hours, it’s time to feed your starter! Discard half of the mixture (about 1/2 cup) from the jar and add another 1/2 cup of flour and 1/2 cup of water. Stir again, and then cover loosely. You’ll repeat this feeding process every day, which will help encourage the growth of your starter. Just think of it as nurturing a little yeast baby! - Step 5: Observe the Bubbles
Over the next few days, keep an eye on your starter. You should start to see bubbles forming, indicating that the fermentation process is starting. This is where the magic happens! It may take about 5 to 7 days for the starter to become fully active and ready to use for baking. - Step 6: Test Your Starter
To make sure your sourdough starter is ready to bake with, you can perform the “float test.” Take a small spoonful of the starter and place it in a glass of water. If it floats, congratulations! Your starter is bubbly and active, ready to create delicious sourdough bread. If it sinks, give it a couple more days of feeding.
Notes:
- Tip 1: Use Whole Wheat Flour
Whole wheat flour contains more nutrients, which can help kickstart the fermentation process and create a robust starter. - Tip 2: Keep It Warm
Your starter will thrive in warmer temperatures. If your home is cool, try placing the jar in a slightly warm spot, like on top of the refrigerator or in a sunny window. - Tip 3: Be Consistent
Consistency is key for maintaining a healthy starter. Make sure to feed it at the same time each day, and try to use it regularly to keep it active.
Mastering Your Sourdough Starter
Creating your own sourdough starter is not just a cooking project; it’s an adventure steeped in tradition and flavor. As you embark on this journey, every step is an opportunity to learn. From observing the delightful bubbling of your mixture to feeling the tender satisfaction that comes with creating bread from scratch, the process can be incredibly rewarding. Use your starter to bring life to a variety of baked goods, and savor the taste of homemade bread.
Baking Tips for Success
Baking with sourdough is not only about the starter; it’s also about the craft. Understanding the basics of sourdough bread-making can elevate your kitchen skills. Be mindful of hydration levels, folding techniques, and resting times, as they all contribute to the final product. Embrace the time and patience that good bread requires. Enjoy experimenting with different recipes, including sourdough pancakes or waffles, using your starter as a base. The possibilities are endless, and the delicious outcomes are definitely worth the wait!
Try this yummy Sourdough Bagels, and tell us if it was simple and easy.
Common Mistakes to Avoid
When making your sourdough starter, there are a few common pitfalls to watch out for. First, avoid using chlorine-treated water, which can hinder the yeast development. Secondly, don’t neglect the feeding schedule; inconsistency can lead to a weak starter. Lastly, try not to react too quickly to changes in your starter; fermentation can be unpredictable. Instead, monitor its activity and give it time to flourish. With some care and attention, your starter will soon be ready to bake up a storm!
Cook Techniques
Creating Your Sourdough Starter
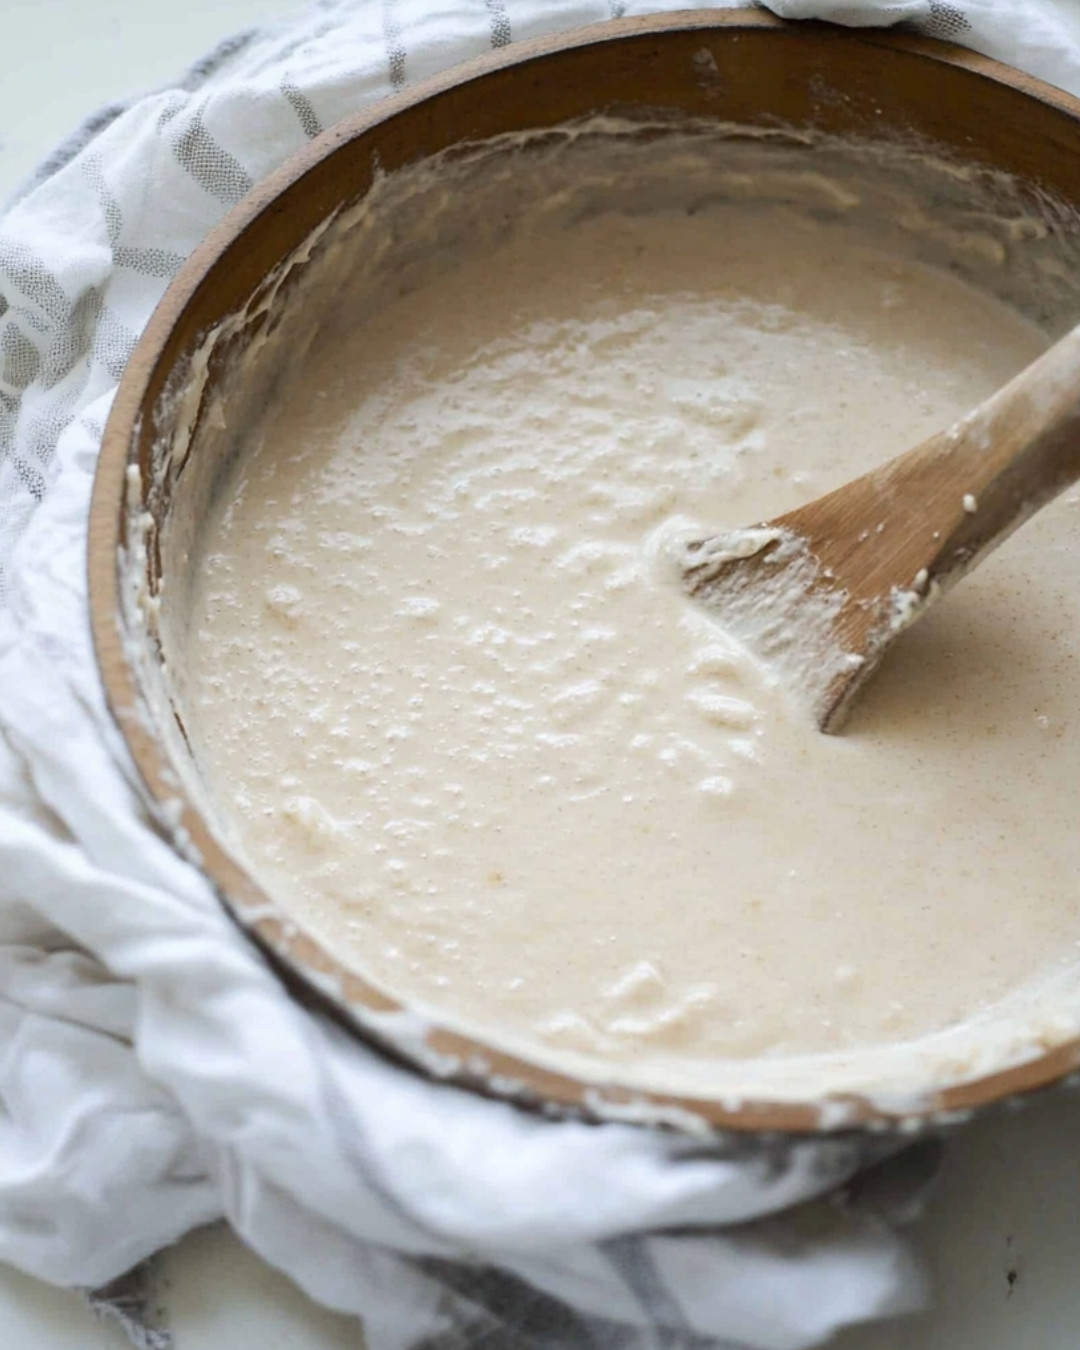
To begin your sourdough starter guide, combine equal parts flour and water in a small container, ideally using whole grain flour for better microbial activity. Use a spoon to mix until fully combined and hold a pancake batter-like consistency. Cover the jar loosely with a lid or cloth to allow air to flow in while keeping out contaminants. Let it sit at room temperature for 24 hours.
Feeding the Sourdough Starter
Each day, for the next week, feed your starter by discarding about half of it, then adding equal amounts of flour and water. Stir until smooth and replace the cover. This process encourages the growth of natural yeasts and microorganisms. By day five or six, you should notice bubbling and a pleasant, tangy aroma, signaling that your starter is becoming active and ready for use.
Storing Your Starter
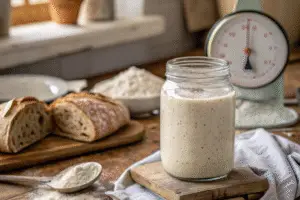
If you’re not baking frequently, you can store your sourdough starter guide in the refrigerator. Make sure to feed it at least once a week to keep it healthy. When you’re ready to bake, take it out and feed it 1-2 times at room temperature before use, allowing it to become bubbly and active once again.
Serving and Presentation Ideas
Stylish Bread Boards
Create an inviting atmosphere by placing your freshly baked sourdough bread on a rustic wooden bread board. Add a small dish of olive oil or butter for spreading, and accompany with fresh herbs like rosemary or thyme for a splash of color and aroma.
Accompaniments
Serve your sourdough bread alongside a selection of artisanal cheeses, cured meats, and pickled vegetables. This not only adds a gourmet touch but also makes for an exciting, interactive dining experience perfect for gatherings.
Artful Toasts
Transform slices of sourdough into beautiful toasts topped with various spreads such as avocado, hummus, or ricotta, garnished with microgreens or edible flowers. Each toast can showcase a different flavor combination, making for an impressive and colorful presentation.
Conclusion
Making a sourdough starter guide allows you to create bread that is beautifully tangy and full of character, with a chewy crust and airy crumb. It’s ideal for weeknight dinners, holidays, or when entertaining friends. Try my simple Sourdough Discard Banana Muffins.
Preparing your sourdough starter is straightforward and satisfying, featuring simple steps like mixing and feeding, which boost your confidence in bread-making. The delightful aroma during baking will fill your home and produce a delightful centerpiece for any meal, elevating your at-home dining experience.
For more delicious recipes and cooking inspiration, follow me on Facebook and Pinterest!





19 thoughts on “How To Make Sourdough Starter”
Comments are closed.