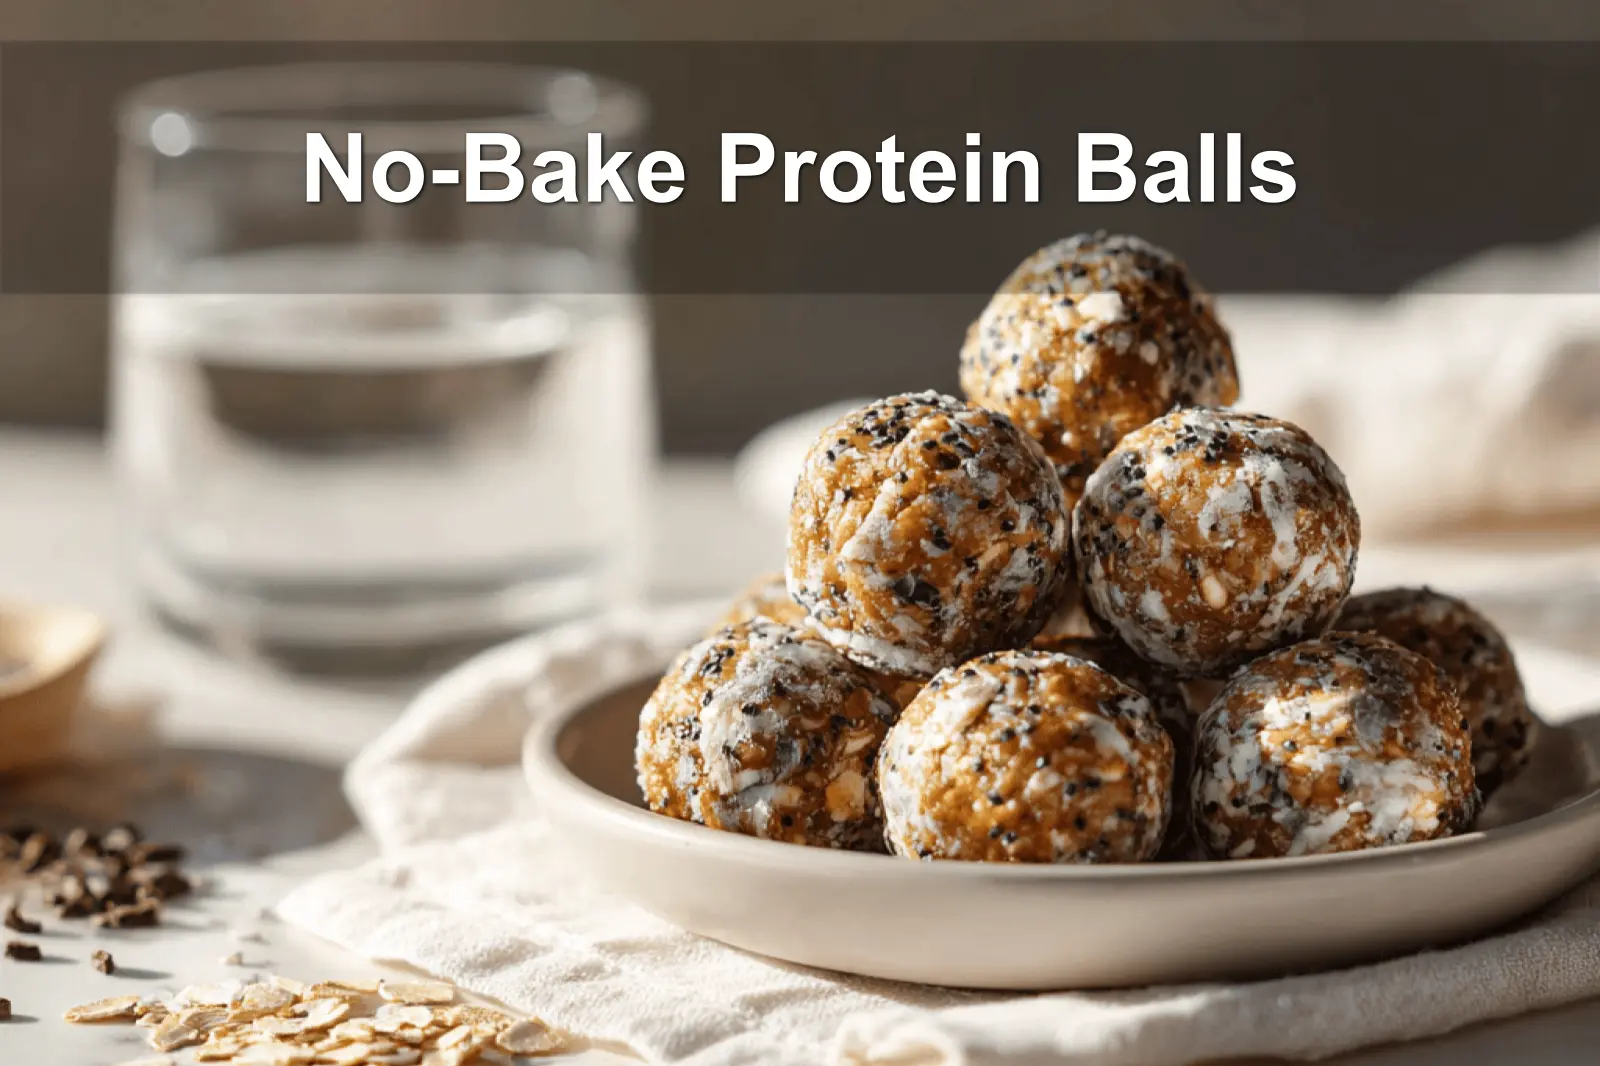
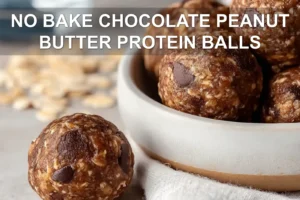
There’s something magical about rolling little bites of goodness between your palmswatching simple ingredients transform into perfect spheres of nourishment. These no bake protein balls remind me of the energy bites I used to make for my daughter Eleanor when she was littlequick, wholesome, and always gone within minutes. They’re trending everywhere right now, and for good reason: no oven required, just 15 minutes start to finish, and they taste like a treat while offering serious fuel for your body.
Think of these as the grown-up version of cookie doughsafe to eat and packed with nutrition. All you need: protein powder, nut butter, a touch of honey or maple syrup, and whatever mix-ins make your taste buds dancechocolate chips, shredded coconut, or even chopped dried fruit. Everything comes together in one bowl using pantry staples. This healthy protein snack tastes indulgent but also works great as a speedy breakfast. Full recipe details below!
I’ve been perfecting little energy bites for decades, tweaking ratios until they hold just rightfirm enough to store but soft enough to bite. There’s a certain wisdom in simple recipes that don’t demand fancy toolsjust good ingredients and your own two hands. After testing this recipe more times than I can count, I finally settled on one unexpected addition that makes all the difference in texture. You’ll taste that little upgrade instantly.
Why These No Bake Protein Balls Will Become Your Go-To
There’s comfort in knowing you can whip up a nutritious batch of snacks without even touching your oven. These no bake protein balls embody the wisdom passed down through generationsnourishing, satisfying, and surprisingly easy to prepare. They taste like an indulgent dessert but power you through long days with lasting energy.
- Ready in just 10 minutes using pantry-friendly ingredients
- Perfect for busy mornings when you need a healthy protein breakfast on the run
- Customizabletoggle nut butters, toss in different mix-ins, and tweak the sweetness
- No baking skills necessaryjust a bowl, a spoon, and your palms
Your Essential Ingredients and Tools
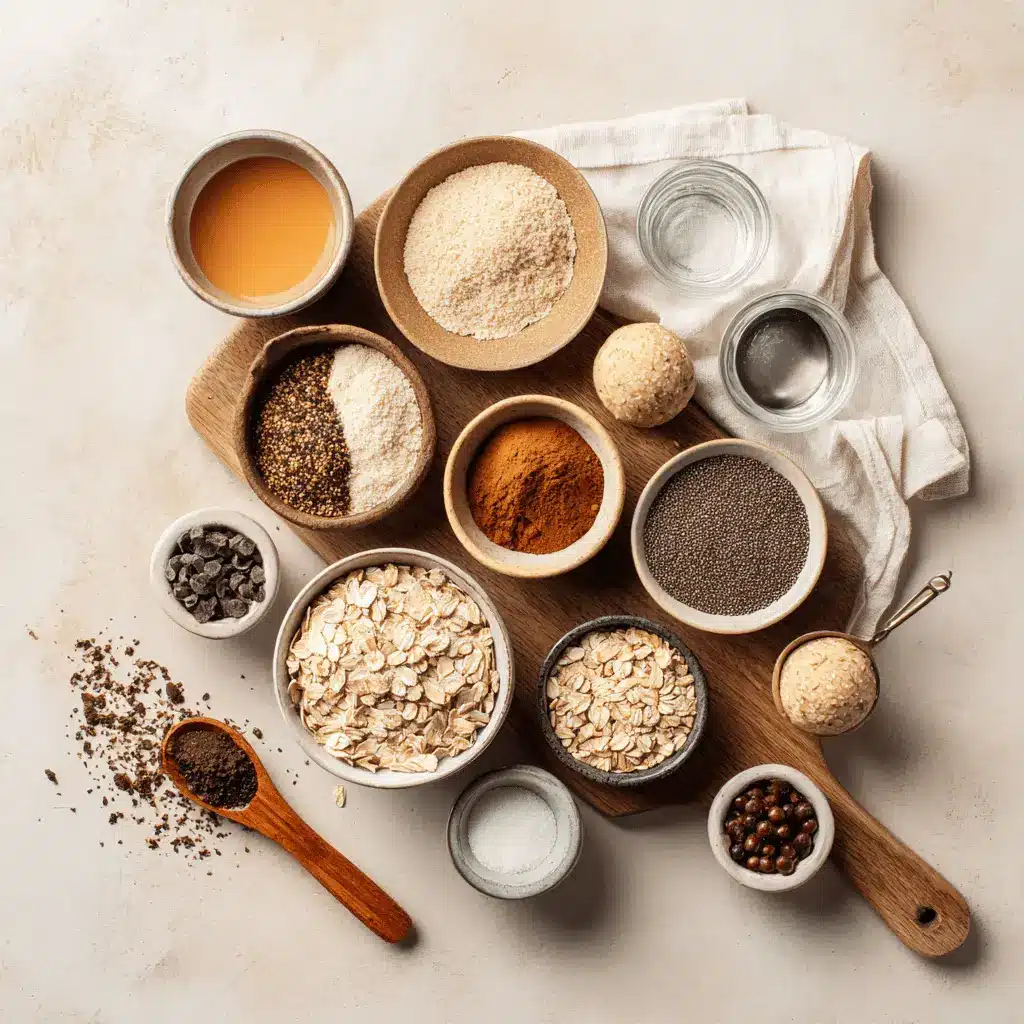
This recipe thrives on simplicityeach ingredient balances flavor and function. Quick oats offer heartiness, protein powder delivers lasting energy, and creamy nut butter binds it all together with satisfying texture.
| Ingredient | Purpose | Key Notes |
|---|---|---|
| Quick Cook Oats | Base texture and fiber | Use certified gluten-free if needed |
| Vanilla Protein Powder | Protein boost and structure | Brands vary in absorbencyadjust moisture as needed |
| Peanut or Almond Butter | Binding and richness | Look for natural, unsweetened varieties |
| Maple Syrup or Honey | Natural sweetness | Also helps bind mixture gently |
| Mini Chocolate Chips | Sweet surprise in every bite | Opt for dairy-free to keep them inclusive |
Essential tools: One large mixing bowl, a tablespoon-sized cookie scoop (or regular spoon), parchment paper, and clean hands for rolling. No mixer required!
The Magic Step-by-Step Process
I’ve tested this method repeatedly to ensure the perfect chewy consistency every time. The key is adding water graduallydifferent protein powders absorb moisture differently, so this gentle step gets you perfect dough without crumbling or stickiness.
- Step 1: Stir together all dry ingredients in your large bowl, making sure they’re evenly distributed
- Step 2: Add your wet ingredients and mix well until a thick dough begins to form
- Step 3: Add cold water, one tablespoon at a time, mixing between each addition until it resembles cookie dough
- Step 4: Fold in chocolate chips (or your mix-in of choice), then scoop and roll into balls
| Step | Time | What to Look For |
|---|---|---|
| Mix dry ingredients | 2 minutes | Uniform distribution, no clumps |
| Add wet ingredients | 2 minutes | All ingredients coated, beginning to hold |
| Adjust with water | 1–2 minutes | Mixture feels dough-like and holds its shape |
| Roll into balls | 5 minutes | Smooth, well-formed spheres |
Troubleshooting Your Protein Balls
Even straightforward recipes like this benefit from a little troubleshooting, especially when switching brands or ingredients. Years of experience taught me that minor tweaks make the biggest difference.
Too dry and crumbly? Add cold water or unsweetened plant milk one teaspoon at a time until the dough holds when pressed. Plant-based protein powders often absorb more liquid than whey.
Too sticky to handle? Refrigerate the dough for 15–20 minutes, or lightly wet your hands before rolling. The natural oils in nut butters soften with warmth, so chilling brings balance.
Creative Swaps and Variations
This foundational recipe lends itself beautifully to creative substitutions. I’ve seen family members turn these protein balls recipes into totally new flavor combinations with just one or two swapsand they’re always delicious.
| Original Ingredient | Swap Options | Flavor Result |
|---|---|---|
| Peanut Butter | Almond, cashew, or sunflower seed butter | Nuttier or nut-free, allergy-conscious |
| Vanilla Protein Powder | Chocolate, unflavored, or plant-based | Cocoa-rich or more tailored to dietary needs |
| Mini Chocolate Chips | Dried fruit, coconut flakes, or chopped nuts | Fruity and tropical flavor profiles |
| Maple Syrup | Honey, agave nectar, or mashed banana | Natural sweetness, different textures |
- Add 1 tsp vanilla extract if using unflavored protein powder
- Sprinkle sea salt on top for a salted-caramel vibe
- For flair, roll finished balls in toasted coconut or cocoa powder
Storage and Serving Wisdom
These nutrient-packed bites store surprisingly well and even improve in flavor after a day. I often double the batch because they vanish fast the moment someone spots the container.
| Storage Method | Duration | Best Practices |
|---|---|---|
| Refrigerator | Up to 1 week | Store in an airtight container, layering parchment to avoid sticking |
| Freezer | Up to 3 months | Freeze individually on a tray first, then store in freezer bags |
| Room Temperature | 2–3 days | Keep in a cool, dry space in a tightly sealed container |
Serving suggestions: Toss a few in a lunchbox, crumble one over Greek yogurt for protein-packed breakfast parfaits, or enjoy before or after workouts. Each ball offers roughly 100 calories and 5 grams of high-quality protein.
The charm of these healthy protein snacks lies in their flexibilitygreat for kids, gym-goers, or anyone needing a delicious energy boost.
Expert Says: The Appeal of No Bake Protein Balls
No bake protein balls offer an appealing mix of convenience and nutrition, making them ideal for busy lives. Because the ingredients aren’t heated, you retain more natural enzymes, antioxidants, and micronutrientsimportant for sustainable energy and recovery. With the right balance of protein, fiber, and healthy fats, they support appetite control and help maintain steady energy throughout your day.
For more delicious recipes and cooking inspiration, follow me on Facebook, Pinterest and Reddit!
The Journey to Perfect No-Bake Protein Balls
It took many experimental batches and sticky fingers before I nailed the texture that felt just righttender but firm, satisfying without being overly sweet. Each version taught me what to adjust: use runny nut butter? Add more oats. Too dry? A splash of water. It’s been a joyful process rooted in family memories, and now I’m proud to share a recipe that’s both easy and deeply nourishing.
FAQs ( Protein Balls Recipe )
How long do no-bake protein balls stay fresh?
No-bake protein balls stay fresh in the refrigerator for up to 7-10 days when stored in an airtight container. For longer storage, you can freeze these healthy protein snacks for up to 3 months. The best part is they’re ready to eat straight from the fridge, making them perfect for meal prep. Just let frozen protein balls thaw for 5-10 minutes before enjoying for the best texture.
Can you make protein balls without protein powder?
Absolutely! While protein powder recipes are popular, you can create delicious protein balls using natural protein sources like nut butters, ground flaxseed, chia seeds, or hemp hearts. Try using 2-3 tablespoons of almond butter or peanut butter as your base, then add oats, nuts, and seeds for extra protein. These alternatives still create nutritious healthy protein snacks that are perfect for post-workout fuel or anytime energy.
Are protein balls good for breakfast?
Yes! Protein balls make an excellent healthy protein breakfast option, especially when you’re on the go. They provide sustained energy from protein, healthy fats, and complex carbs to keep you satisfied throughout the morning. Pair 2-3 protein bites with a piece of fruit or Greek yogurt for a more complete breakfast. They’re particularly great for busy mornings, pre-workout fuel, or when you need something quick and nutritious.
What is the best binding ingredient for protein balls?
Nut butters like almond butter, peanut butter, or cashew butter are the most popular binding ingredients for protein ball recipes. They provide both protein and the sticky texture needed to hold everything together. Alternative binders include tahini, sunflower seed butter for nut-free options, or even mashed banana for a naturally sweet version. Start with 2-3 tablespoons and add more as needed until the mixture holds together when squeezed.
How much protein is in each protein ball?
Each protein ball typically contains 3-6 grams of protein, depending on the ingredients used. Balls recipe variations with protein powder tend to have higher protein content, while those made with just nut butters and seeds may have slightly less. To boost the protein content, try adding extra protein powder, hemp hearts, or chopped nuts. A serving of 2-3 protein balls usually provides 8-15 grams of protein, making them an ideal healthy protein snack between meals.
Your New Favorite Kitchen Tradition
These no bake protein balls take just 10 minutes to make and carry that perfect chewy-yet-satisfying bite. You’ll love how effortlessly they come togetherand how well they mold to almost any flavor profile. Thanks to the quality ingredients, they nourish while satisfying a sweet tooth.
Get festive by swapping the chocolate chips for dried cranberries and orange zest, or amp up the indulgence by rolling the cooled balls in toasted coconut. Store them covered in the fridge for up to a week, and let them rest at least an hour for flavors to bloom. One tip I learned from a bakery-owning friend: wet your hands slightly if the dough starts stickingit speeds up rolling and keeps your energy up too.
I hope these protein bites bring as much delight to your kitchen as they do to mine. Sometimes, it’s the simplest recipesmade with lovethat hold the greatest joy. Whether shared with friends or packed for weekday hustle, these wholesome snacks make every bite count.
PrintNO BAKE PROTEIN BALLS
Super easy and mouth-watering no-bake protein balls! Not only are they bursting with delicious flavor, they only take 10 minutes to make and are packed with protein, oats, and nut butter to ensure a healthy protein breakfast or snack. Perfect for anyone looking for healthy protein snacks or protein powder recipes.
- Prep Time: 10 minutes
- Cook Time: 0 minutes
- Total Time: 10 minutes
- Yield: Serves 22 1x
- Category: Breakfast, Dessert, Gluten-Free, Snack
- Method: No-Bake
- Cuisine: American
Ingredients
- 1 cup quick cook oats certified gluten-free
- 1 cup vanilla protein powder
- ½ cup peanut butter or almond butter
- ⅓ cup maple syrup or honey
- 1 tablespoon chia seeds
- ¼ teaspoon cinnamon
- pink Himalayan salt pinch of
- 1 tablespoon water plus more if needed which depends on the type of protein powder used see notes below
- ½ cup dairy-free mini chocolate chips
Instructions
- Line a large baking pan with parchment paper.
- In a large bowl combine the oats, protein powder, peanut butter, maple syrup, chia seeds, vanilla extract, cinnamon, and a pinch of salt and mix well. Add 1 tablespoon at a time of water up to about 3-4 tablespoons total see notes below until the consistency is like a dough and all the oats are coated. Mix in the chocolate chips.
- Using a tablespoon cookie scoop, scoop out the dough onto the cookie sheet. Using your hands, roll each ball of the dough into smooth balls and set each back on the parchment paper.
- Store in the refrigerator in an airtight container for up to 1 week.
Notes
- The consistency of these protein balls will vary depending on what protein powder is used
- Some powders are more moist, where others like whey may require more water
- Start with 1 tablespoon and work your way to about 3-4 tablespoons depending on how the protein powder absorbs it
- You can also grind the ingredients except chocolate chips in a food processor to smooth the oats and make the consistency smooth
- When doing this method just add 1 tablespoon of water and after the dough is processed check the consistency to see if it needs more
- Then fold in the chocolate chips and roll the dough into balls
- If using a plain protein powder add 1 teaspoon of vanilla extract to the recipe
Nutrition
- Serving Size: 1 ball
- Calories: 104 kcal
- Sugar: 6g
- Sodium: 38mg
- Fat: 5g
- Saturated Fat: 2g
- Unsaturated Fat: 3g
- Trans Fat: 1g
- Carbohydrates: 11g
- Fiber: 1g
- Protein: 5g
- Cholesterol: 10mg
