Okay, picture this: it’s blazing hot outside, your oven is officially off-duty until October, and you still need to bring dessert to that BBQ. What do you do? You could buy something store-bought and boring… or you could whip up a Rice Krispie Ice Cream Pie and become the instant MVP of summer.
Yup, this dessert is just as magical as it sounds. It’s got the nostalgic crunch of your favorite childhood cereal, the creamy chill of your go-to ice cream, and zero need for baking. That’s right—no oven required. Plus, it’s easy enough for your kids to help with (or totally make on their own if you’re cool with a little mess).
In this post, I’m breaking down everything you need to know to make this frozen treat from start to finish—with tips, tricks, and even a few flavor twists along the way. Whether you’re serving a crowd or just craving a late-night sweet, this pie has your back. Let’s dig in.
What Is a Rice Krispie Ice Cream Pie Anyway?
First off, let’s clear something up: no, this isn’t one of those fancy, over-the-top Pinterest pies that look like a full-time job. This is simple, satisfying, and ridiculously delicious.
So what exactly is a Rice Krispie Ice Cream Pie? Imagine the classic Rice Krispie Treat—chewy, buttery, a little sticky—flattened into a pie crust. Now fill it with a layer (or three) of your favorite ice cream, freeze it all together, and boom: you’ve got a cool, crunchy, creamy pie that practically screams summer.
It’s part childhood nostalgia, part genius no-bake dessert, and 100% the kind of treat that disappears the second you slice it.
The Magic Combo
Why does it work so well? Well, think about the texture: you’ve got that light, crisp snap from the cereal, which holds up perfectly against the smooth, melty softness of the ice cream. It’s a combo that keeps every bite interesting, and honestly, it’s kind of addictive.
Plus, there’s just something fun and unexpected about turning a cereal snack into a pie crust. It’s playful, it’s different, and people love it. Especially when they realize it took you less than 20 minutes to throw together (we’ll keep that part our little secret 😉).
Ingredients You’ll Need
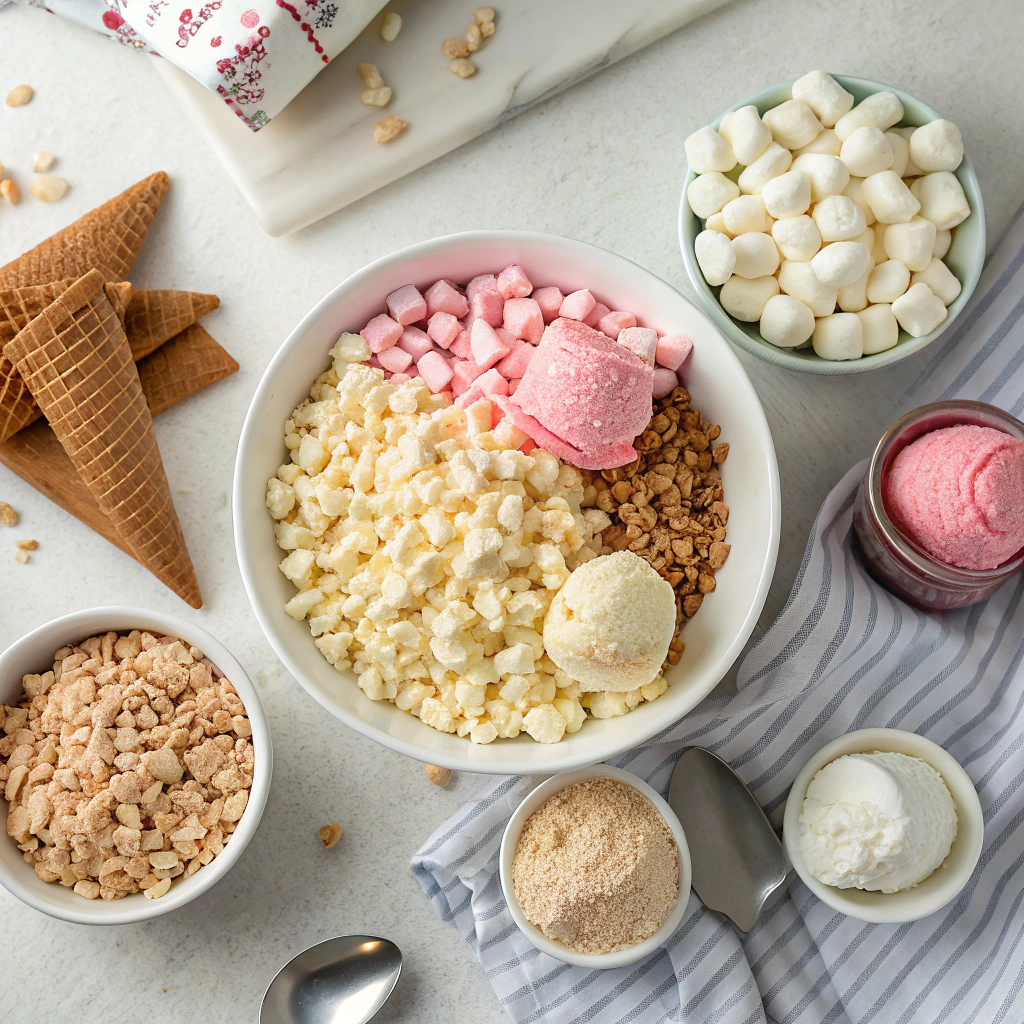
Alright, let’s talk ingredients. The beauty of this pie is how simple the shopping list is. You probably already have most of these in your kitchen, which means you’re just a freezer session away from dessert greatness.
Here’s what you’ll need for the classic version:
- 6 cups Rice Krispies cereal
(Or a store-brand crisp rice cereal. No judgment here, budget queens!) - 4 tablespoons butter
Go with salted if you like a sweet-salty vibe. Unsalted works too. - 1 package (10 oz) mini marshmallows
Mini ones melt faster, but regular size will do the trick if that’s what you’ve got. - 1 to 1.5 quarts of your favorite ice cream
This is your moment to shine—cookie dough, mint chip, strawberry swirl, all fair game.
Optional add-ons:
- Chocolate chips, peanut butter drizzle, crushed Oreos, sprinkles, caramel sauce—go wild, my friend.
Honestly, the hardest part is not eating the marshmallow mixture straight out of the pan.
Let’s Talk About the Crust
Okay, let’s be real for a second. Pie crusts? Usually a bit intimidating. But this one? It’s a dream. No flour, no rolling pins, no stress. Just sticky, sweet cereal goodness pressed into a pan. Boom.
How to Make It:
- Melt your butter in a big saucepan over low heat.
- Once it’s all liquid-y, add your marshmallows and stir until smooth and glossy. You’ll know when it’s ready—it’ll look like marshmallow lava (yum).
- Dump in the cereal and stir quickly. You want every piece coated before it sets.
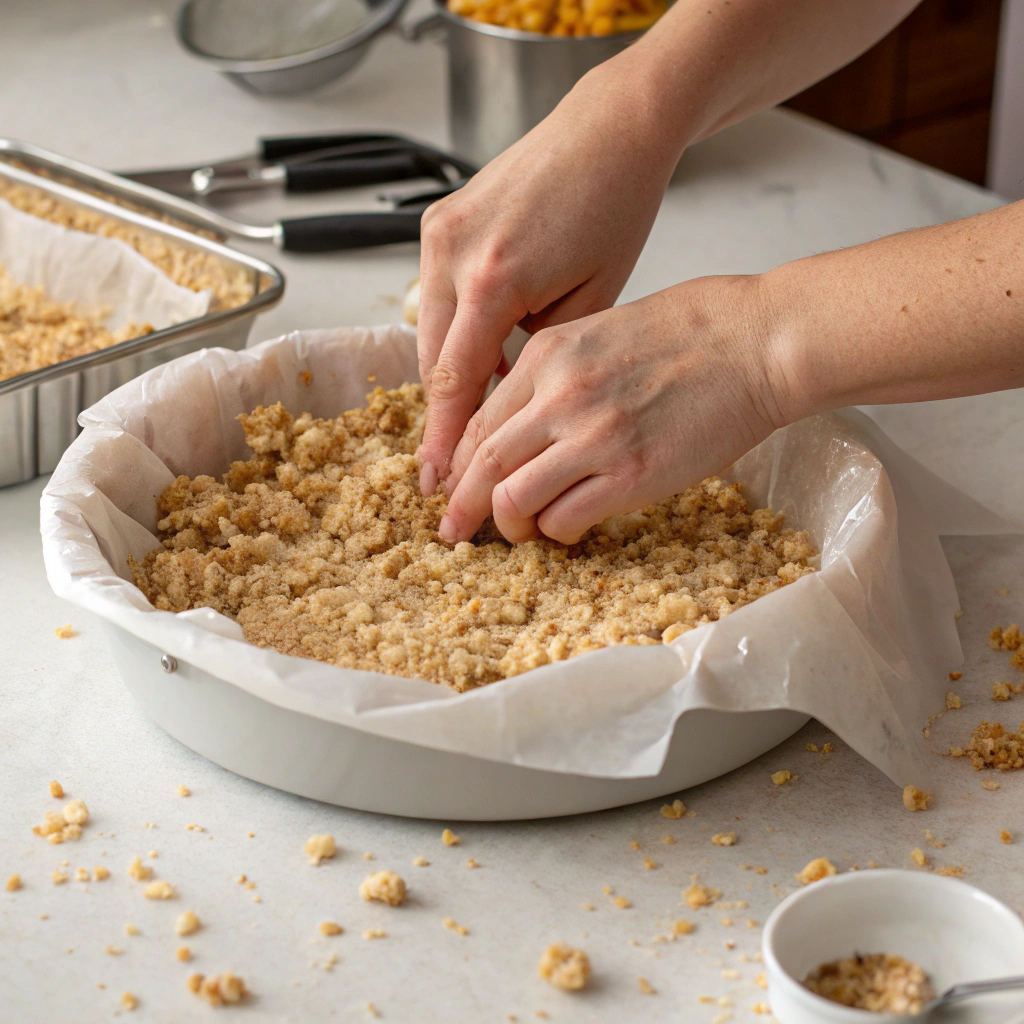
- Spray your pie pan with nonstick spray (or butter it up old-school) and press the mixture in evenly. Use wax paper or wet fingers so it doesn’t stick all over your hands. Press up the sides like a traditional crust.
Give it 15 minutes to cool and firm up. That’s it. Seriously. You’ve got a crust.
Picking the Perfect Ice Cream
Now we get to the fun part. Picking your ice cream. This is where the personality really shines. You can go classic with vanilla or jazz it up with cookies and cream, salted caramel, or pistachio—whatever makes your heart (and tastebuds) sing.
A few crowd-pleasing combos:
- Strawberry ice cream + drizzle of chocolate syrup + sliced strawberries = romantic & fruity.
- Mint chip + mini chocolate chips = cool and refreshing.
- Peanut butter swirl + crushed pretzels = salty-sweet perfection.
- Cookies and cream + Oreo chunks on top = kid-approved and adult-devoured.
You can even layer different flavors for a rainbow pie effect—because why not? It’s summer. Go big.
Step-by-Step: How to Make It
Alright, apron on (or, let’s be honest, oversized tee that already has some chocolate on it), and let’s get into it. Here’s how you go from ingredients to a dreamy, frozen pie that’ll make you look like a dessert wizard.
Step 1: Make the Crust
You’ve already seen the quick how-to above, but here’s a quick recap because we’re organized like that:
- Melt 4 tablespoons of butter in a large pot over low heat.
- Stir in a full 10 oz bag of mini marshmallows until melted and silky.
- Remove from heat and mix in 6 cups of Rice Krispies until fully coated.
- Immediately press into a greased 9-inch pie dish, forming both the base and the sides. Use parchment paper or wax paper to press it down—it’ll save your fingers from the sticky mess.

Let it cool completely. You can pop it in the fridge or freezer for 10 minutes to speed things up if you’re impatient (no judgment—I’ve been there).
Step 2: Soften Your Ice Cream
Let your chosen ice cream hang out on the counter for about 10–15 minutes so it softens up. We’re not trying to create a milkshake here, just a nice scoopable consistency so it spreads like frosting.
Step 3: Fill That Crust!
- Scoop the softened ice cream into your cooled crust.
- Use a spatula to smooth it out and press it down into the crust edges.
- You can go for one thick layer or get creative with two or three flavors in stripes or swirls. (Tip: If you’re doing layers, freeze each layer for 15 minutes before adding the next.)
Step 4: Top It Off
This is the fun part—decorate it! Sprinkle on crushed cookies, mini chocolate chips, a caramel drizzle, rainbow sprinkles, crushed pretzels, whatever your heart desires. Get the kids involved too—they’ll love it.
Step 5: Freeze It Solid
Pop your beautiful creation in the freezer for at least 3–4 hours, preferably overnight. You want it firm enough to slice cleanly, like a real-deal pie.
Step 6: Slice and Serve
When you’re ready to serve, let the pie sit out for 5–10 minutes so it softens slightly. Use a sharp knife dipped in hot water for clean cuts (trust me, it works like magic). Then plate it up and bask in the oohs and aahs.
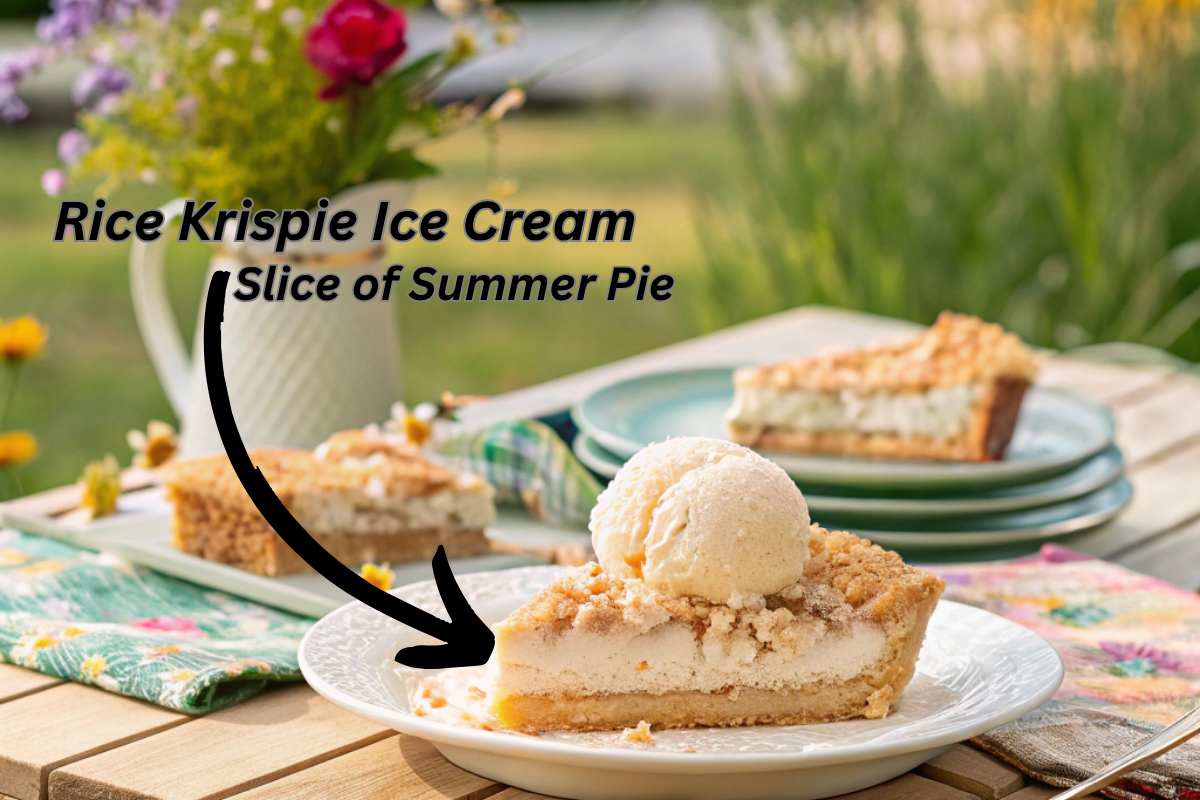
And there you have it—your show-stopping, no-bake, totally fabulous Rice Krispie Ice Cream Pie!
Pro Tips from an Ice Cream Pie Addict
Okay, I’ve made this pie a lot. Like, “I have a favorite spoon for testing it” level of a lot. So here are some pro tips to take your Rice Krispie Ice Cream Pie from great to “OMG please bring this to every party forever.”
1. Use a Springform Pan If You Have One
Not required, but it makes life so much easier when you want to lift the whole pie out cleanly. Plus, it just looks fancy and photogenic, which is important when your dessert ends up on Instagram.
2. Press That Crust Firmly
Really get in there and press the cereal mixture down tight—especially up the sides. A firm crust means your pie holds together like a dream when you slice it, instead of crumbling into cereal chaos.
3. Warm Knife = Clean Slices
Dip your knife into hot water and wipe it between slices. It’s a tiny extra step that makes your pie look Pinterest-perfect instead of like it was attacked by a raccoon.
4. Let It Sit Just a Bit Before Serving
Ice cream straight out of the freezer is rock solid. Give it 5–10 minutes at room temp, and it’ll soften to that perfect scooping consistency. You want clean slices, not chisel-required blocks.
5. Don’t Skip the Toppings
Even just a handful of chocolate chips or a drizzle of fudge takes this pie to whole new levels of drool-worthy. Plus, it hides any uneven spreading, so your pie looks pro even if you freestyled it.
Creative Twists You’ll Want to Try

This pie is your blank canvas. Want to jazz it up? I got you. Here are a few variations to keep things fun (and maybe a little over-the-top in the best way):
S’mores Version
- Use chocolate ice cream.
- Mix crushed graham crackers into the crust.
- Top with mini marshmallows and toast ‘em with a kitchen torch (or broil quickly).
Peanut Butter & Chocolate
- Use chocolate peanut butter ice cream.
- Swirl in actual peanut butter between layers.
- Top with chopped Reese’s or peanut butter cups. You’re welcome.
Fruity Fun
- Try mango or strawberry ice cream.
- Add a layer of real fruit slices before the ice cream layer.
- Top with shredded coconut and a lime zest finish. It’s like a tropical vacation in a pie dish.
Mini Pie Bites
Use muffin tins to make single-serving mini versions! Perfect for parties or portion control (yeah right, you’ll eat three).
For more delicious recipes and cooking inspiration, follow me on Facebook, Pinterest and Reddit!
Kid-Friendly & Crowd-Pleaser
Let’s be honest: any dessert that combines cereal and ice cream is a guaranteed hit with kids. But the real kicker? Adults lose their minds over this too. It’s nostalgic and indulgent. It’s crunchy and creamy. Basically, it’s a flavor-party and everyone’s invited.
Take this to a cookout, and it’ll disappear before the burgers even hit the grill. Make it for your kid’s birthday, and suddenly you’re the cool mom (or aunt, or bestie) everyone talks about. Serve it on a random Tuesday? Instant mood booster.
Make-Ahead & Freezer Friendly
One of the best things about Rice Krispie Ice Cream Pie—besides the fact that it tastes like a dessert dream—is how perfectly it fits into a busy life. Like, if “future-you” wants to look like a rockstar with zero stress? Make this pie today, and freeze it for whenever the sweet tooth strikes.
How Far Ahead Can You Make It?
- Up to 1 week in advance. Yep, seriously. Just make sure it’s well-covered with plastic wrap or foil so it doesn’t get that weird freezer burn crust (you know the one).
- Pro tip: Store it in an airtight container if you want to avoid your ice cream pie tasting like last night’s garlic shrimp leftovers. Nobody wants that.
How Long Does It Last in the Freezer?
- Around 2 weeks for best flavor and texture.
- After that, it’s still edible, but the crust might get a bit too chewy, and the ice cream can start to lose that smooth texture.
Storing Leftovers (If That Even Happens)
- Wrap individual slices in plastic wrap and keep them in the freezer. They make the best midnight snacks.
- Or pop leftovers into a freezer-safe container and eat ‘em as a secret stash. Just don’t forget where you hid them. (Been there.)
When to Serve This Dessert
Honestly? Any excuse will do. But if you’re looking for the best moments to roll out your Rice Krispie Ice Cream Pie masterpiece, here are some crowd-favorite scenarios:
Backyard BBQs
This pie was born for summer cookouts. It’s light, refreshing, and doesn’t require plates and forks if you cut it small enough. Bonus: everyone will want the recipe.
Birthday Parties
Kids adore it. Adults inhale it. No need to light the oven or stress over baking something that might collapse or overcook.
Baby Showers, Potlucks, and Picnics
It travels well if you keep it in a cooler. Just slice it up ahead of time and serve with a smile (and maybe a paper napkin for sticky fingers).
Just Because
Honestly? You don’t need a reason. Make it on a rainy day. Whip it up after a long workweek. Bring it to a friend just because they need a smile. This pie = happiness.
A Sweet Storytime (Optional Personal Note)
Okay, confession time: the first time I made this, I did it completely by accident. I had a box of Rice Krispies, a half-eaten tub of cookie dough ice cream, and exactly zero motivation to bake.
So, I slapped the cereal treat into a pie pan, dumped the ice cream on top, and froze it. I wasn’t expecting much—maybe a weird little dessert I’d nibble on over the next week.
Nope. My family inhaled it. The next day, I had people texting me for “the recipe.” And that’s how this pie became a regular summer tradition.
So, moral of the story? Great things happen when you mix a little laziness with a lot of creativity. 😉
FAQs
Q1: Can I use other cereals instead of Rice Krispies?
Totally! Try Cocoa Krispies for a chocolate twist, Fruity Pebbles for a colorful party vibe, or even Corn Flakes for a more subtle crunch. Just keep the measurements the same and you’re golden.
Q2: What if I don’t have marshmallows?
Oof. That’s a tough one. Marshmallows are what hold the crust together. If you’re in a pinch, you could melt down marshmallow fluff or try a combo of honey and peanut butter—but fair warning, it won’t taste exactly the same.
Q3: Can I make this dairy-free?
Absolutely! Use a dairy-free butter substitute, marshmallows without gelatin (there are a few vegan brands out there), and your favorite non-dairy ice cream. Coconut milk-based ones are especially creamy.
Q4: My crust is too hard! What happened?
Usually, that means the marshmallow mixture cooked a little too long or was pressed too tightly. Next time, take it off the heat as soon as it melts, and press it gently into the pan.
Q5: Can I use store-bought Rice Krispie Treats for the crust?
Technically yes, but it’s a lot harder to shape them into a proper crust. They’re firmer and pre-set, so it’s more work than making it fresh—and you deserve better than that, friend.
Q6: What’s the best way to transport this to a party?
Freeze it completely, wrap it in foil, and pop it into a cooler with some ice packs. You could even pre-slice it for easy serving once you arrive. Just don’t forget a knife and a pie server!
Final Bite: Why This Dessert Deserves a Spot in Your Summer Repertoire
Let’s be real—summer can get hectic. Between cookouts, pool parties, birthdays, and “I’m bored” snack demands, it’s easy to feel like dessert is just another thing on the to-do list.
But this Rice Krispie Ice Cream Pie? It’s your low-effort, high-reward secret weapon. It’s easy, customizable, freezer-friendly, and straight-up fun to make (and eat). Whether you’re whipping one up with your kids or sneaking a late-night slice solo, this dessert delivers happiness in every bite.
So go ahead—make it once and see what happens. I promise you’ll be asked to make it again. And again. And probably forever. 🥄💛









1 thought on “Rice Krispie Ice Cream Pie: The No-Bake Dessert That’ll Make You a Summer Hero”