Meet Your New Pet: The Sourdough Starter 🐾
Let’s be honest—starting a sourdough journey feels a bit like adopting a mysterious, bubbly pet that lives in a jar and smells kinda funky. But hey, we love it anyway! Whether you’re on your third attempt or just trying not to name your starter “Doughy Parton,” you’re here for one big reason: how do you know when this weird, yeasty blob is actually ready to bake bread?
Good news: I’ve been there, I’ve sniffed the questionable jars, and I’ve baked the pancakes when things went sideways. Let’s talk about what a ready sourdough starter looks like (and what it doesn’t), without any of the intimidating baking jargon.
➡️ You can also check out a more in-depth visual guide here: What Does Sourdough Starter Look Like?
First, What Even Is a Sourdough Starter?
Think of it like a wild, natural yeast party that you host in your kitchen. You only need flour and water, but over time, natural yeasts and bacteria move in and start doing their magic—bubbling, fermenting, and prepping themselves to make your future loaf rise like a champ.
And yes, it takes patience (this isn’t a microwave relationship), but it’s so worth it.
Okay, So What Does “Ready” Mean?
When we say a sourdough starter is “ready,” we mean it’s strong enough to give your bread the lift it needs. It’s alive, active, and full of gas bubbles (in the best possible way). Here’s what to look for:
1. It’s Doubled in Size (or More)
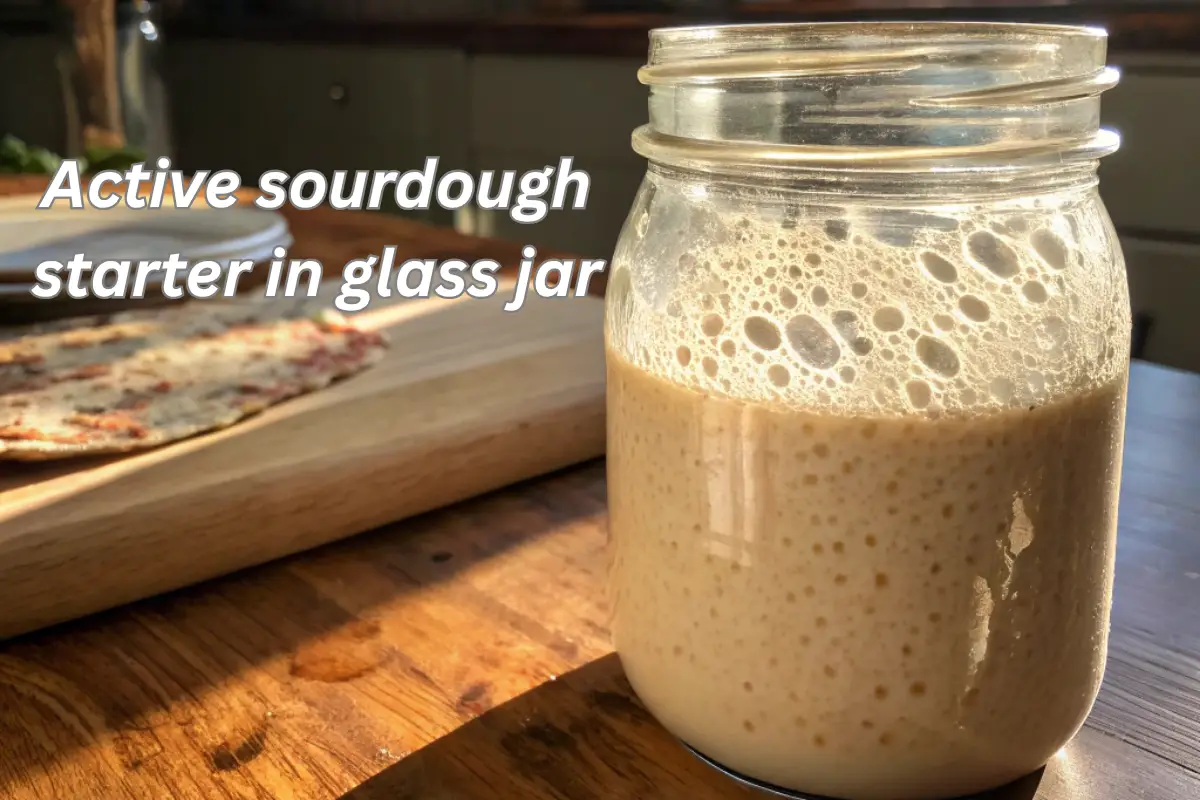
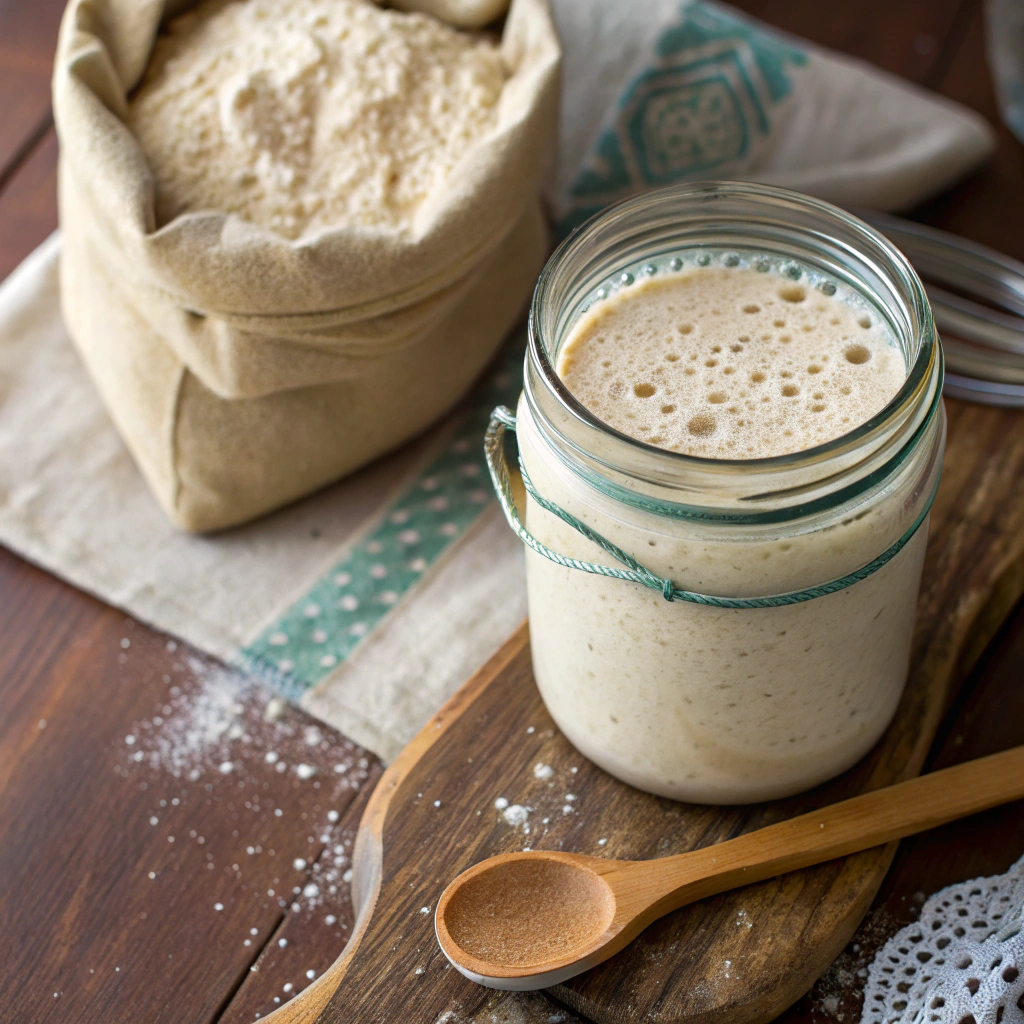
This is your golden ticket. If your starter has doubled in size 4–6 hours after feeding, give yourself a little dance break—you’re on track! You can even mark the jar with a rubber band right after feeding to track the rise. If it puffs up like a balloon, you’re in business.
2. It’s Full of Bubbles
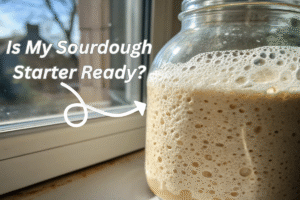
Take a peek through the side of your jar (glass jars work best for this reason). A healthy, ready starter looks like a bubbly science experiment. We’re talking little air pockets all through the mixture, not just on the top. It should be light and spongy, not watery or doughy.
3. It Passes the “Float Test” (Sometimes)
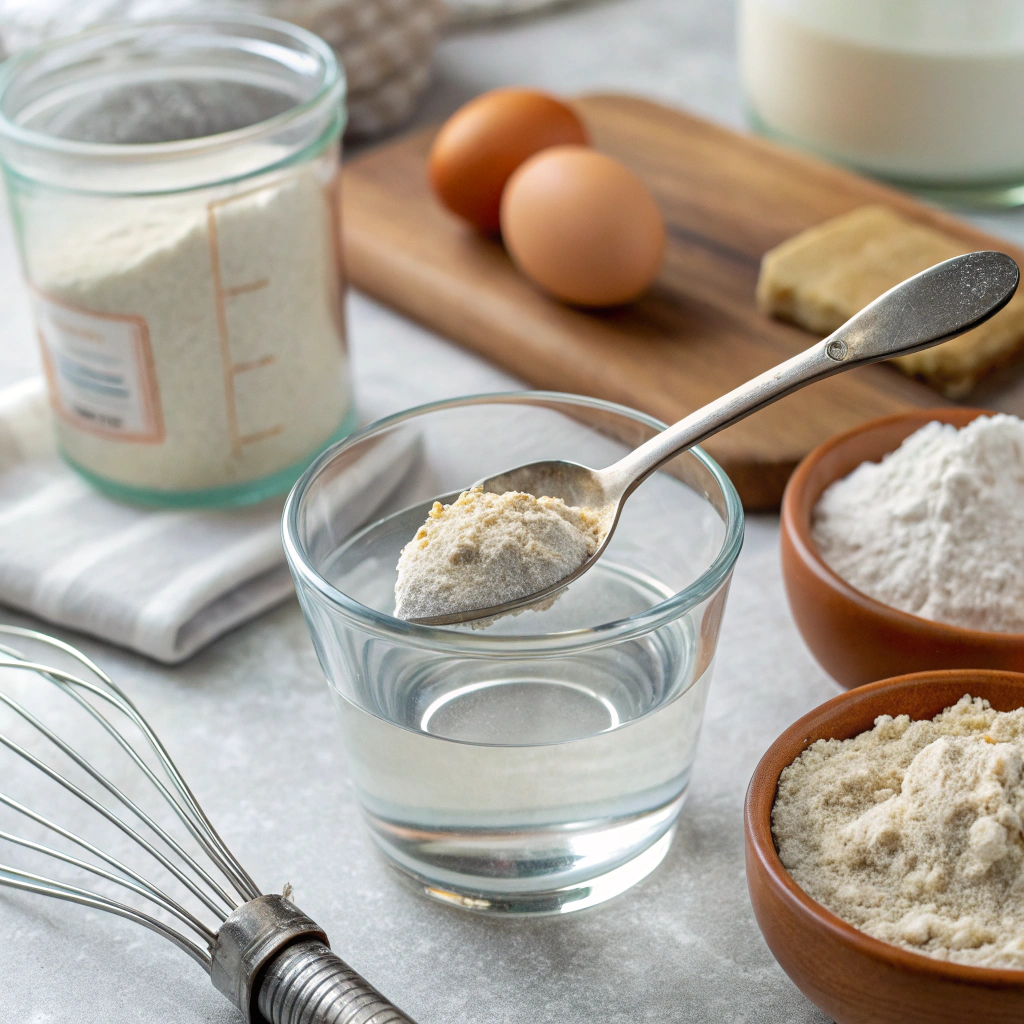
Here’s the classic trick: take a small spoonful of starter and drop it into a glass of water. If it floats, it’s good to go!
BUT WAIT! Before you go yeeting dough into cups like a mad scientist, know this: the float test isn’t always reliable. If your starter is thick or just fed, it might sink even if it’s healthy. So don’t panic.
4. It Smells… Weirdly Nice?
A ready sourdough starter smells tangy—like yogurt, a little fruity, or even like apples. It shouldn’t smell gross or like nail polish remover. If it smells sour but pleasant, you’re on the right track.
For more delicious recipes and cooking inspiration, follow me on Facebook and Pinterest!
But What If It’s Not Ready?
Here are some signs your starter needs more time at sourdough boot camp:
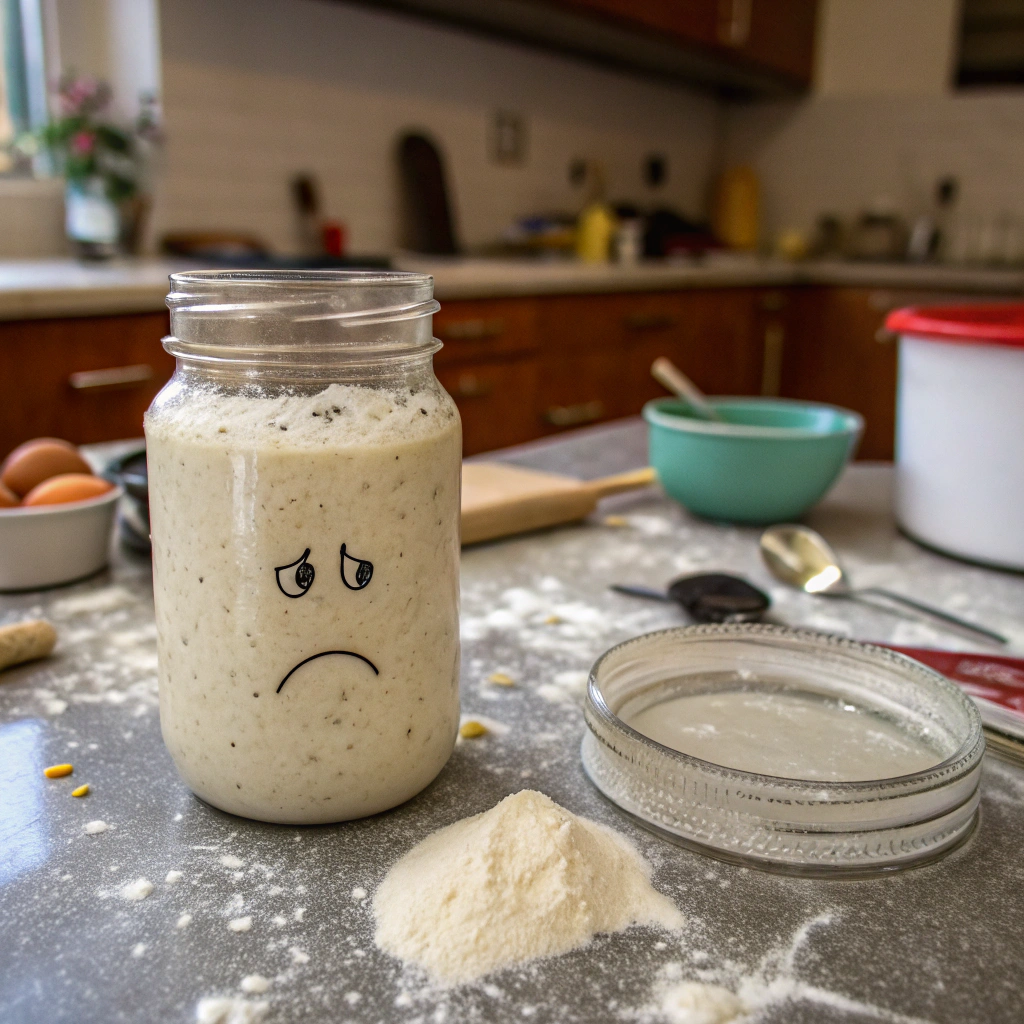
- It rises a little, but not quite double
- It only bubbles on top, not throughout
- It smells super acidic or alcoholic
- It looks watery or flat
- It’s under 5 days old (most starters take 7–10 days to mature!)
Still feeding yours straight from the fridge? Here’s a helpful guide to get that timing just right: How to Feed a Sourdough Starter in the Fridge
Don’t toss it! Just keep feeding it once a day (or twice if it’s super warm) and be patient. You’re building a relationship here, not ordering takeout.
How Long Does It Take?
Some starters are overachievers and ready in 5 days. Others are stubborn little gremlins that take 10+ days to get it together. If you’re using whole wheat or rye flour, things might move faster since they have more nutrients. White flour starters can be slower, but they still work just fine.
Working with a stiff starter instead of the usual kind? No worries, here’s how that one works: What Is a Stiff Sourdough Starter?
Fun Little “Ready or Not” Checklist
Here’s your quickie guide:
| Sign | What It Means |
|---|---|
| Doubled in size in 4–6 hours? | ✅ Good to go! |
| Full of bubbles inside and out? | ✅ Ready! |
| Smells like tangy yogurt or apples? | ✅ Looking solid. |
| Passed the float test? | ✅ Likely ready (but optional!) |
| Less than 5 days old? | ❌ Needs more time. |
| Smells like chemicals? | ❌ Trouble! Might need a reset. |
Bonus: What NOT to Do with Your Starter
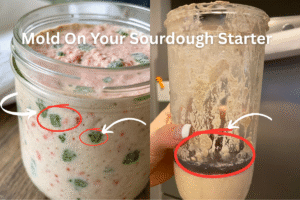
- Don’t stir in mold. If you see pink, orange, or fuzzy mold—sorry friend, that jar’s gotta go.
- Don’t freak out over hooch. That grayish liquid on top? It’s just alcohol from fermentation. Stir it in or pour it off.
- Don’t feed on a weird schedule. Try to stick to the same time each day.
- Don’t store in metal. Use glass, ceramic, or plastic—metal can mess with the acidity.
What to Do Once It’s Ready
Once your starter is bubbly, doubled, and smells delish—it’s showtime! You can:
- Bake a classic sourdough loaf
- Make pancakes or waffles (seriously amazing)
- Add it to pizza dough, muffins, or even cinnamon rolls
Store your starter in the fridge if you’re not baking daily, and feed it once a week. When you’re ready to bake again, take it out, feed it, and let it perk back up.
Final Thoughts: Trust the Bubbles ✨
Listen, I know the sourdough starter process can feel like a confusing science project. But it’s also kind of magical. One day it’s a blob of flour and water, and the next it’s puffing up like it’s got somewhere to be.
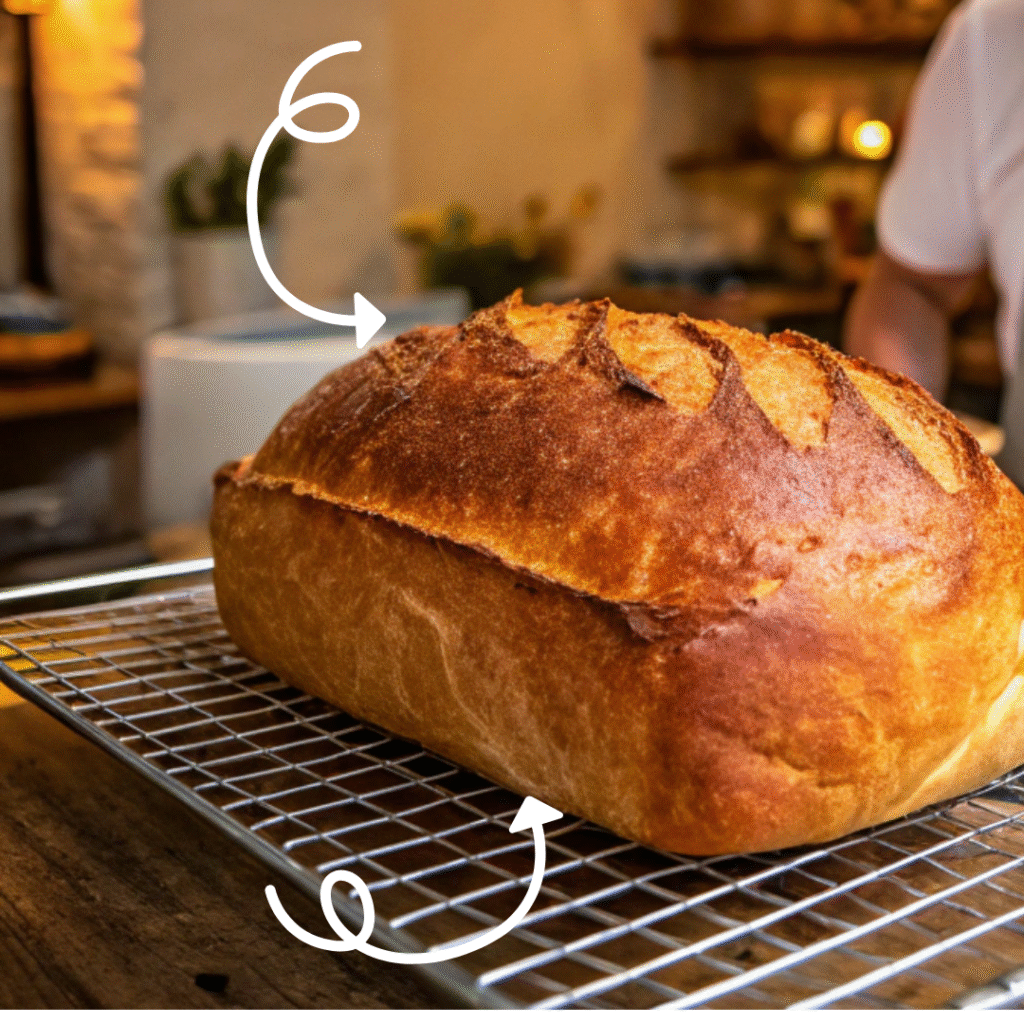
So, if your starter is bubbly, rising quickly, and smells like it could star in a yogurt commercial—you’re ready. Go bake that loaf, snap a photo, and maybe name your starter after your favorite diva (I’m looking at you, Breadoncé).
Want to take your sourdough skills further? Start with our complete guide: 7 Essential Steps to Mastering Your Sourdough Starter.
If you’re wondering what a ready sourdough starter should look like or simply how it looks at different stages, we’ve got you covered. You’ll also learn how to feed your starter when it’s in the fridge, how to spot and fix mold issues, and the difference between a liquid starter and a stiff sourdough starter.
